Home › Forums › All Things 750 Twin › Projects and Progress › New Projects › Z750B1 1976 › Reply To: Z750B1 1976
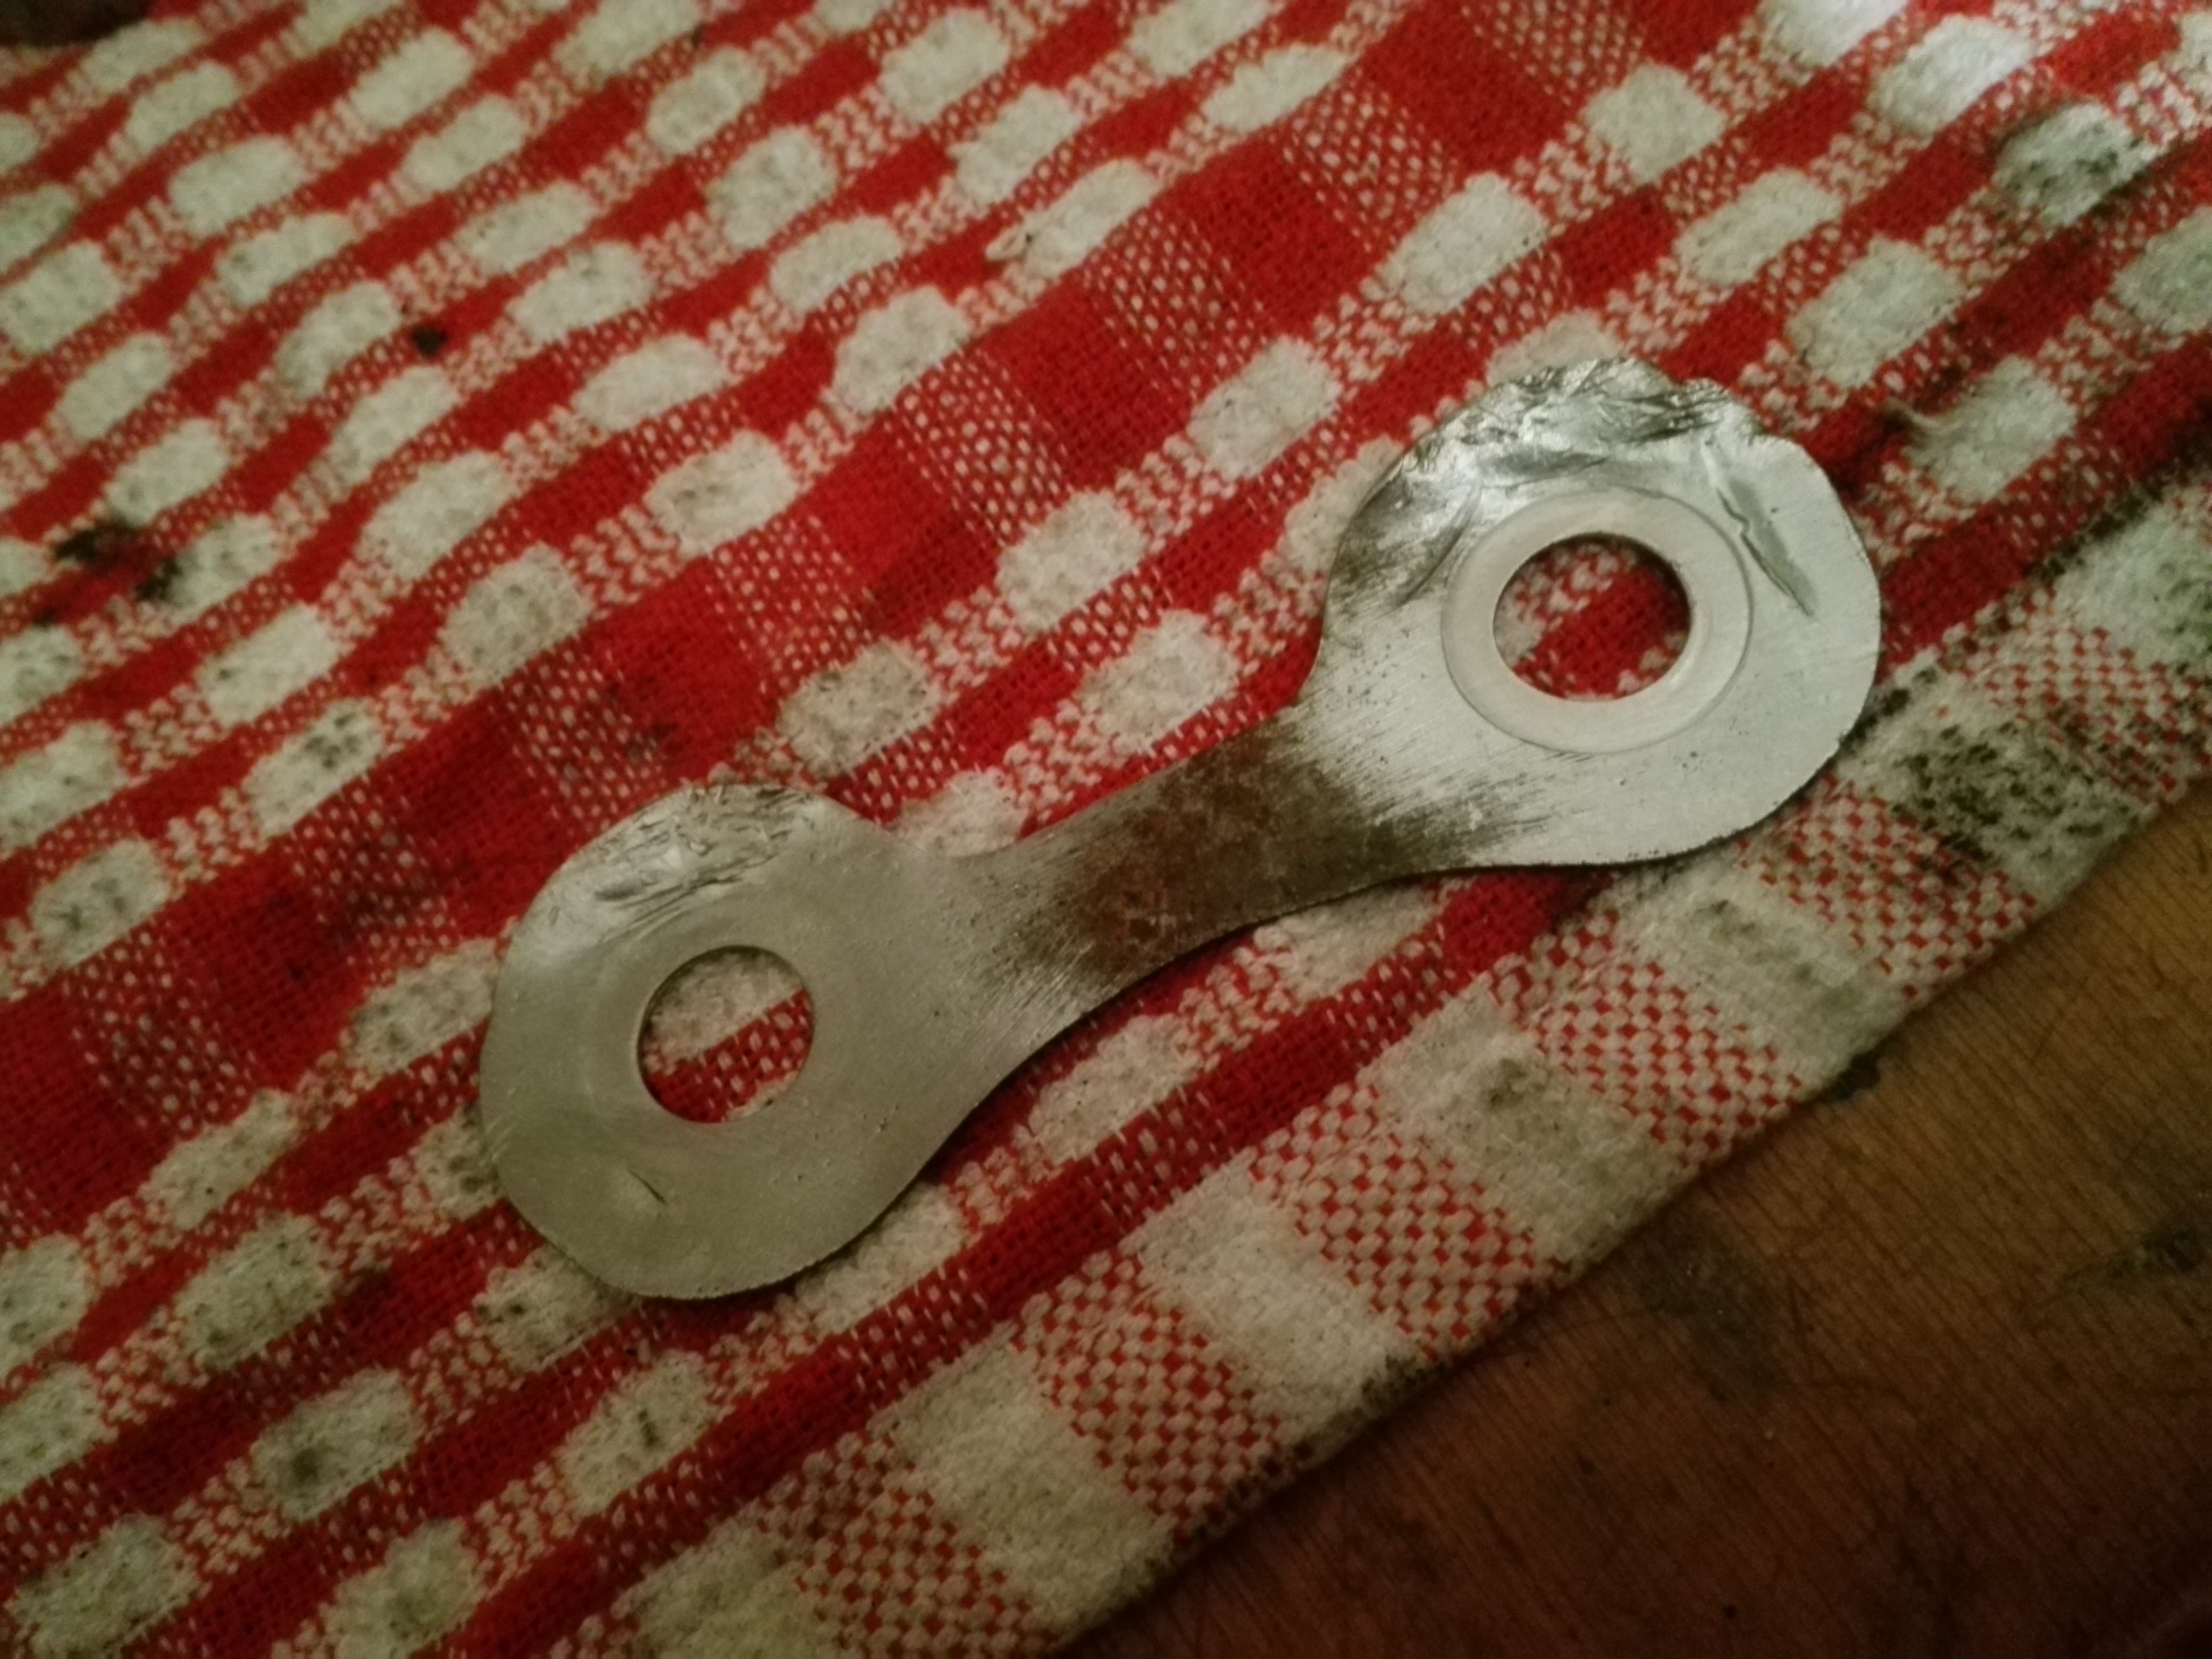
I kept all the hardware for mounting the sprocket as I planned to re-use it all but once I inspected the nuts and bolts they were clearly not in a good state. The threads were quite damaged. I thought I could at least re-use the locking tabs if I flatten them out again so I started cleaning them but I wasn’t really happy with the result.
I decided to replace the lot but I didn’t have a lot of success finding the parts so I changed my mind and decided to go with stainless steel. The original bolts have a square head and they are installed from the rear of the carrier with a nut on the outside of the sprocket. Standard stuff. They are M10 fine but I replaced them with standard M10. I had to reverse the fasteners and use a square nut at the back of the carrier and a bolt from the outside of the sprocket. The bolts I like have a large flange so I’m planning to use locking wire instead of tabs because I think it looks cool.
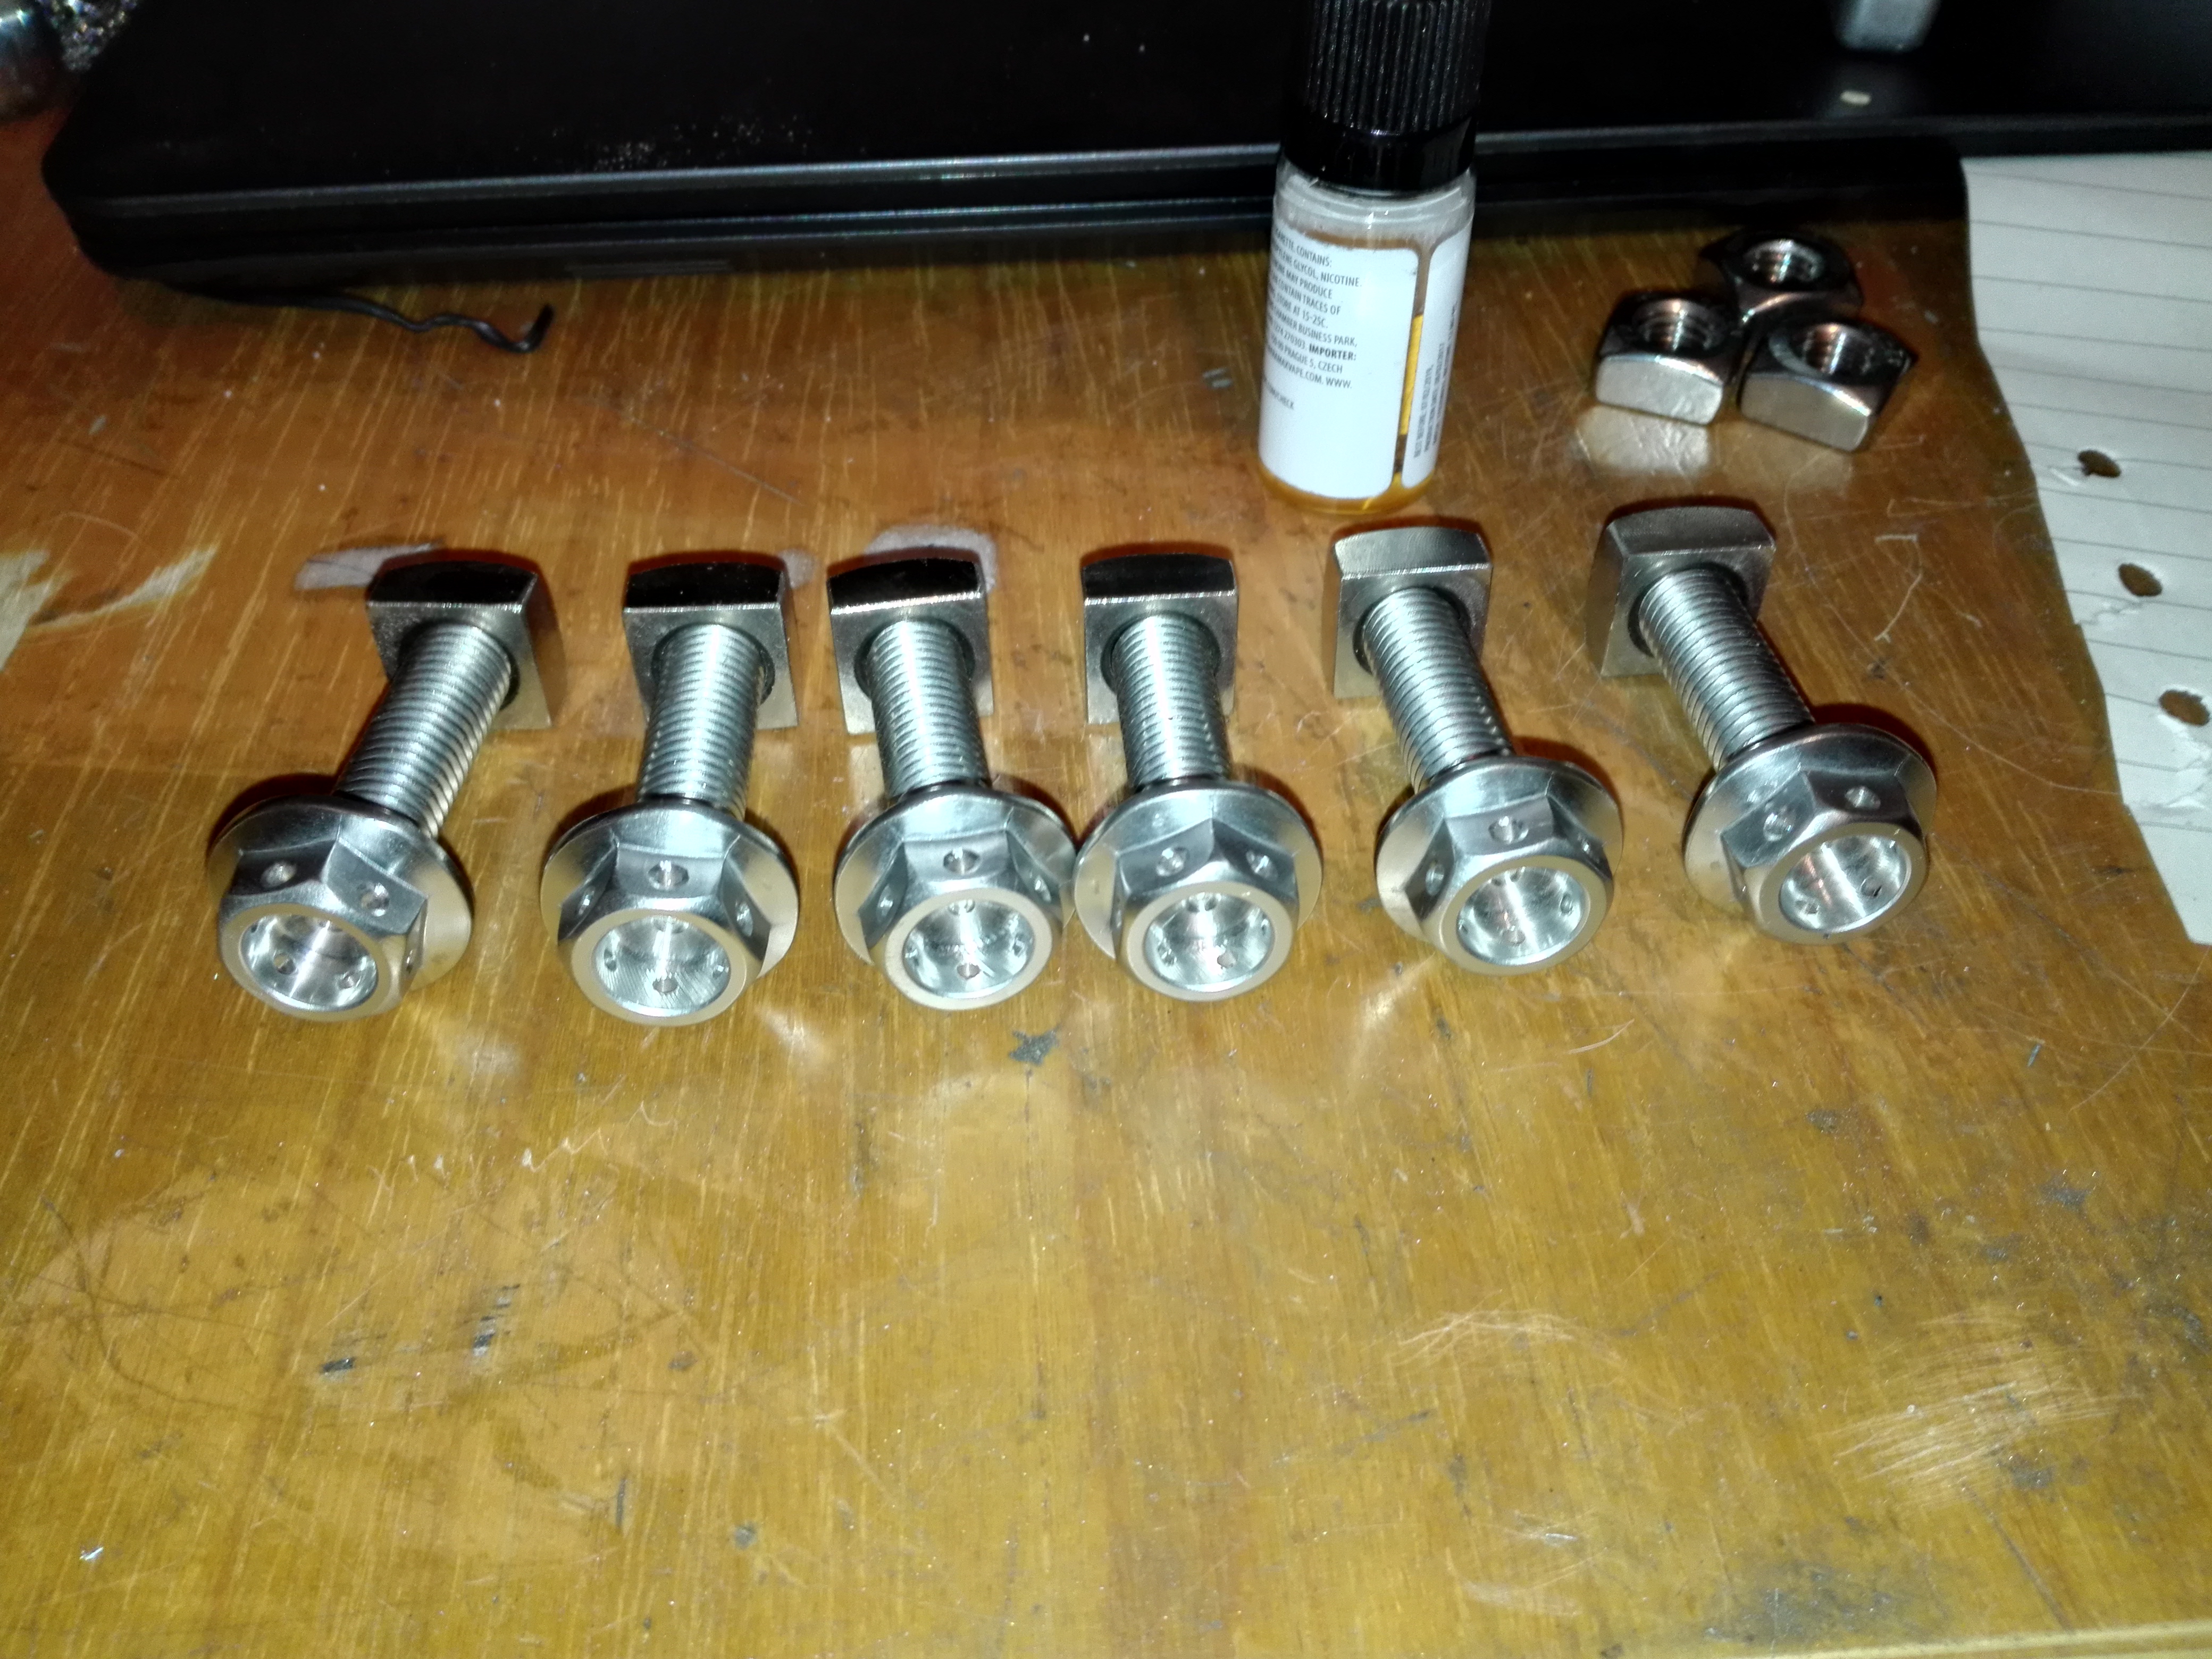
This photo shows the original mounting bolt and nut with the replacement stainless steel units. There is quite a lot of modification required.
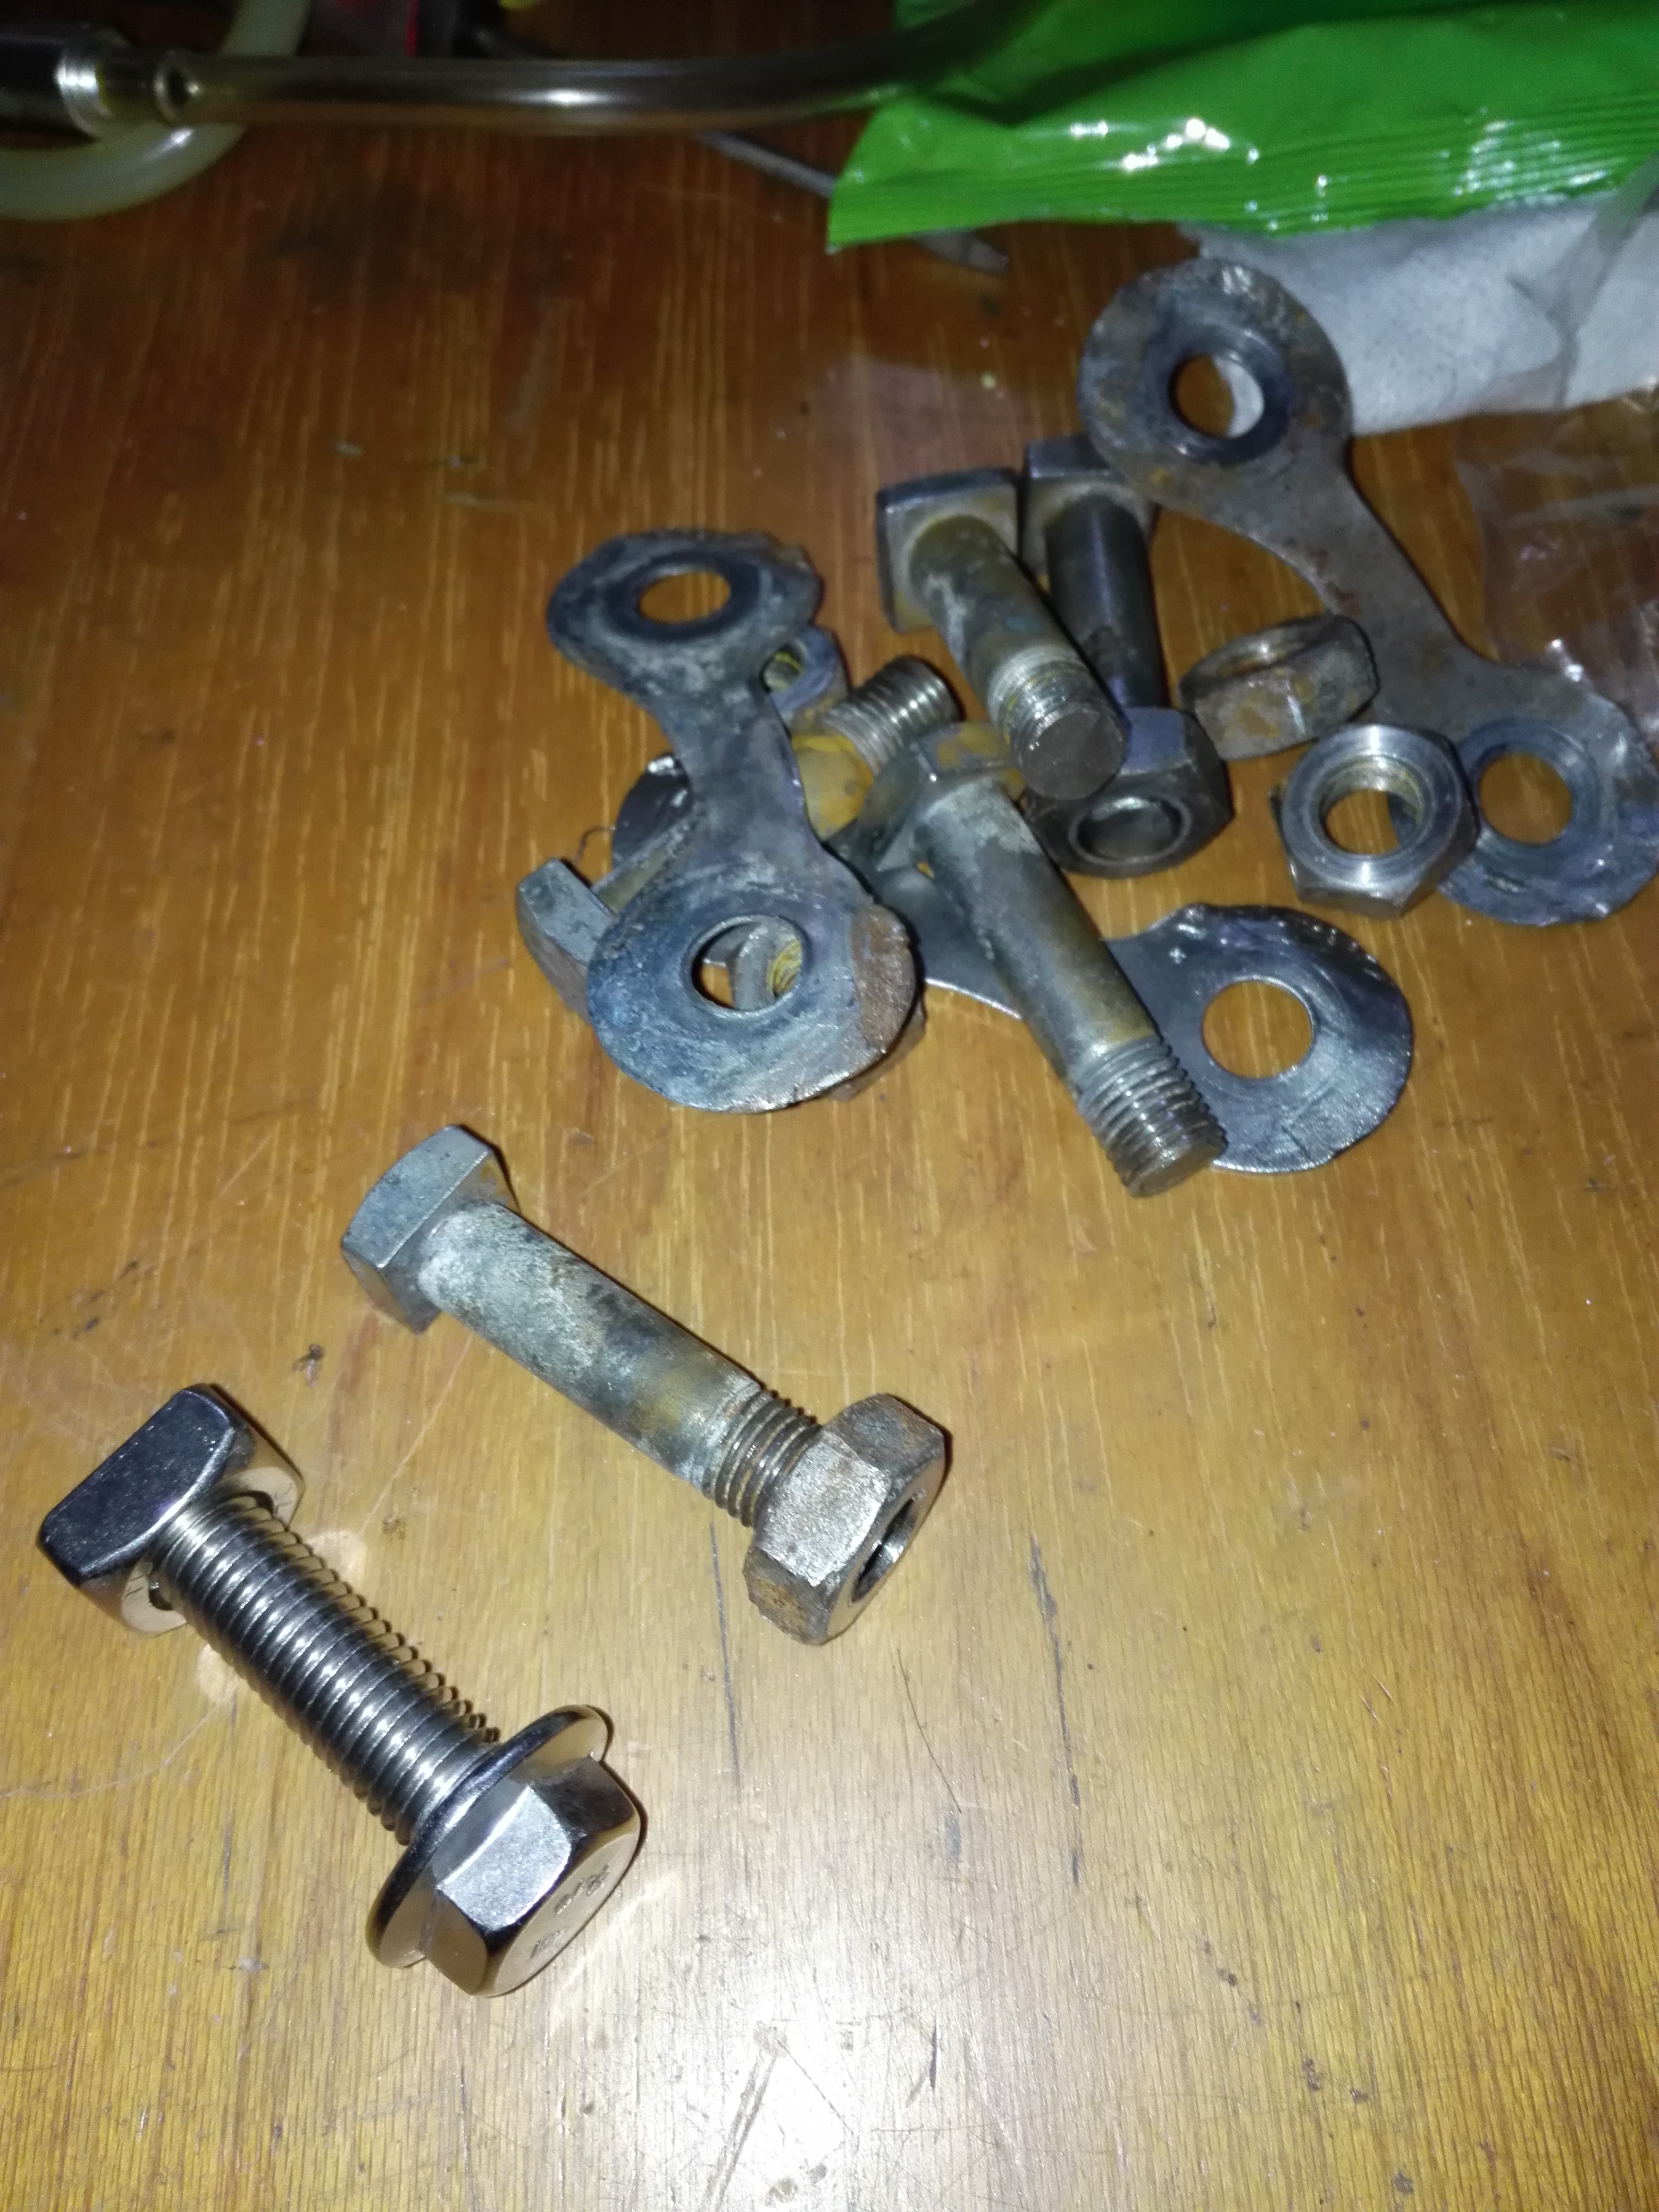
First off the nuts are milled down to fit. I made them a bit bigger than the original bolt heads as they were a bit of a loose fit.
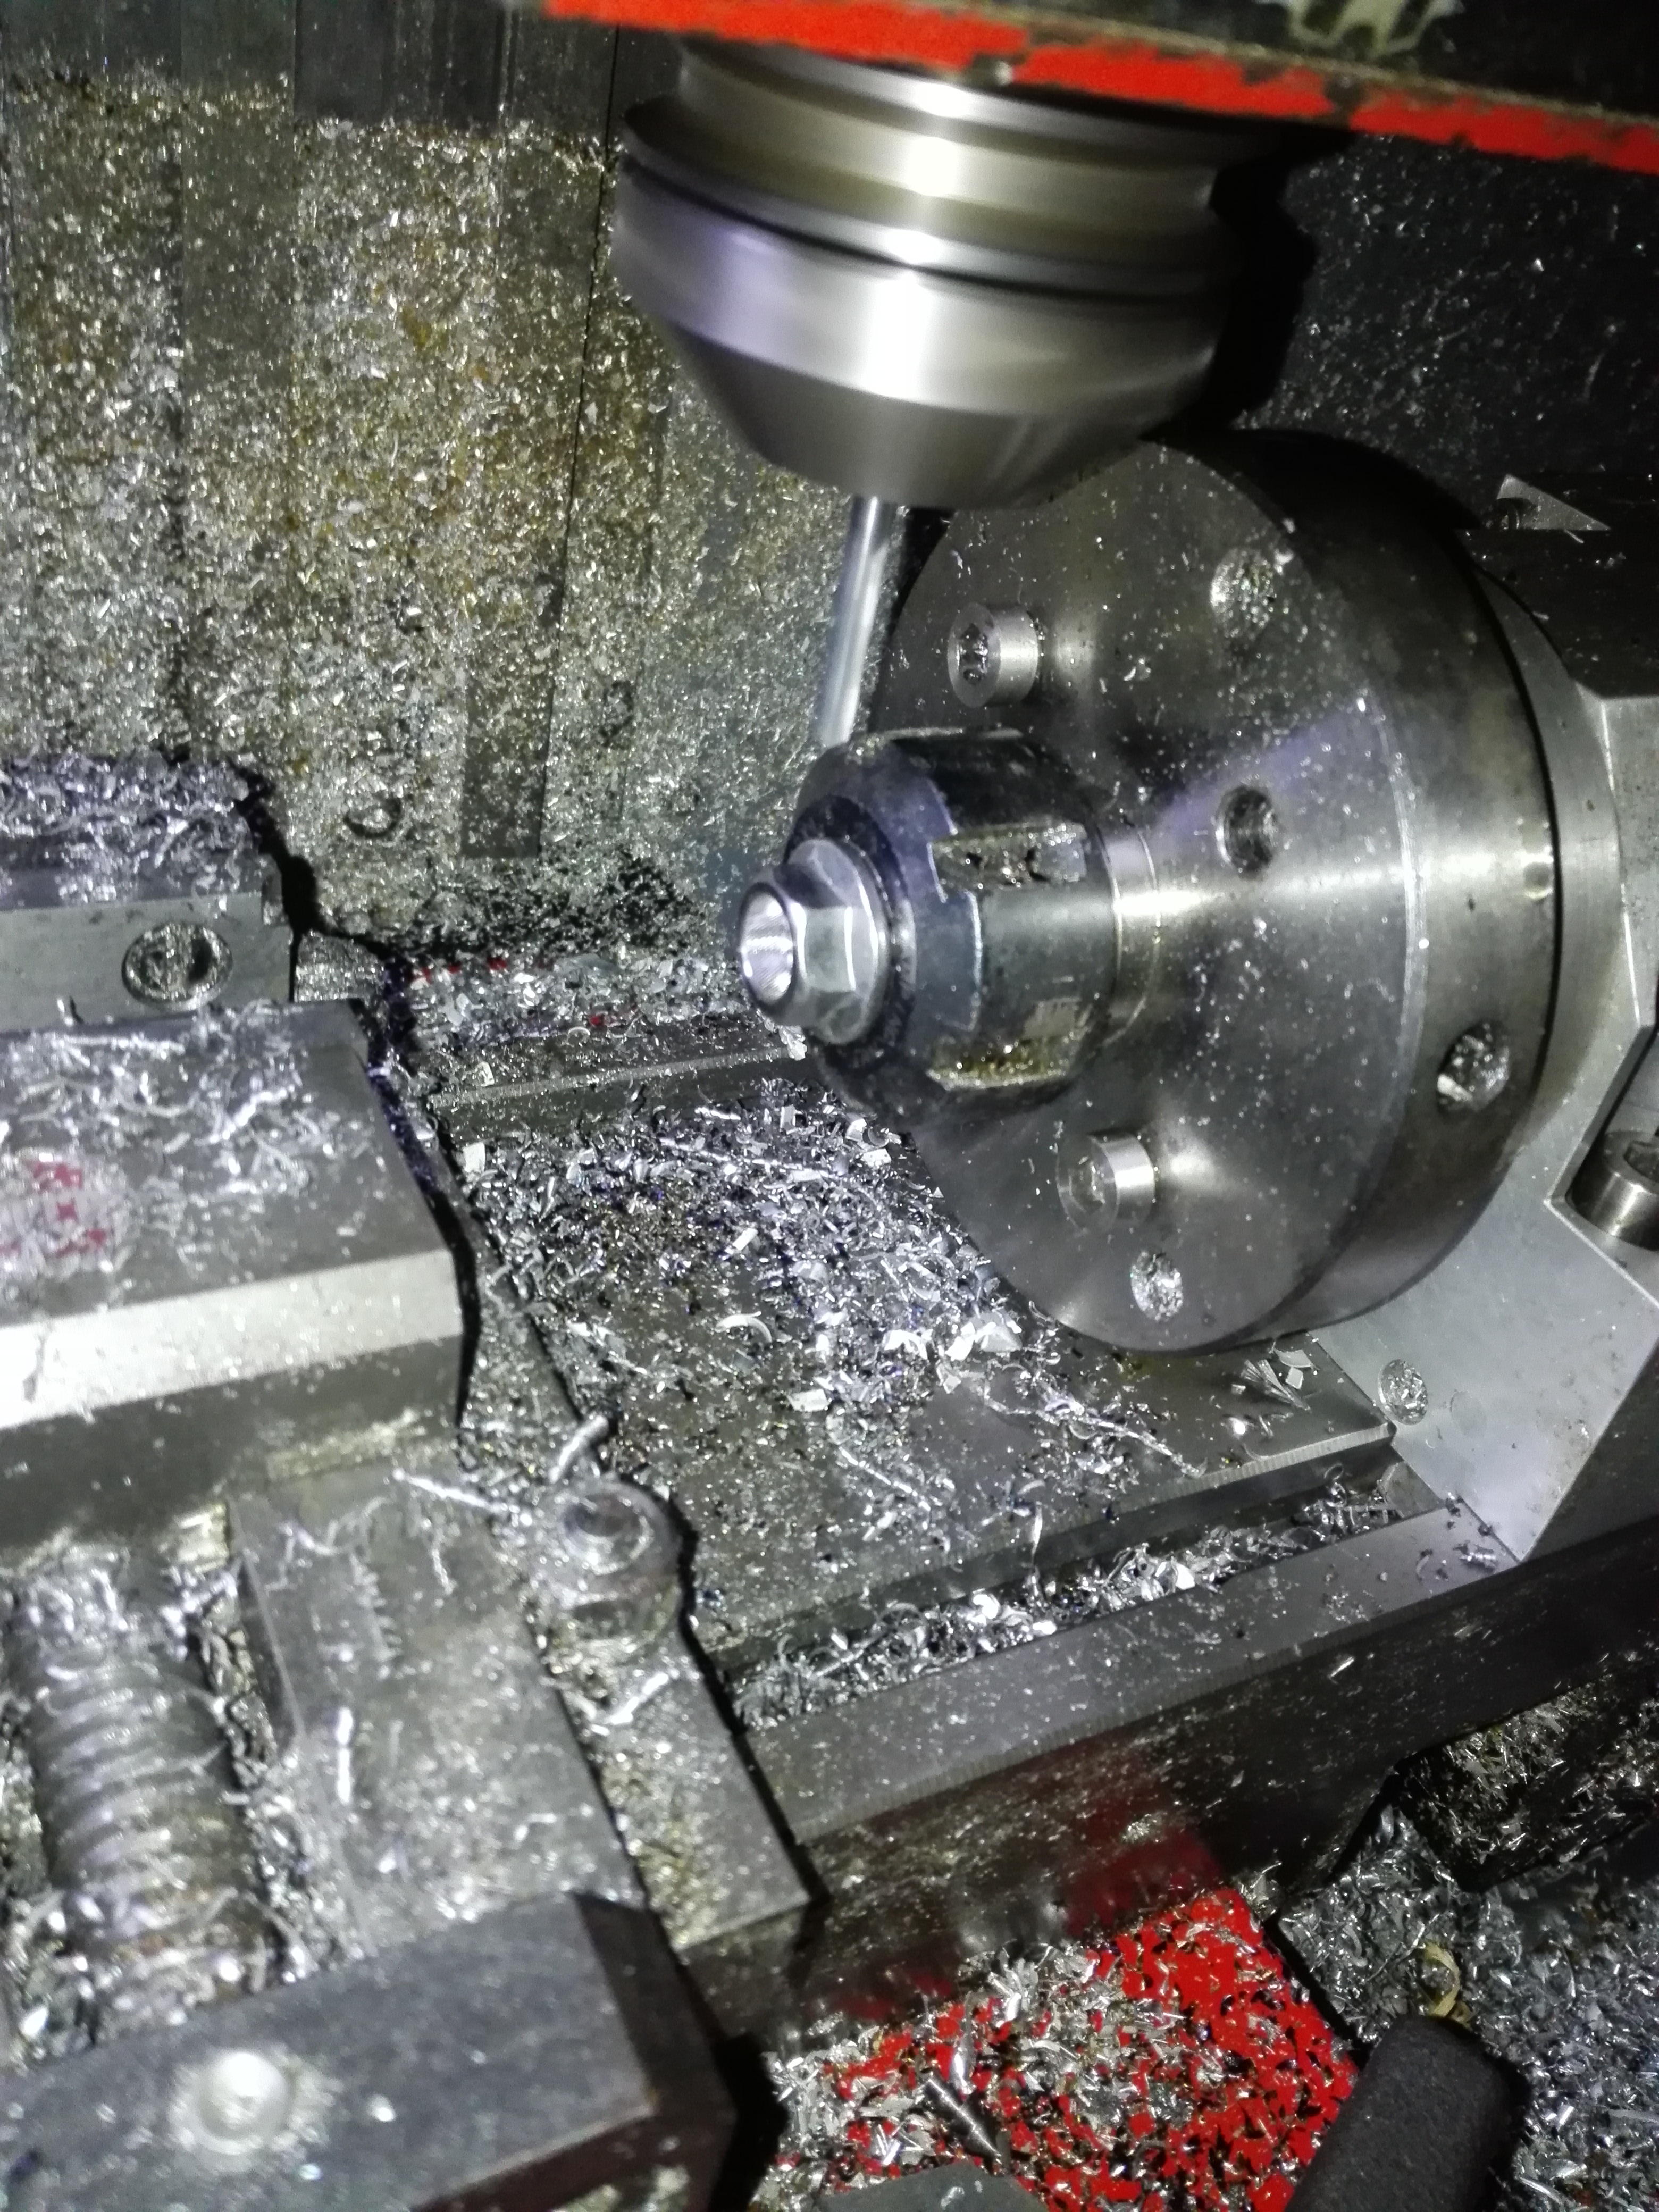
Next I started modding the bolts so they went into the lathe
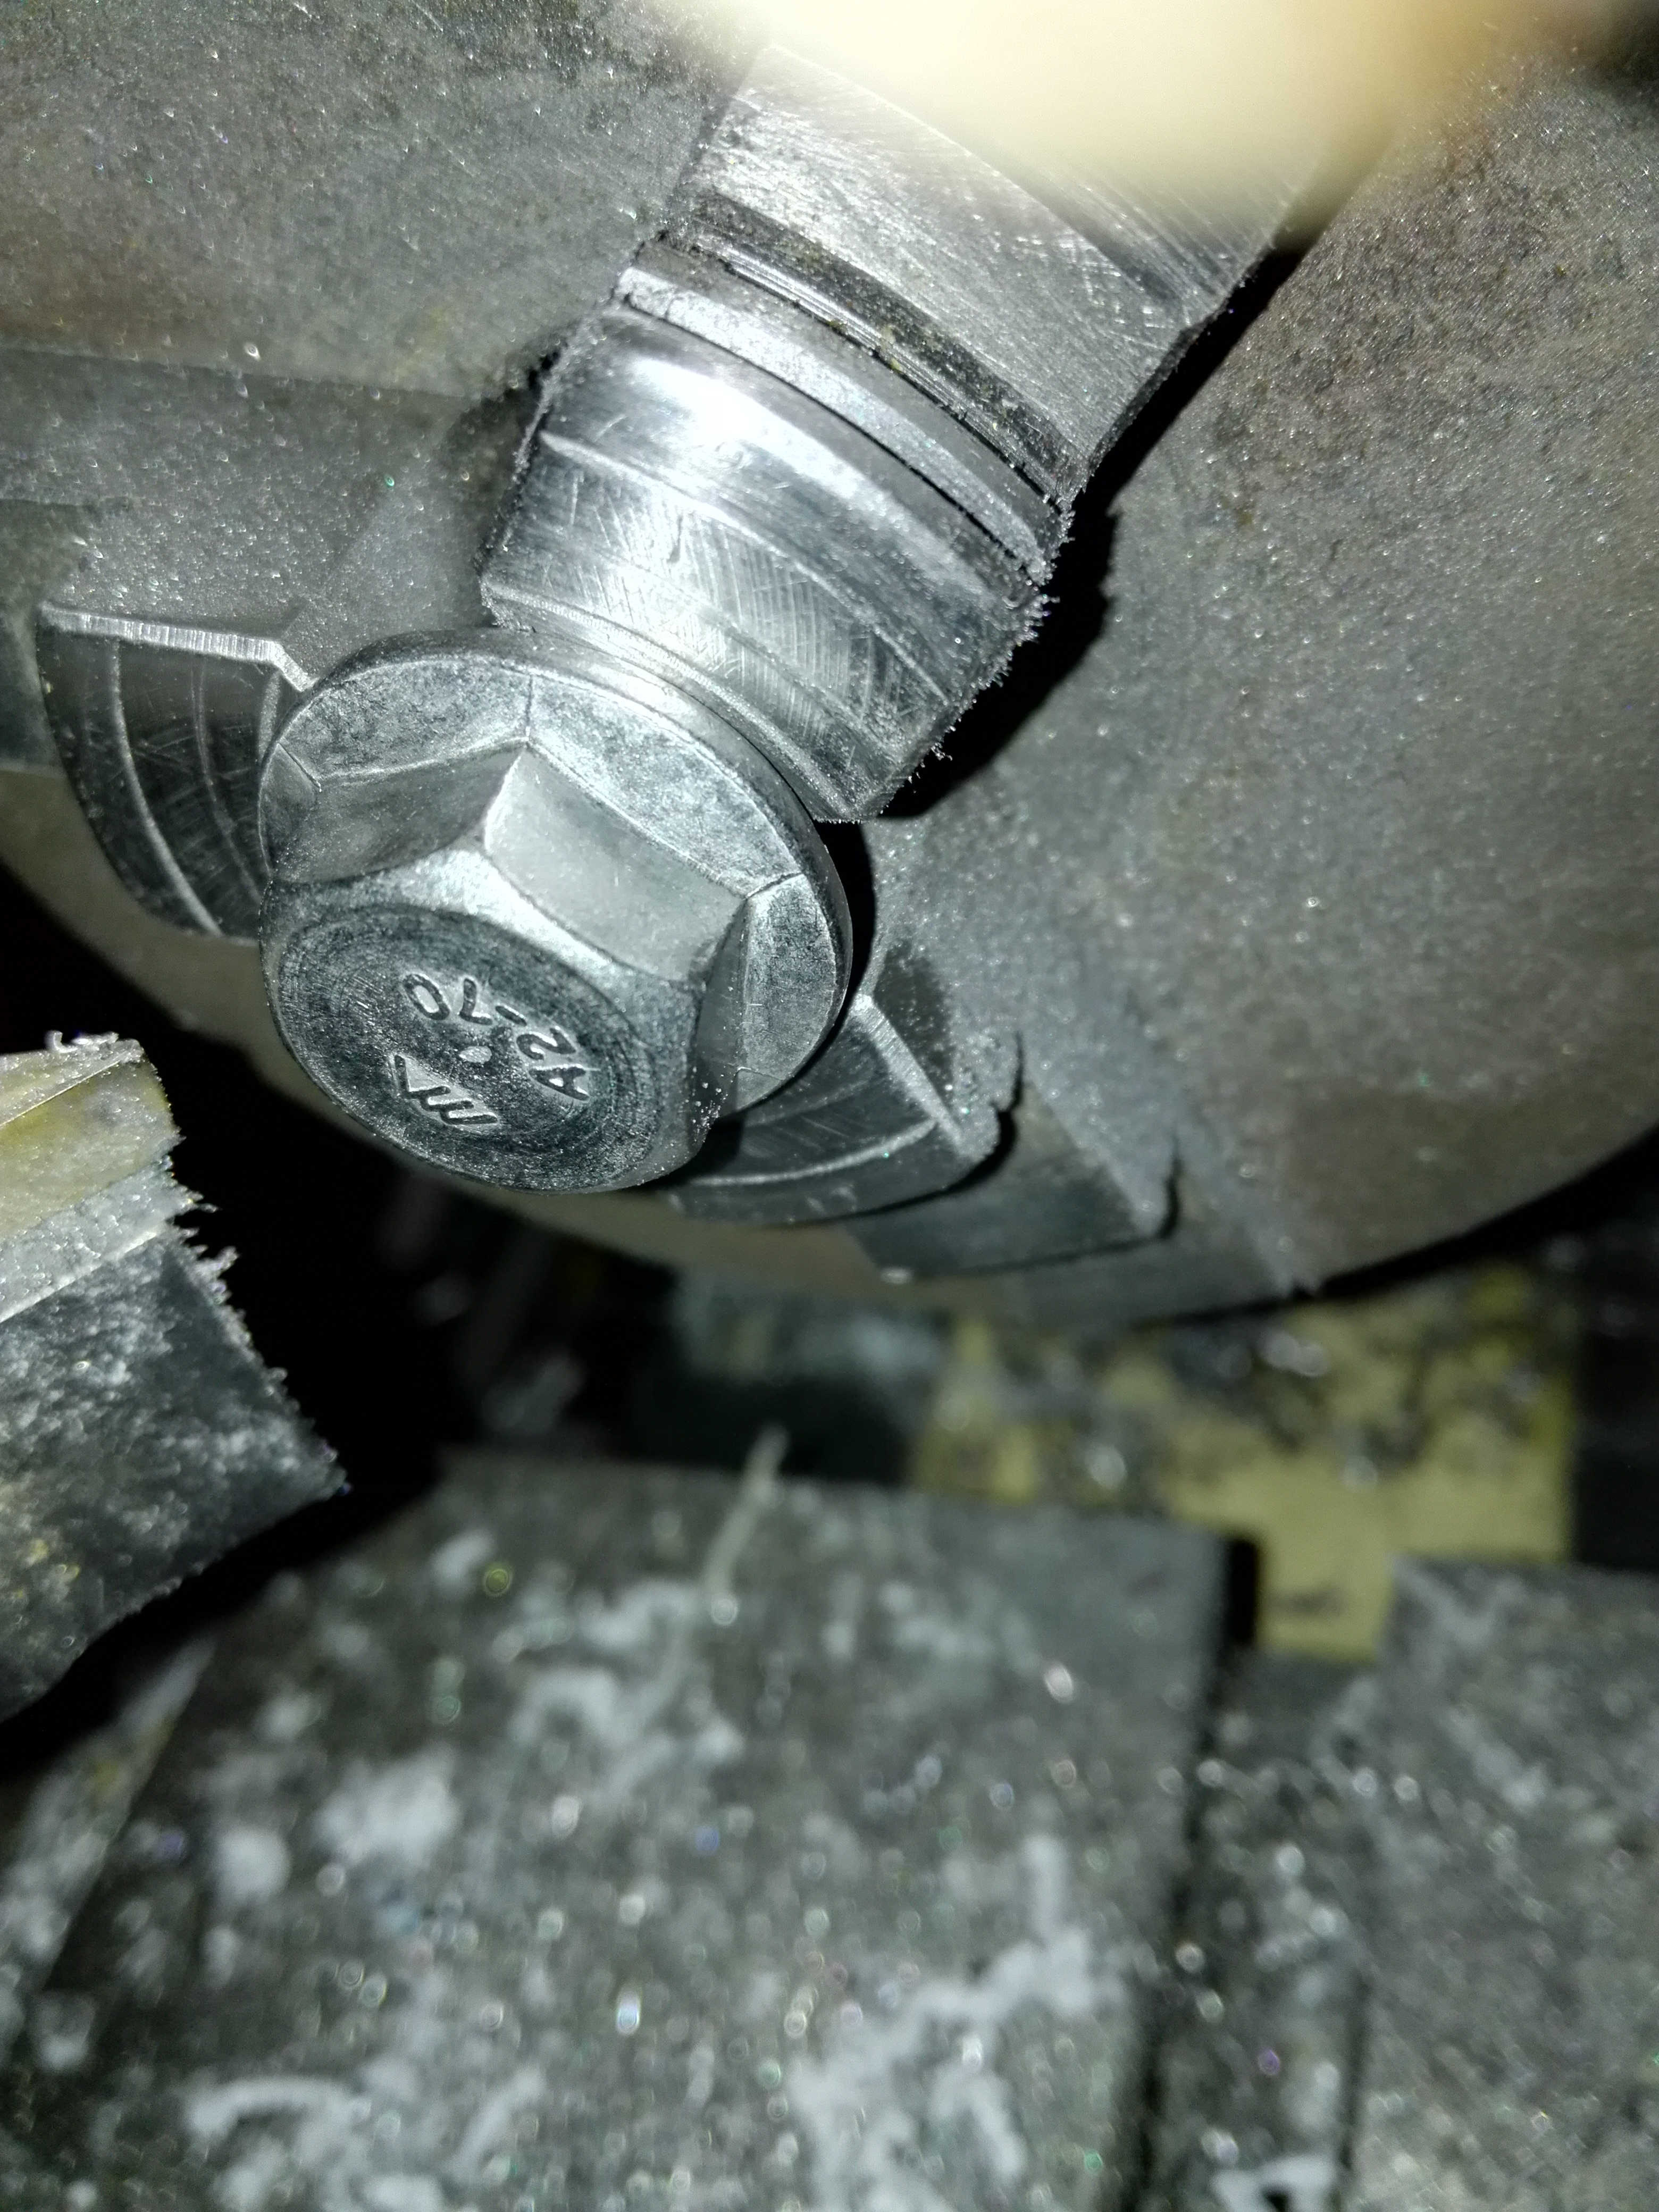
First the heads were faced clean. At this point I found that the heads had quite a lot of runout. Not good.

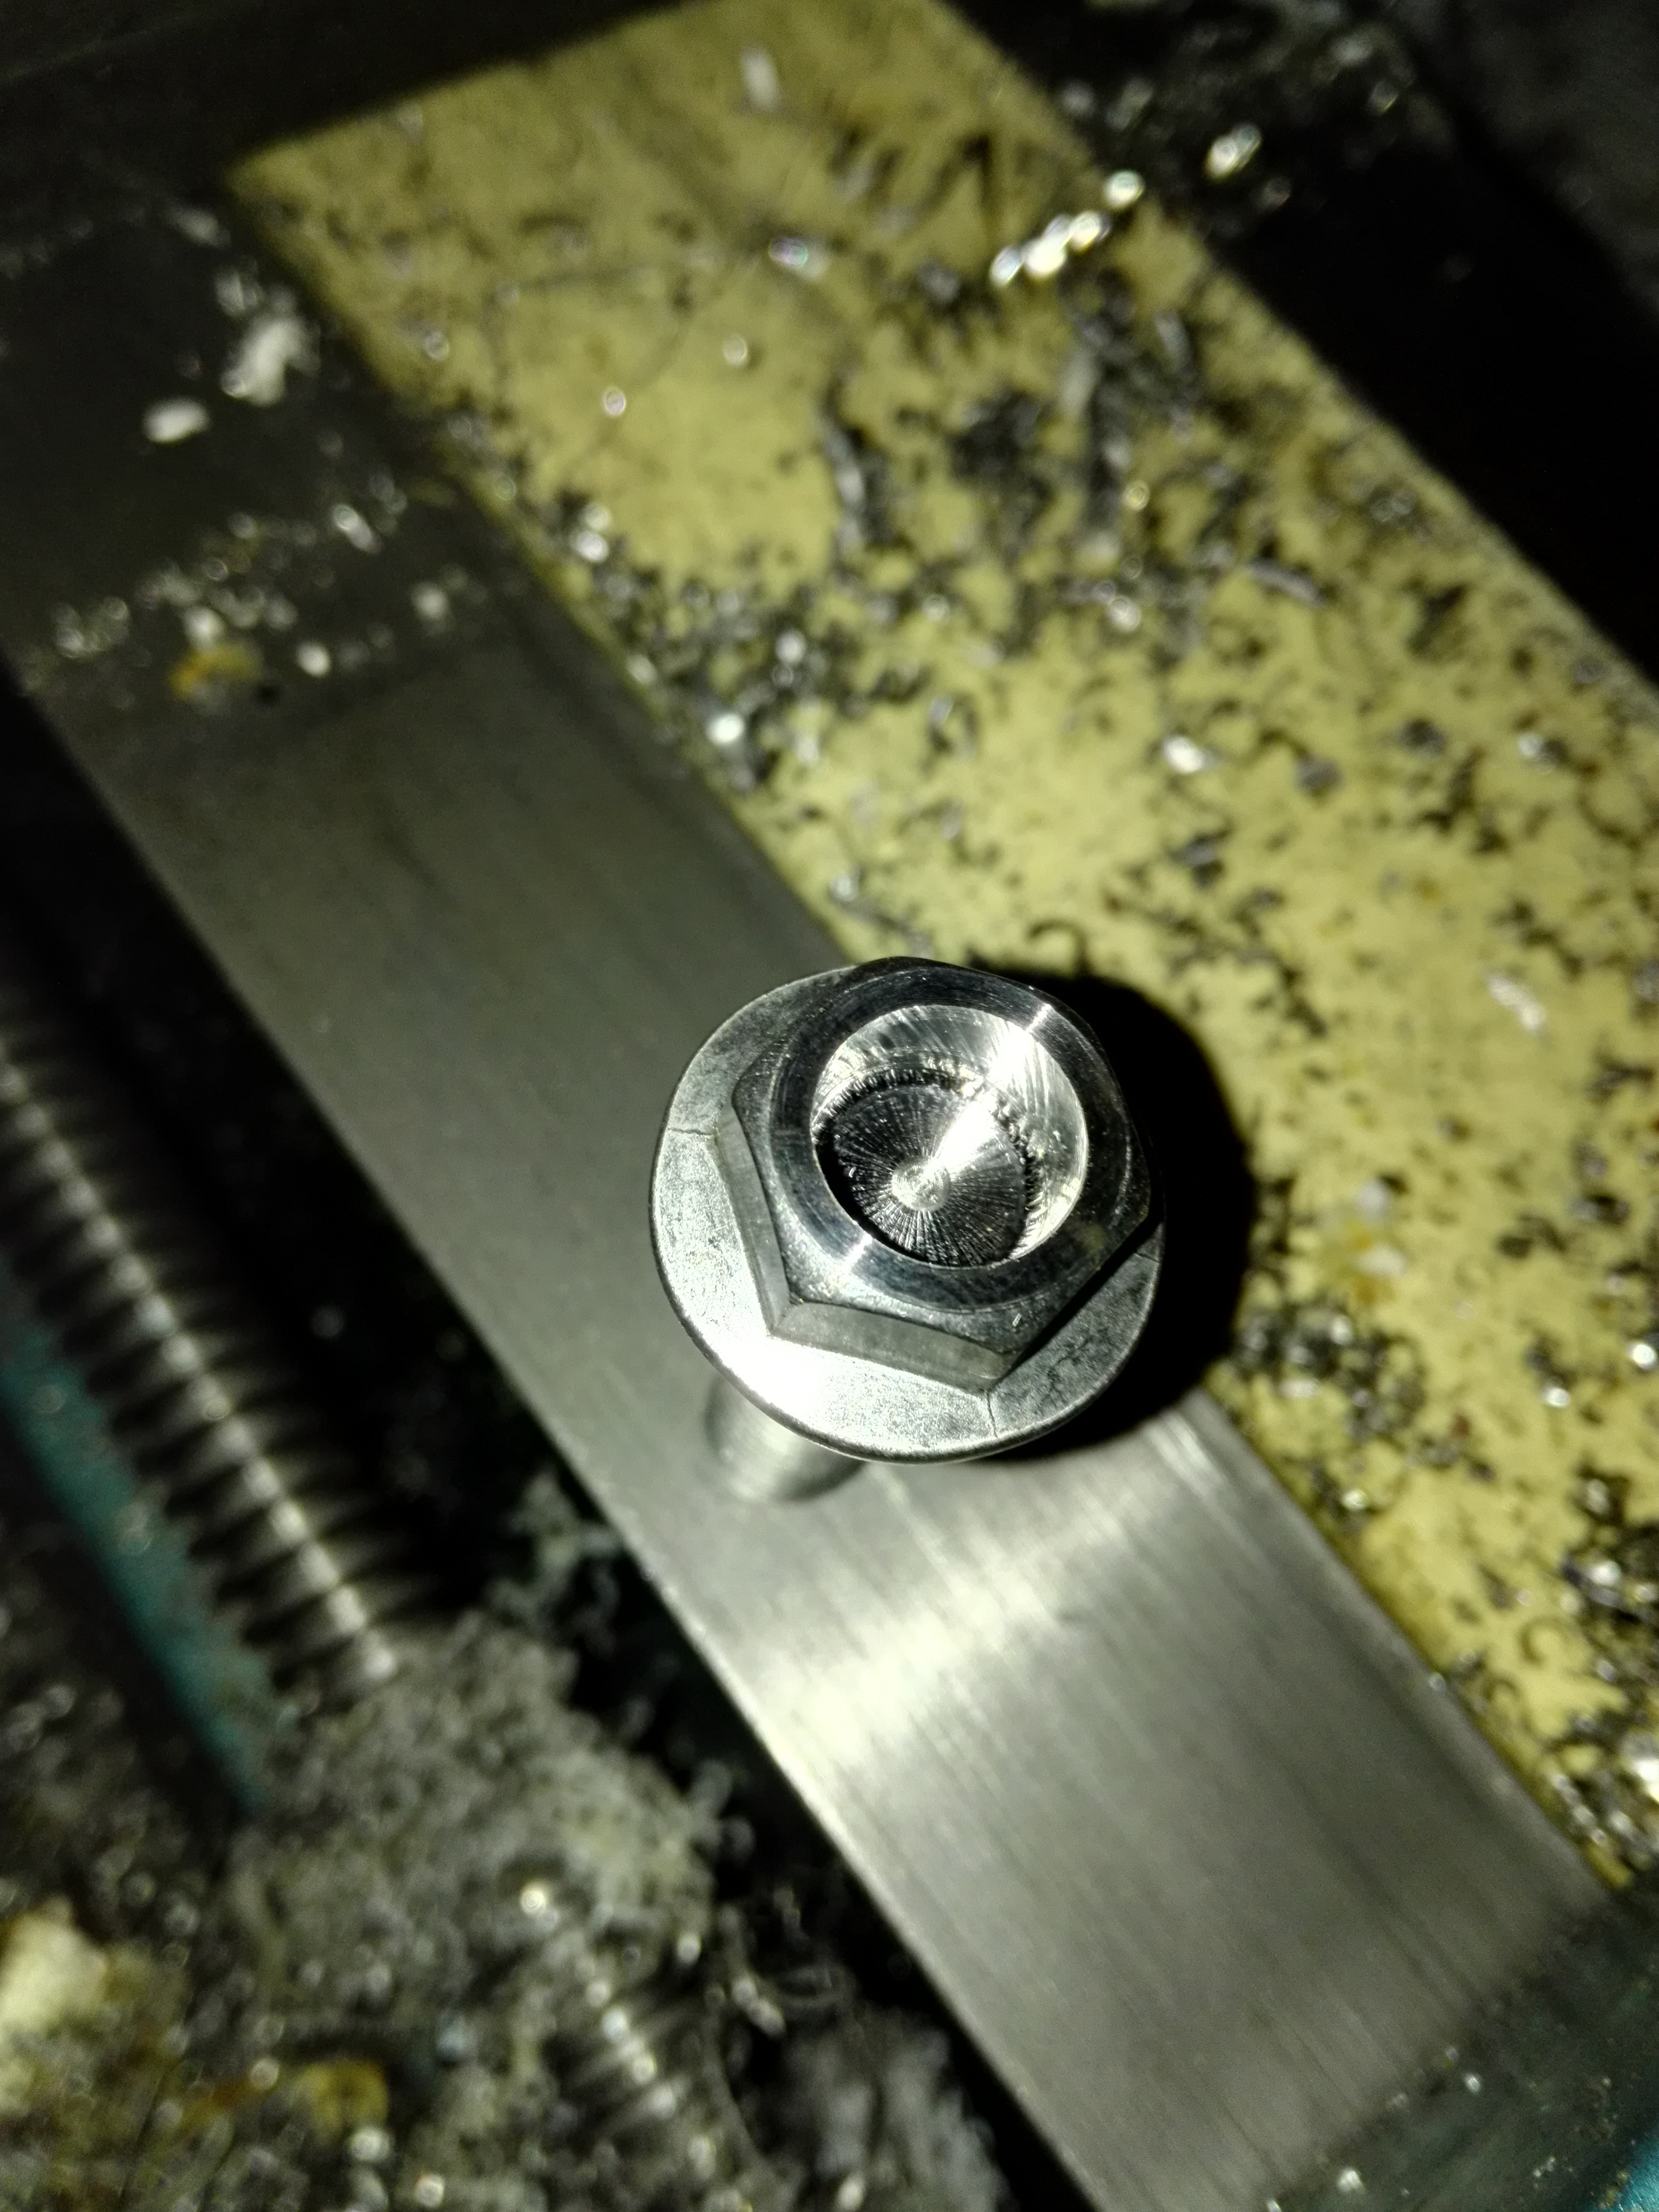
Then I drilled the core out of the heads with an 8mm drill and finished with a 10mm end mill to create a flat bottomed hole. This is mainly to make it easier to drill the holes for the locking wire.
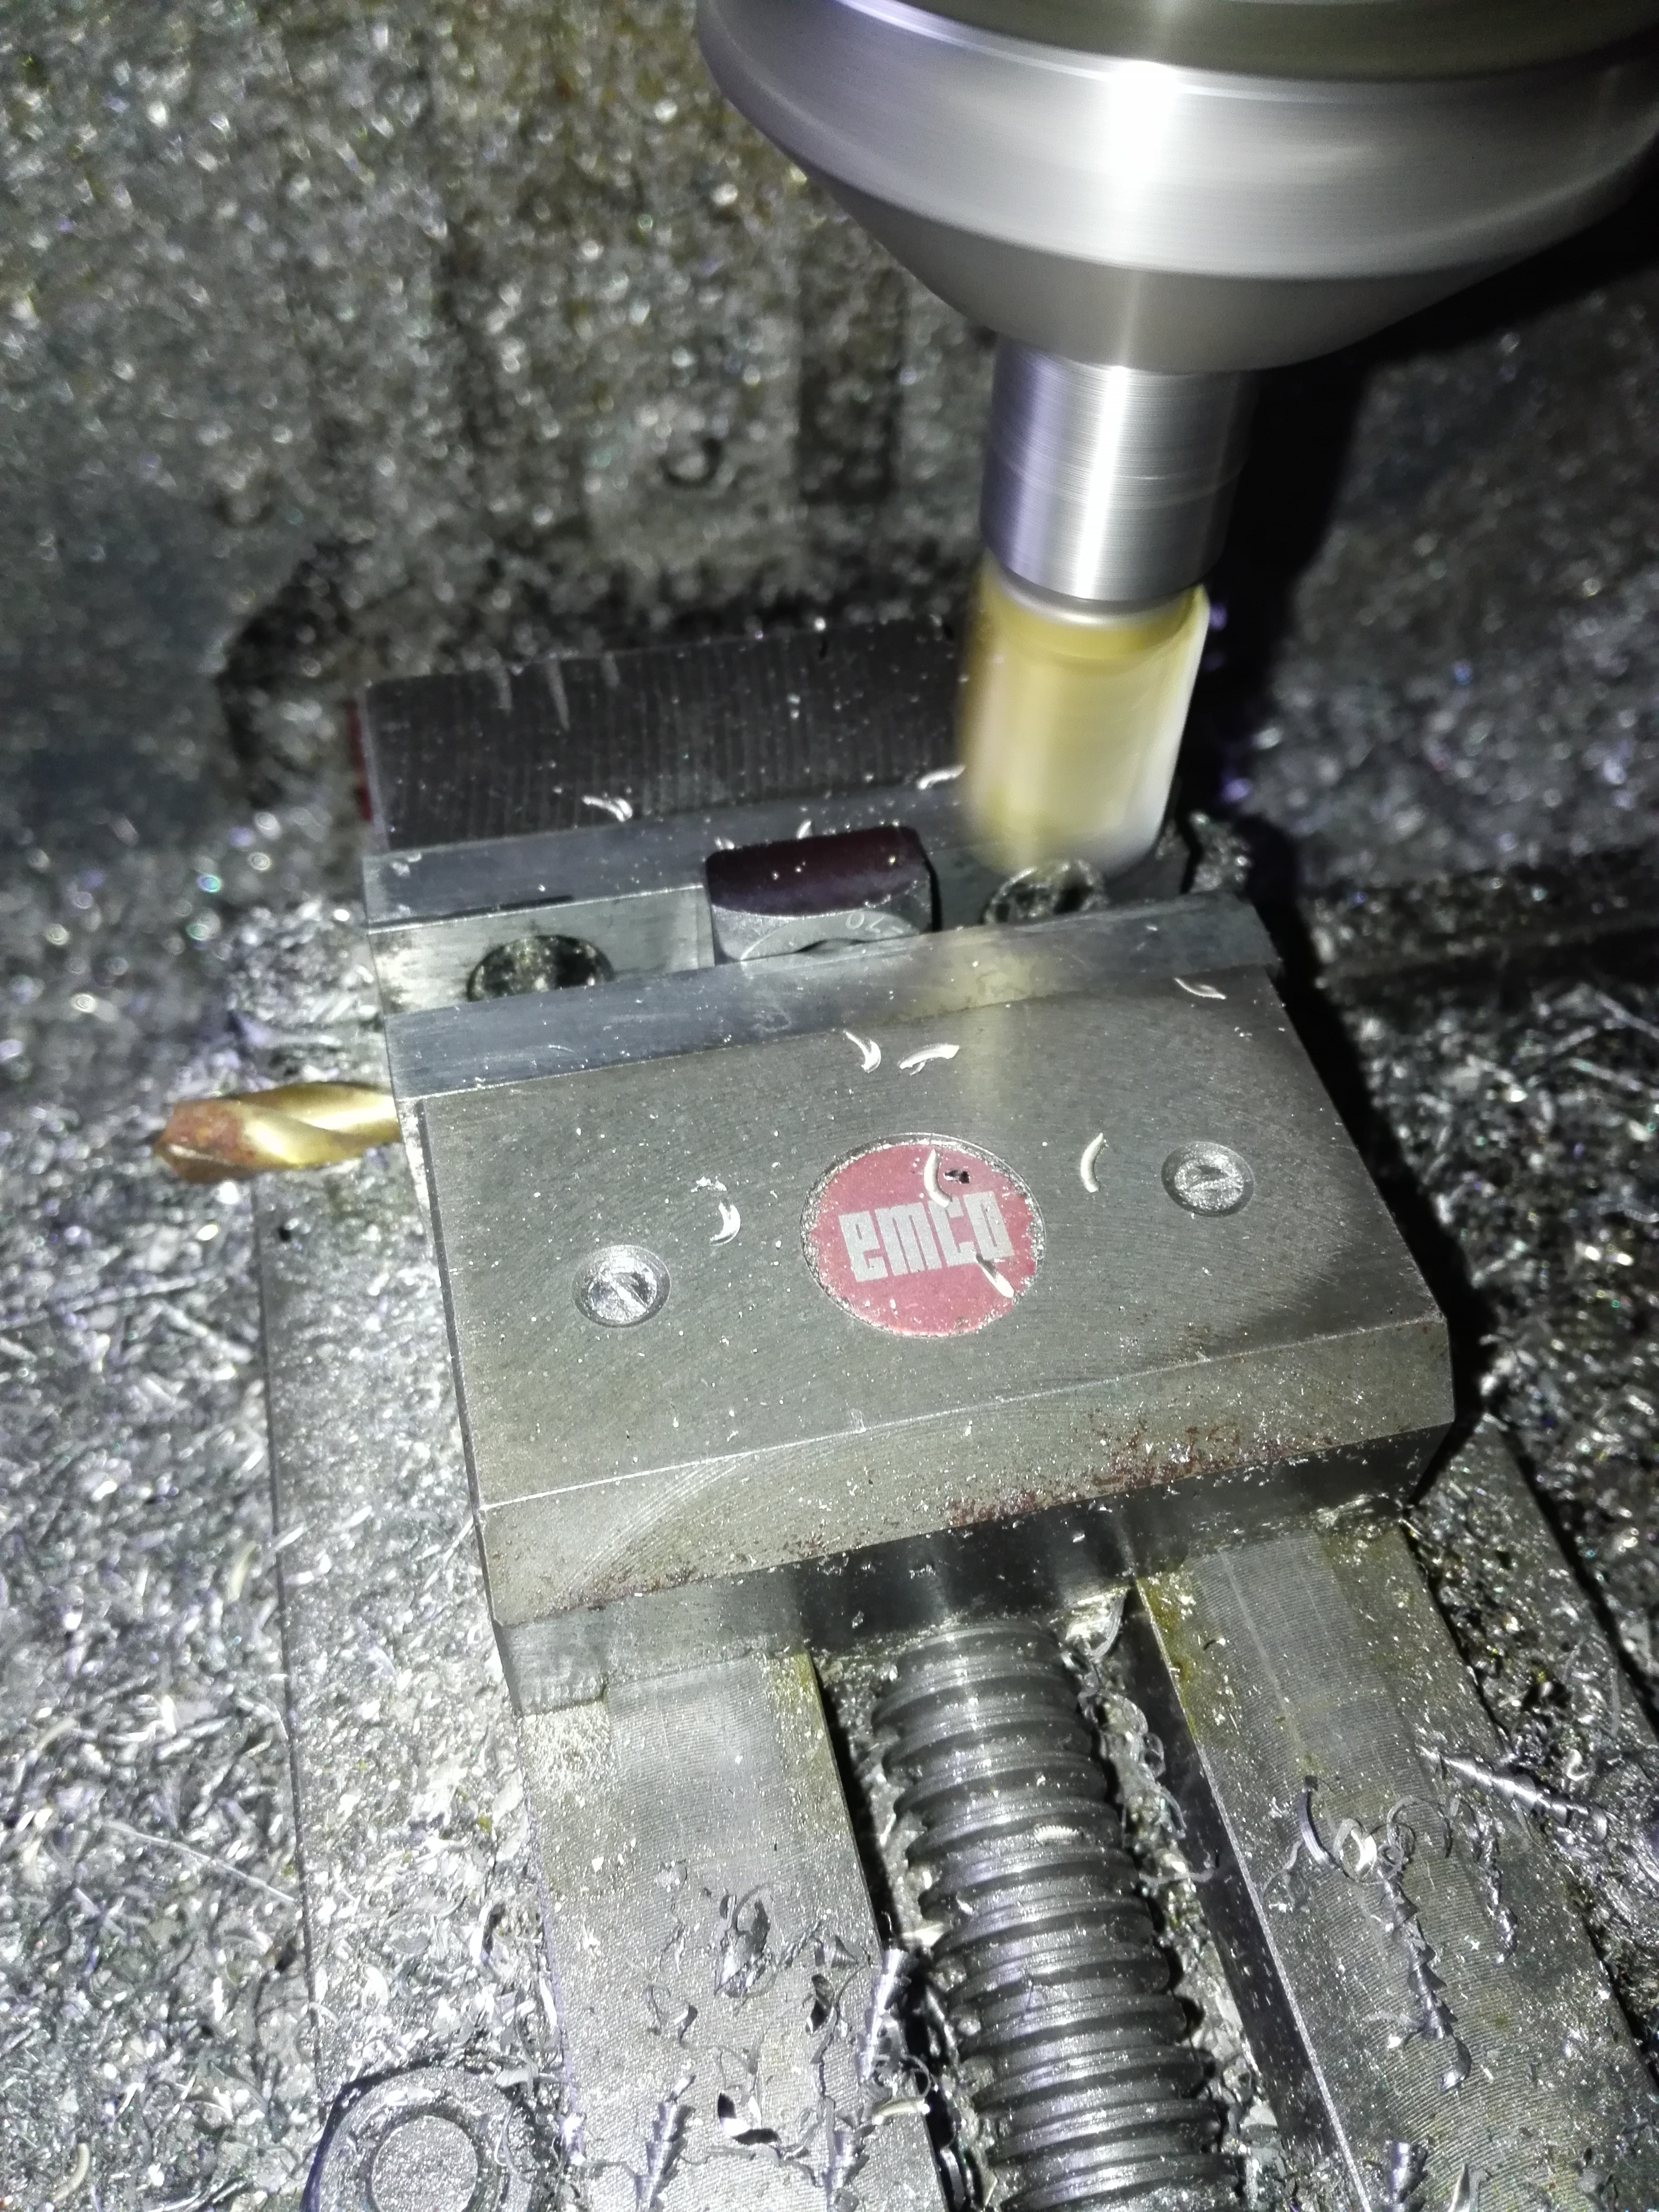
Next they went into the rotary table in the miller for the holes. I was only doing spot drilling to locate the holes to be hand drilled as the holes are quite small and I didn’t want to break any drills. There was so much run-out in the bolt heads that I had to do this manually. If I had programmed this operation the depth would have been allover the place. As it went, most of the holes were quite far off the center.
The bolts are now spot drilled ready to be drilled through.
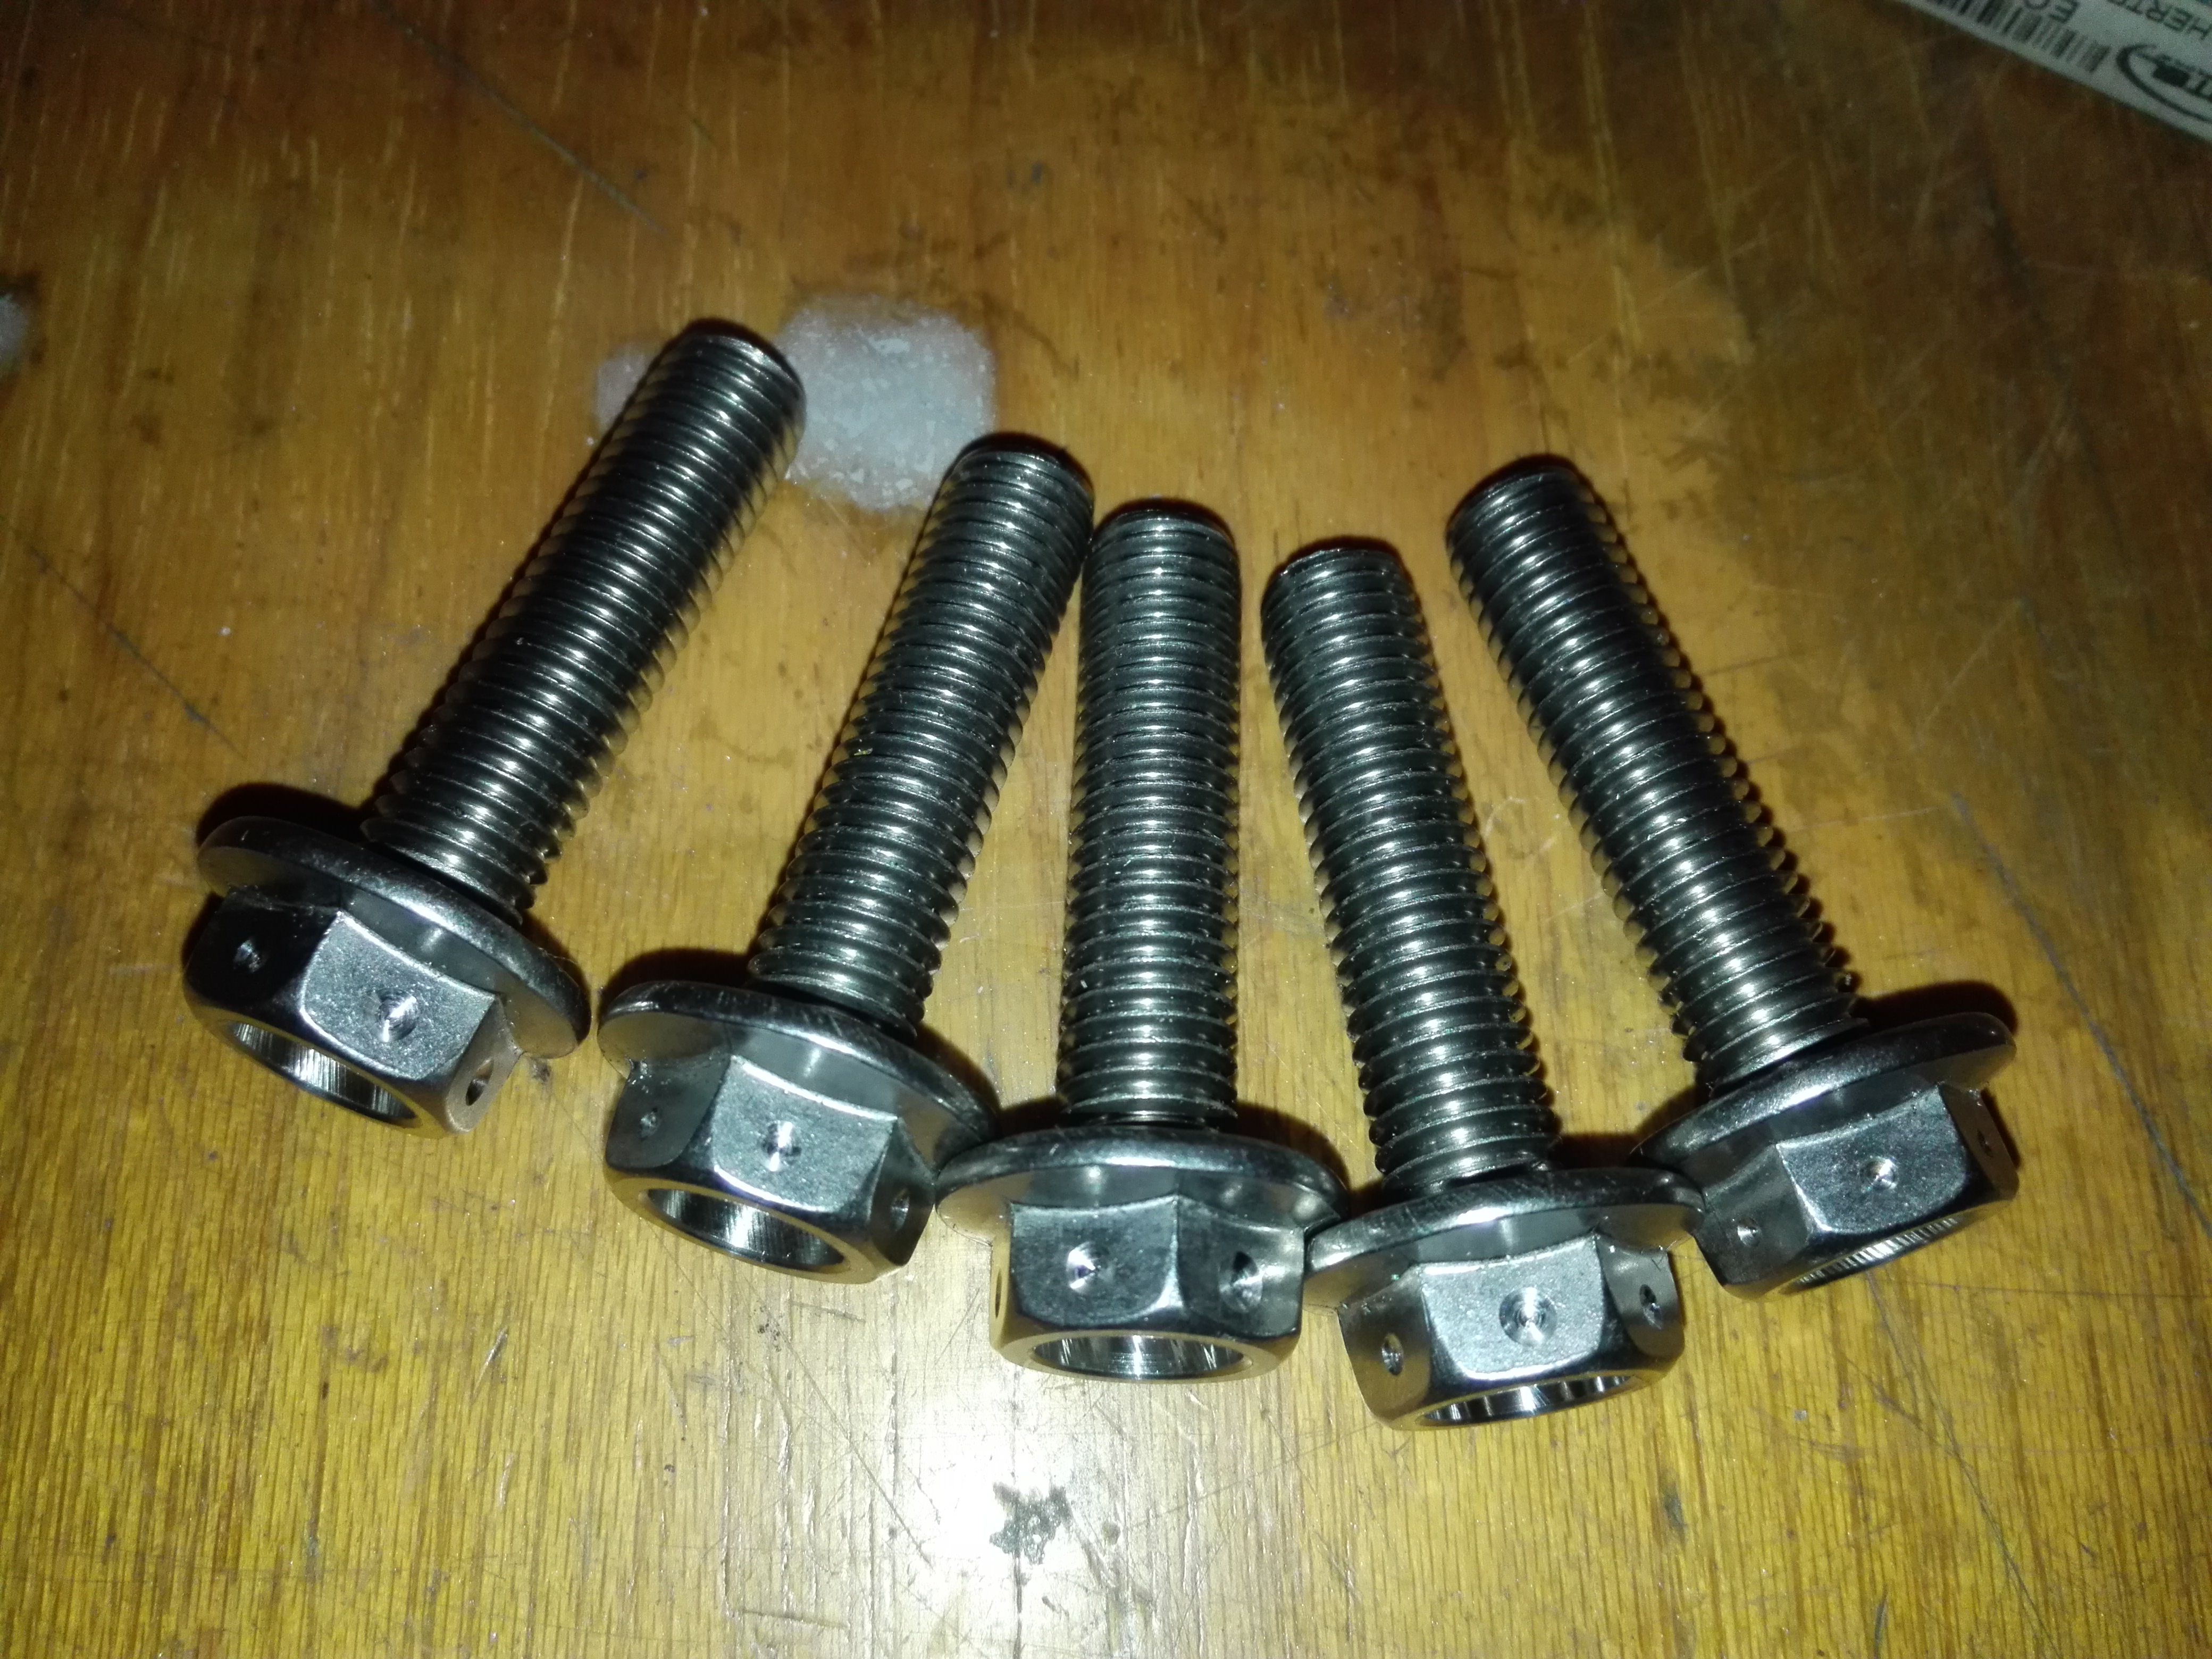
And then all drilled through with their nuts, ready to fit. I gave them a once over with the scotch brite wheel but I didn’t polish them.
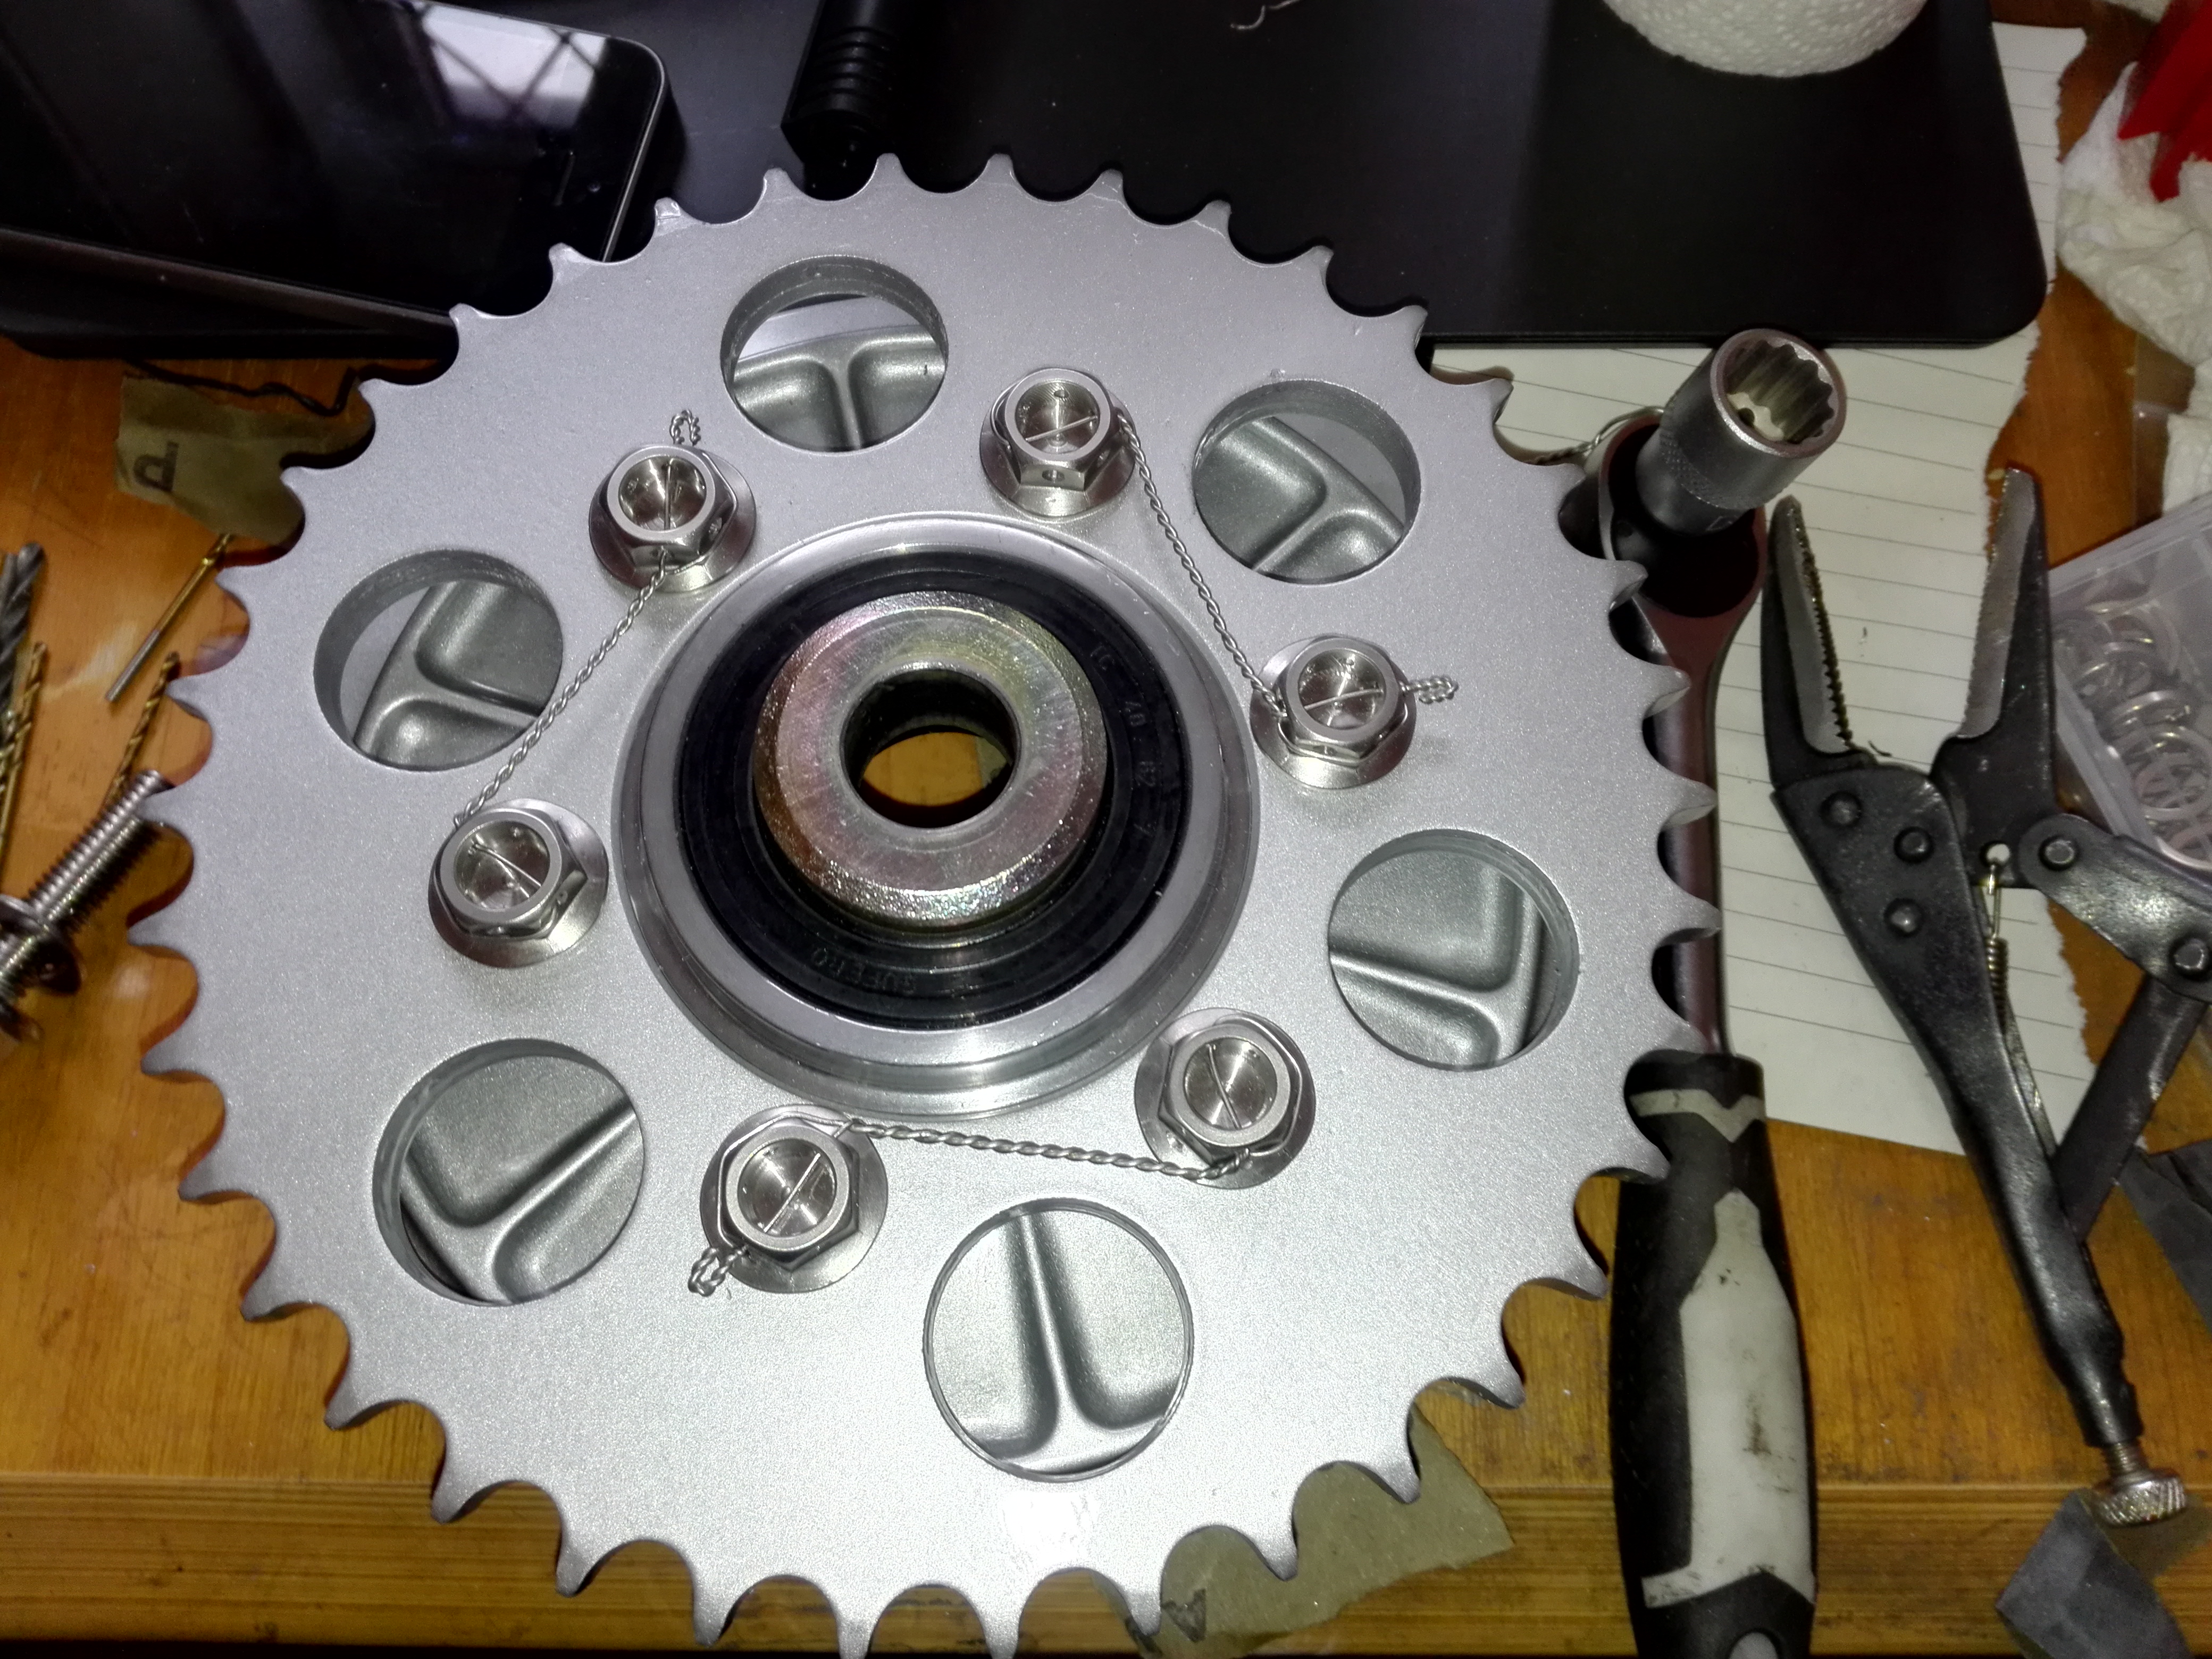
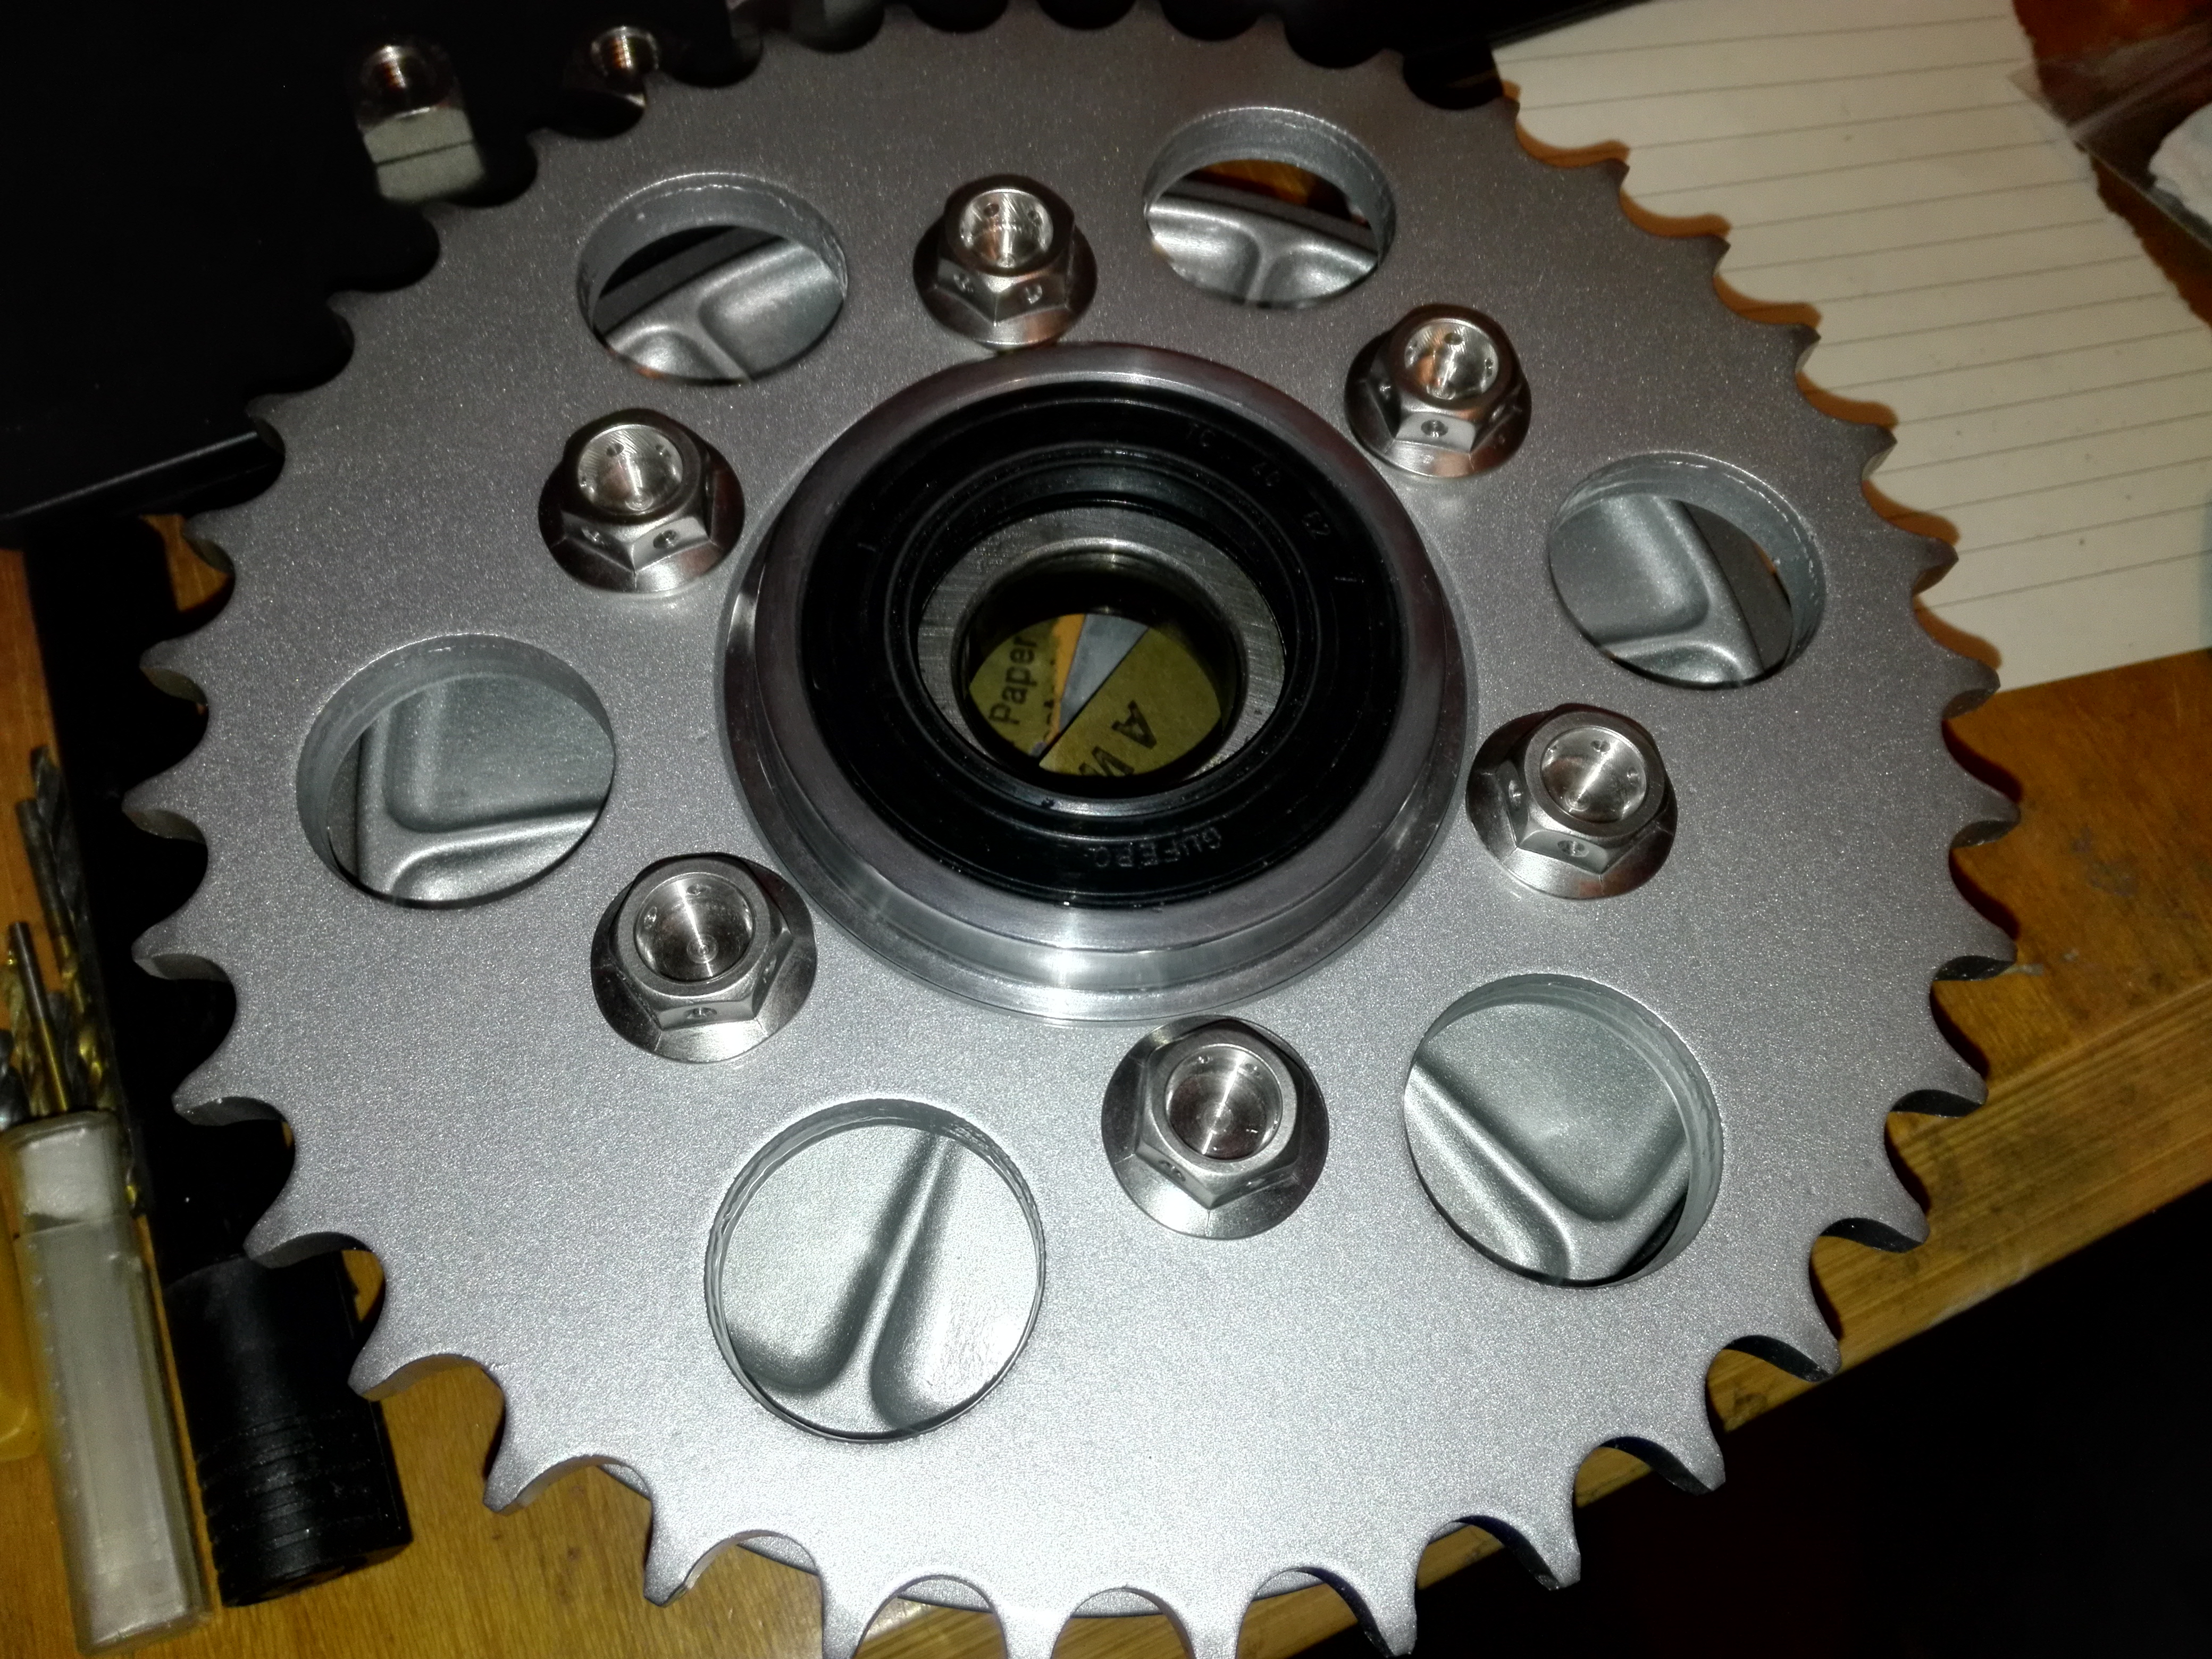
I polished the center of the sprocket carrier and fitted a new seal and then installed the sprocket. Looking good so far. The bearing feels fine so I see no reason to change it.
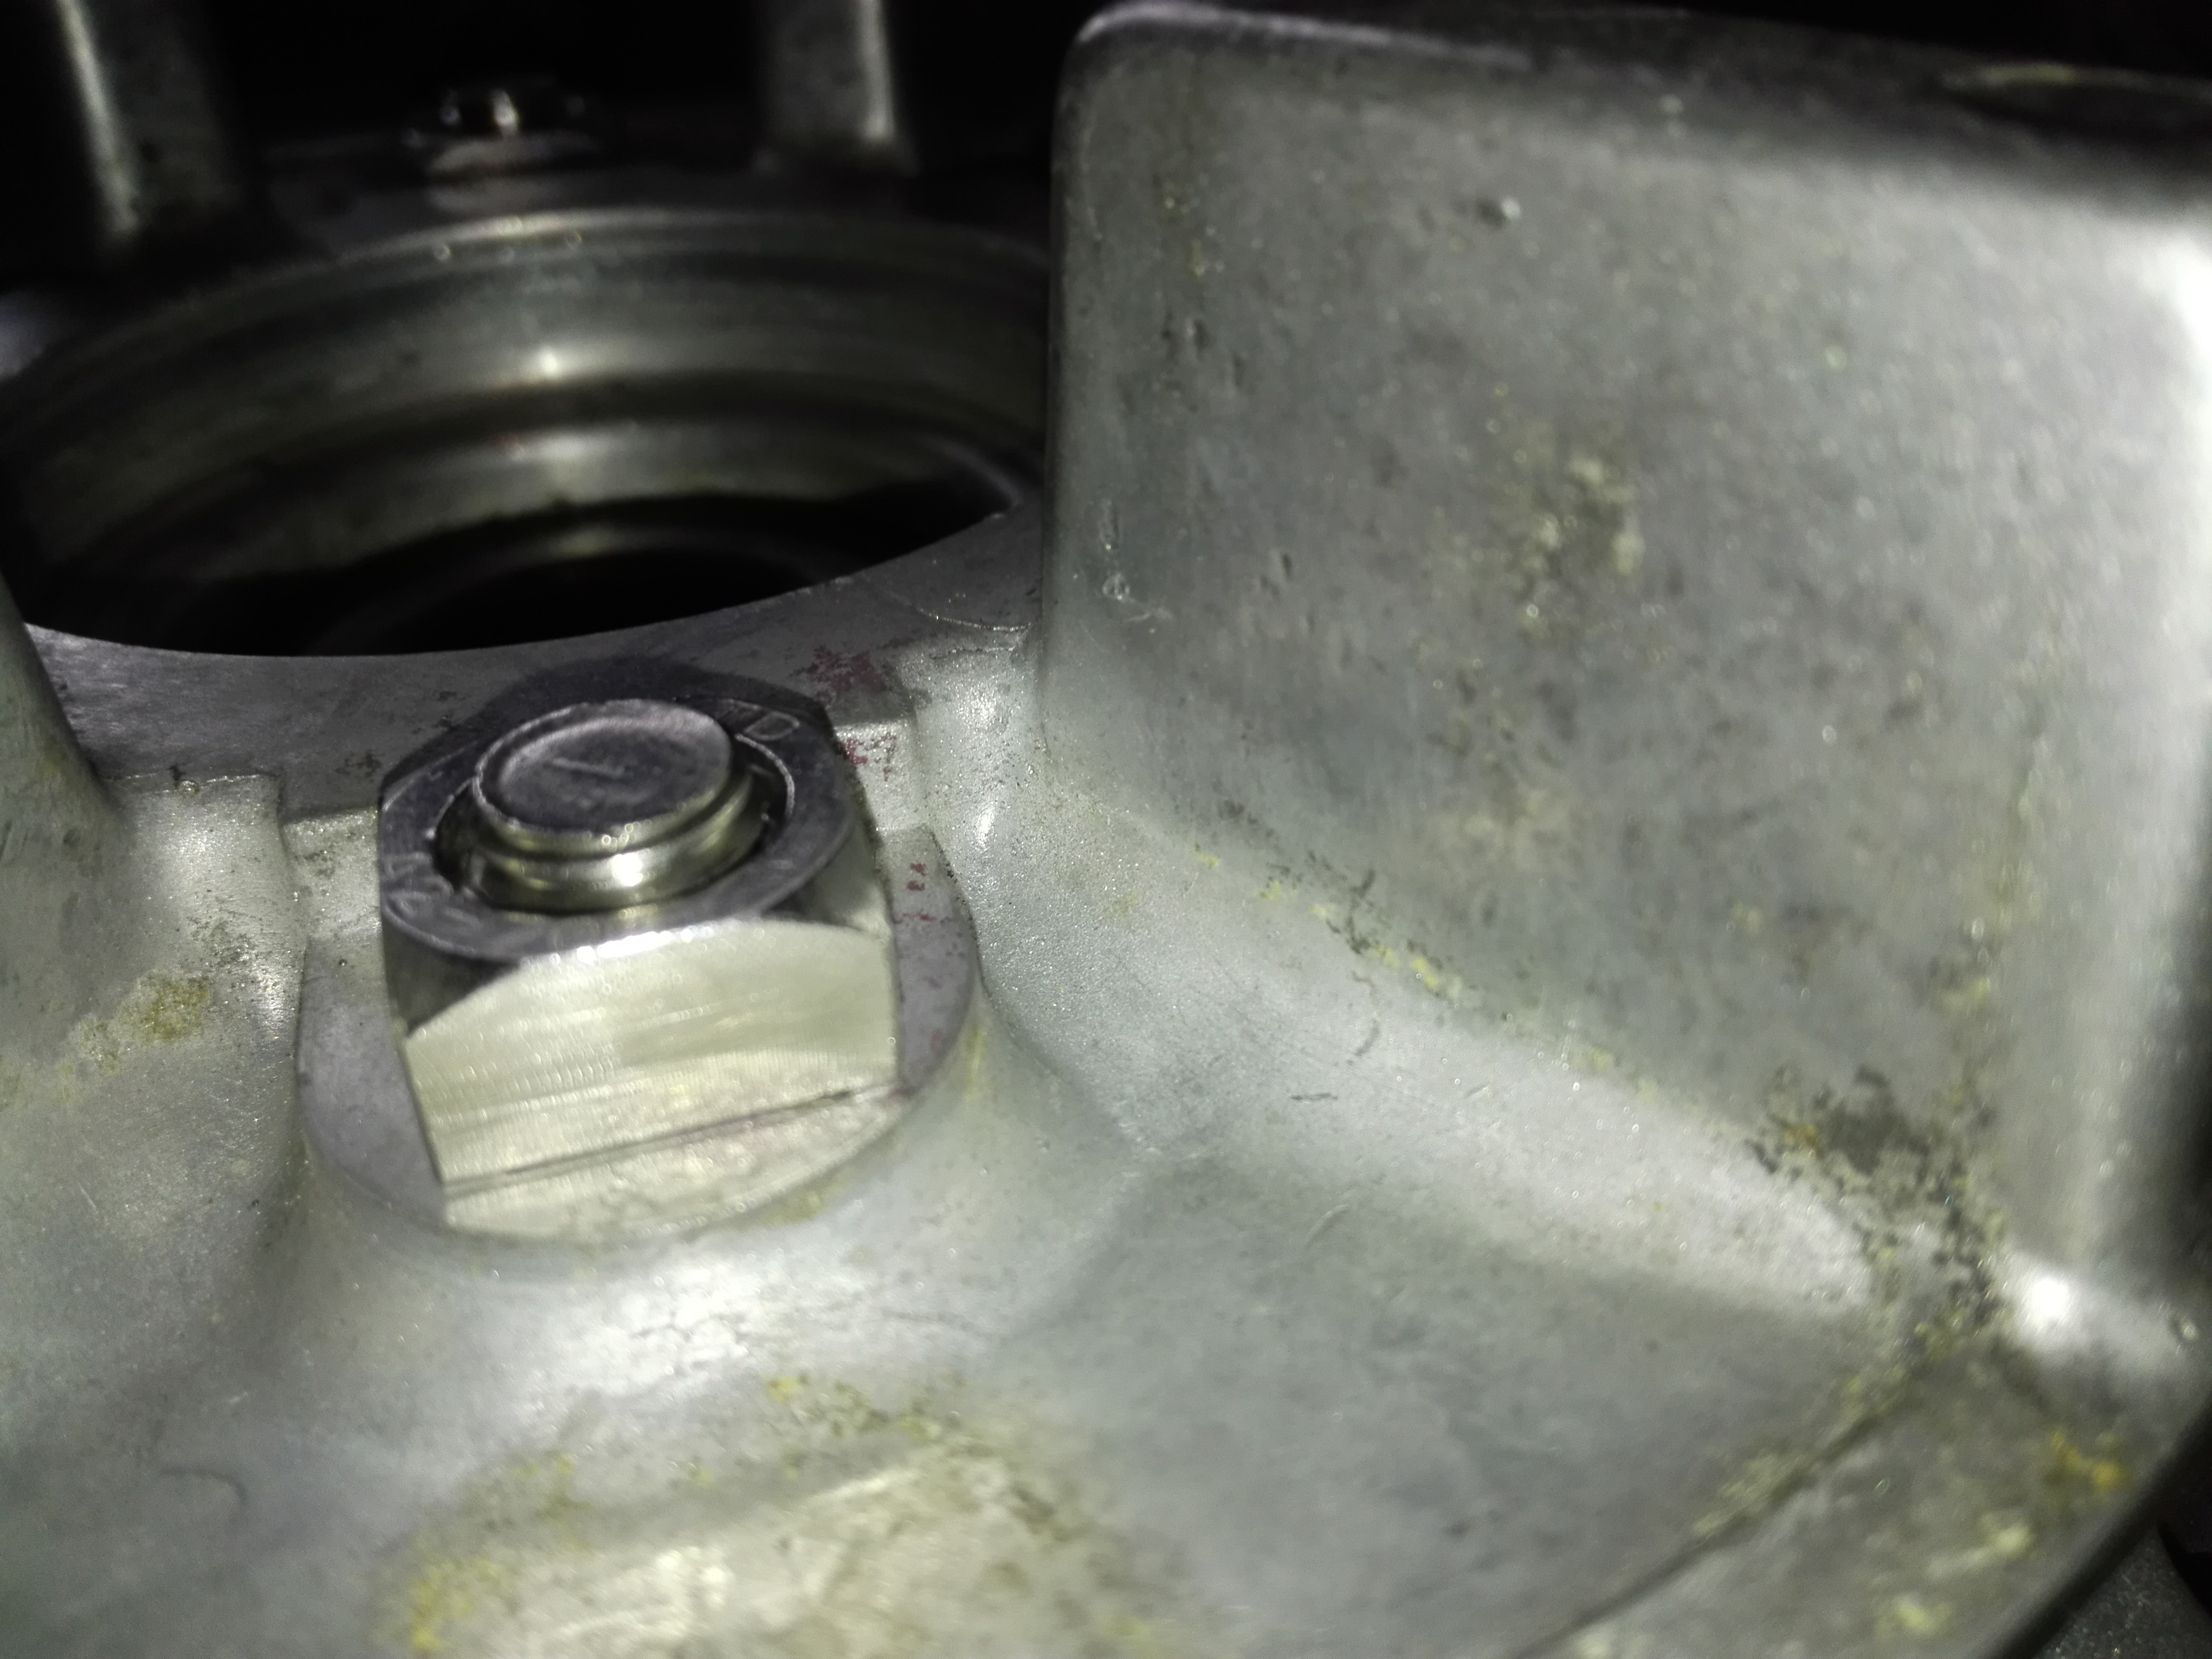
A view from the back showing the new nuts.
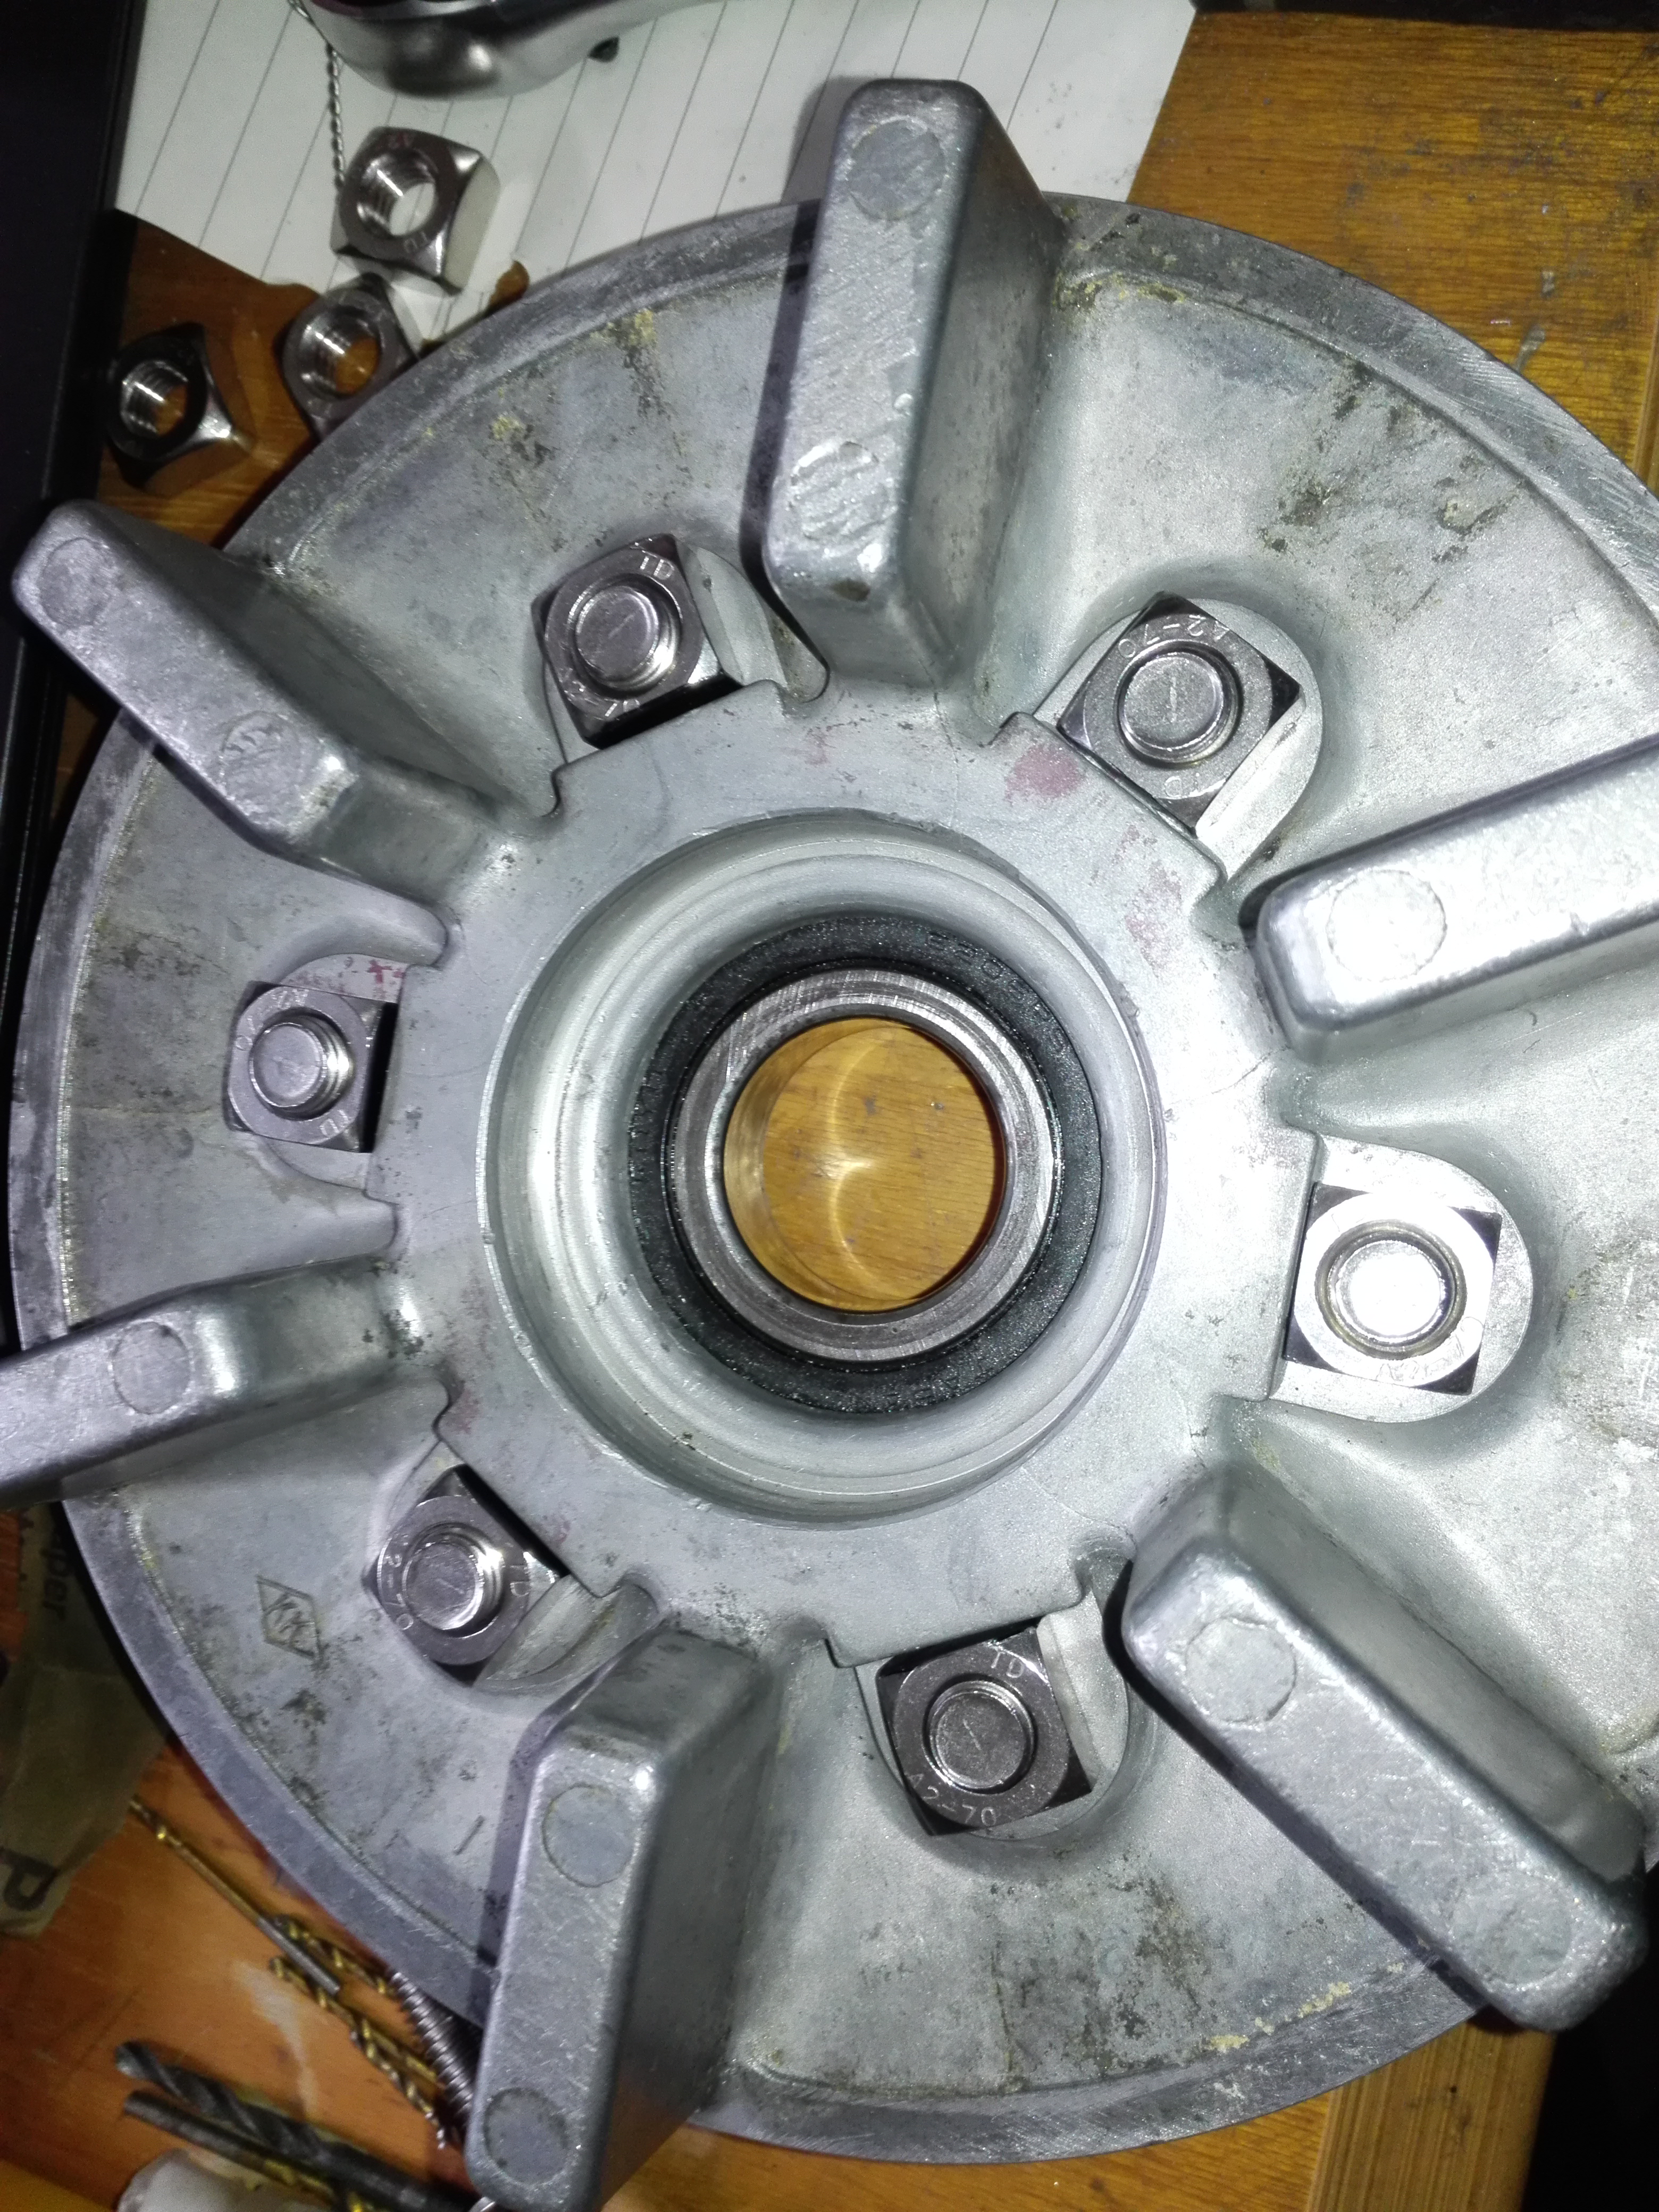
They are a little taller than the original hardware but I’m hoping they will just compress the rubber dampers a bit more.
And finally wired up. I haven’t done much bolt wiring before but I’m happy with the result. Compare this with the way it looked before 🙂