Home › Forums › All Things 750 Twin › Technical Garage › How To Fix It › Carburator Fix – Help! 750 LTD S1 -82
Tagged: intake boots, pilot jet
- This topic has 32 replies, 4 voices, and was last updated 7 years, 2 months ago by
Ankargren.
-
AuthorPosts
-
13th February 2019 at 5:16 pm #24746
 KZCrazyinColoradoParticipant
I needed replacement intake air ducts, because I had one good intake duct and one off of something else. As I’m sure the rest of you 750 people know, the ducts are very hard to come by. Frankly, I wasn’t all that pleased with the design anyway, so I stopped hunting for one and came up with my own.
<div id=”attachment_280″ class=”wp-caption aligncenter”>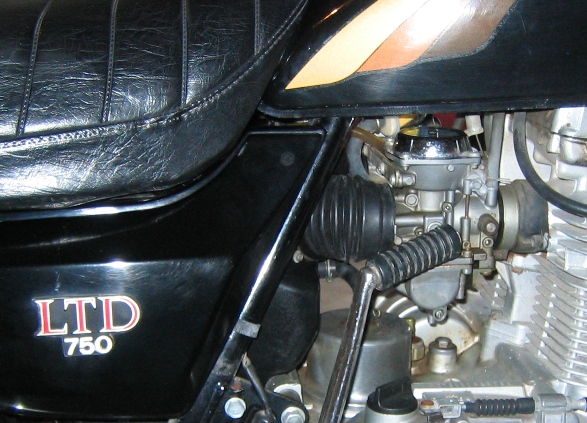 Moog mod, side view, on bike</p>
” data-medium-file=”http://kz750twins.com/wp-content/uploads/2010/02/moog-300×216.jpg” data-large-file=”http://kz750twins.com/wp-content/uploads/2010/02/moog.jpg” />
<p class=”wp-caption-text”>Moog mod, side view, on bike</p></div>
Here’s what I used: Rack and pinion bellows for a Prizm. You can buy them right online from O’Reilly….MOOG – R/P BELLOWS (93-83 LEXUS/TOYOTA)
Item No: K9321
$26.99 per Box (at this writing)
<div id=”attachment_281″ class=”wp-caption aligncenter”>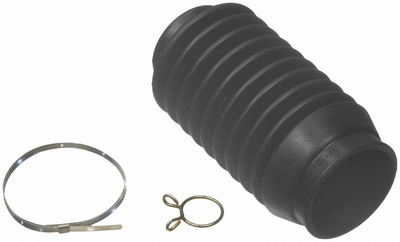 Moog R/P Bellows</p>
” data-medium-file=”http://kz750twins.com/wp-content/uploads/2010/02/oreilly_moog-300×181.jpg” data-large-file=”http://kz750twins.com/wp-content/uploads/2010/02/oreilly_moog.jpg” />
<p class=”wp-caption-text”>Moog R/P Bellows</p></div>
Bought two new ones and cut them to fit. Works great. Has some give, so it will handle the vibration. Much easier to connect to the carbs, and seals better than the originals I think, too. I haven’t put the carb clamps on yet because I don’t have any. I’m working on that next but it’s such a nice snug fit I almost don’t think it’s necessary. It’s automotive grade rubber so it should be okay with the heat.Did all the work on it while the air box was still in the frame too which was no small feat I might add. Still retained all the original components (except the ducts).
Here’s a shot of the business end.
<div id=”attachment_282″ class=”wp-caption aligncenter”>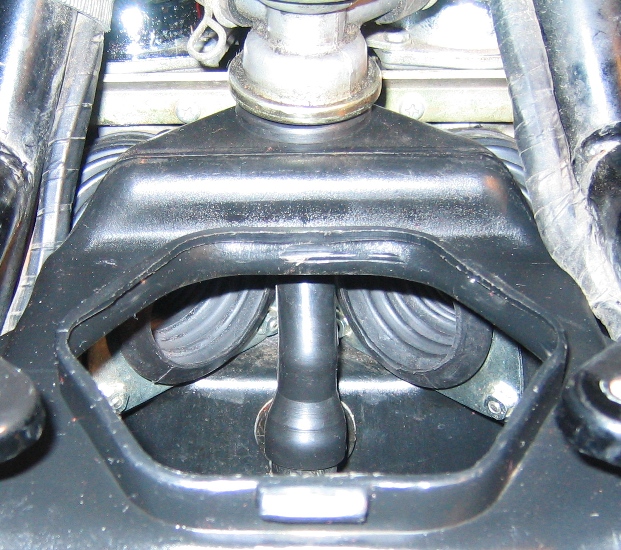 Moog mod, inside airbox view</p>
” data-medium-file=”http://kz750twins.com/wp-content/uploads/2010/02/moog1y-300×265.jpg” data-large-file=”http://kz750twins.com/wp-content/uploads/2010/02/moog1y.jpg” />
<p class=”wp-caption-text”>Moog mod, inside airbox view</p></div>
Here’s a shot showing the bellows are actually sandwiched in between the clamps. The seal is impervious to water. All the air must pass through the air box opening and the filter.
<div id=”attachment_283″ class=”wp-caption aligncenter”>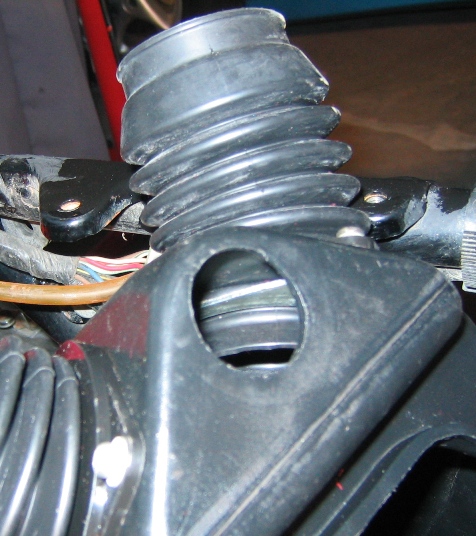 Moog mod, bellows-clamp view</p>
” data-medium-file=”http://kz750twins.com/wp-content/uploads/2010/02/moog4-266×300.jpg” data-large-file=”http://kz750twins.com/wp-content/uploads/2010/02/moog4.jpg” />
<p class=”wp-caption-text”>Moog mod, bellows-clamp view</p></div>
I did this on my 1982 CSR and it worked great. It is available at automotive part stores.
<div id=”shootingstar-post-nav” class=”navigation” role=”navigation”>
<div class=”nav-wrapper”></div>
</div>25th February 2019 at 10:41 pm #24805Ankargren
ParticipantHi Guys and thanks for this tip, I will try it if I can’t get the original ones to fit properly. As said before the DOT3 fluid made them much better and I’ve let them dry out for a month with good result, so let’s see, if not I will try out the automotive ones (looks good in my opinion).
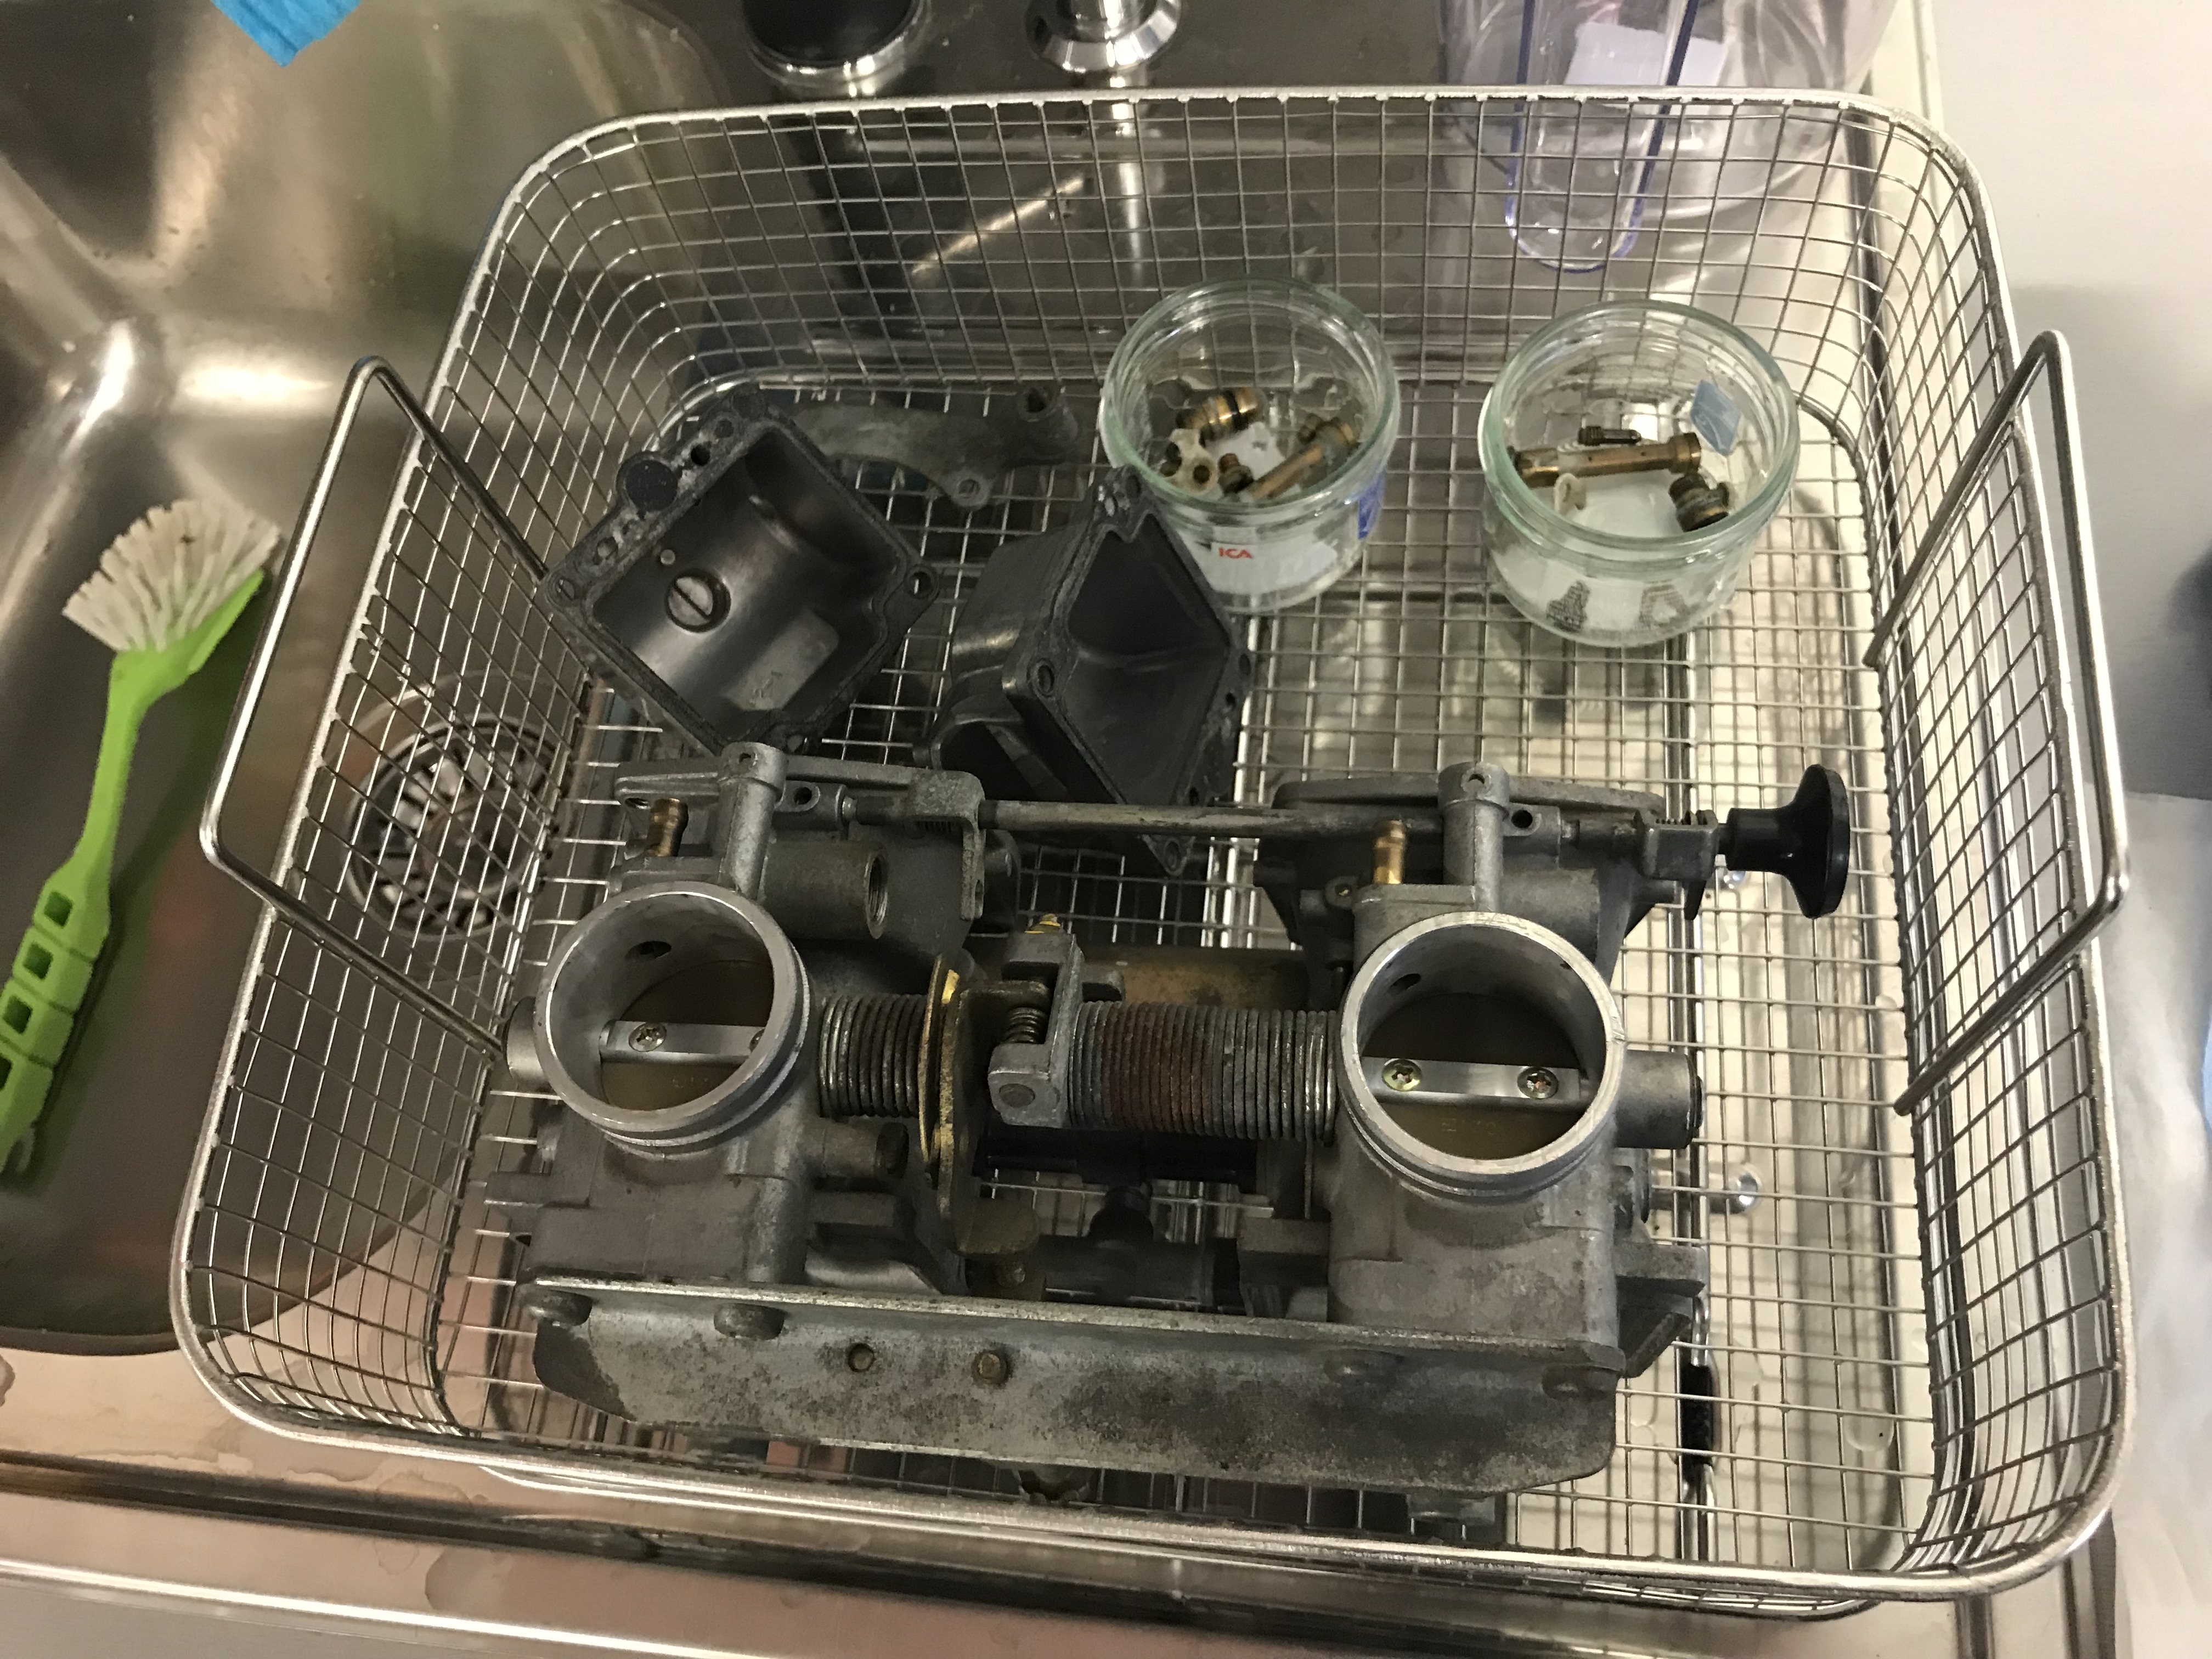
I bought an ultrasonic washer and did the carburetors this weekend, see below.
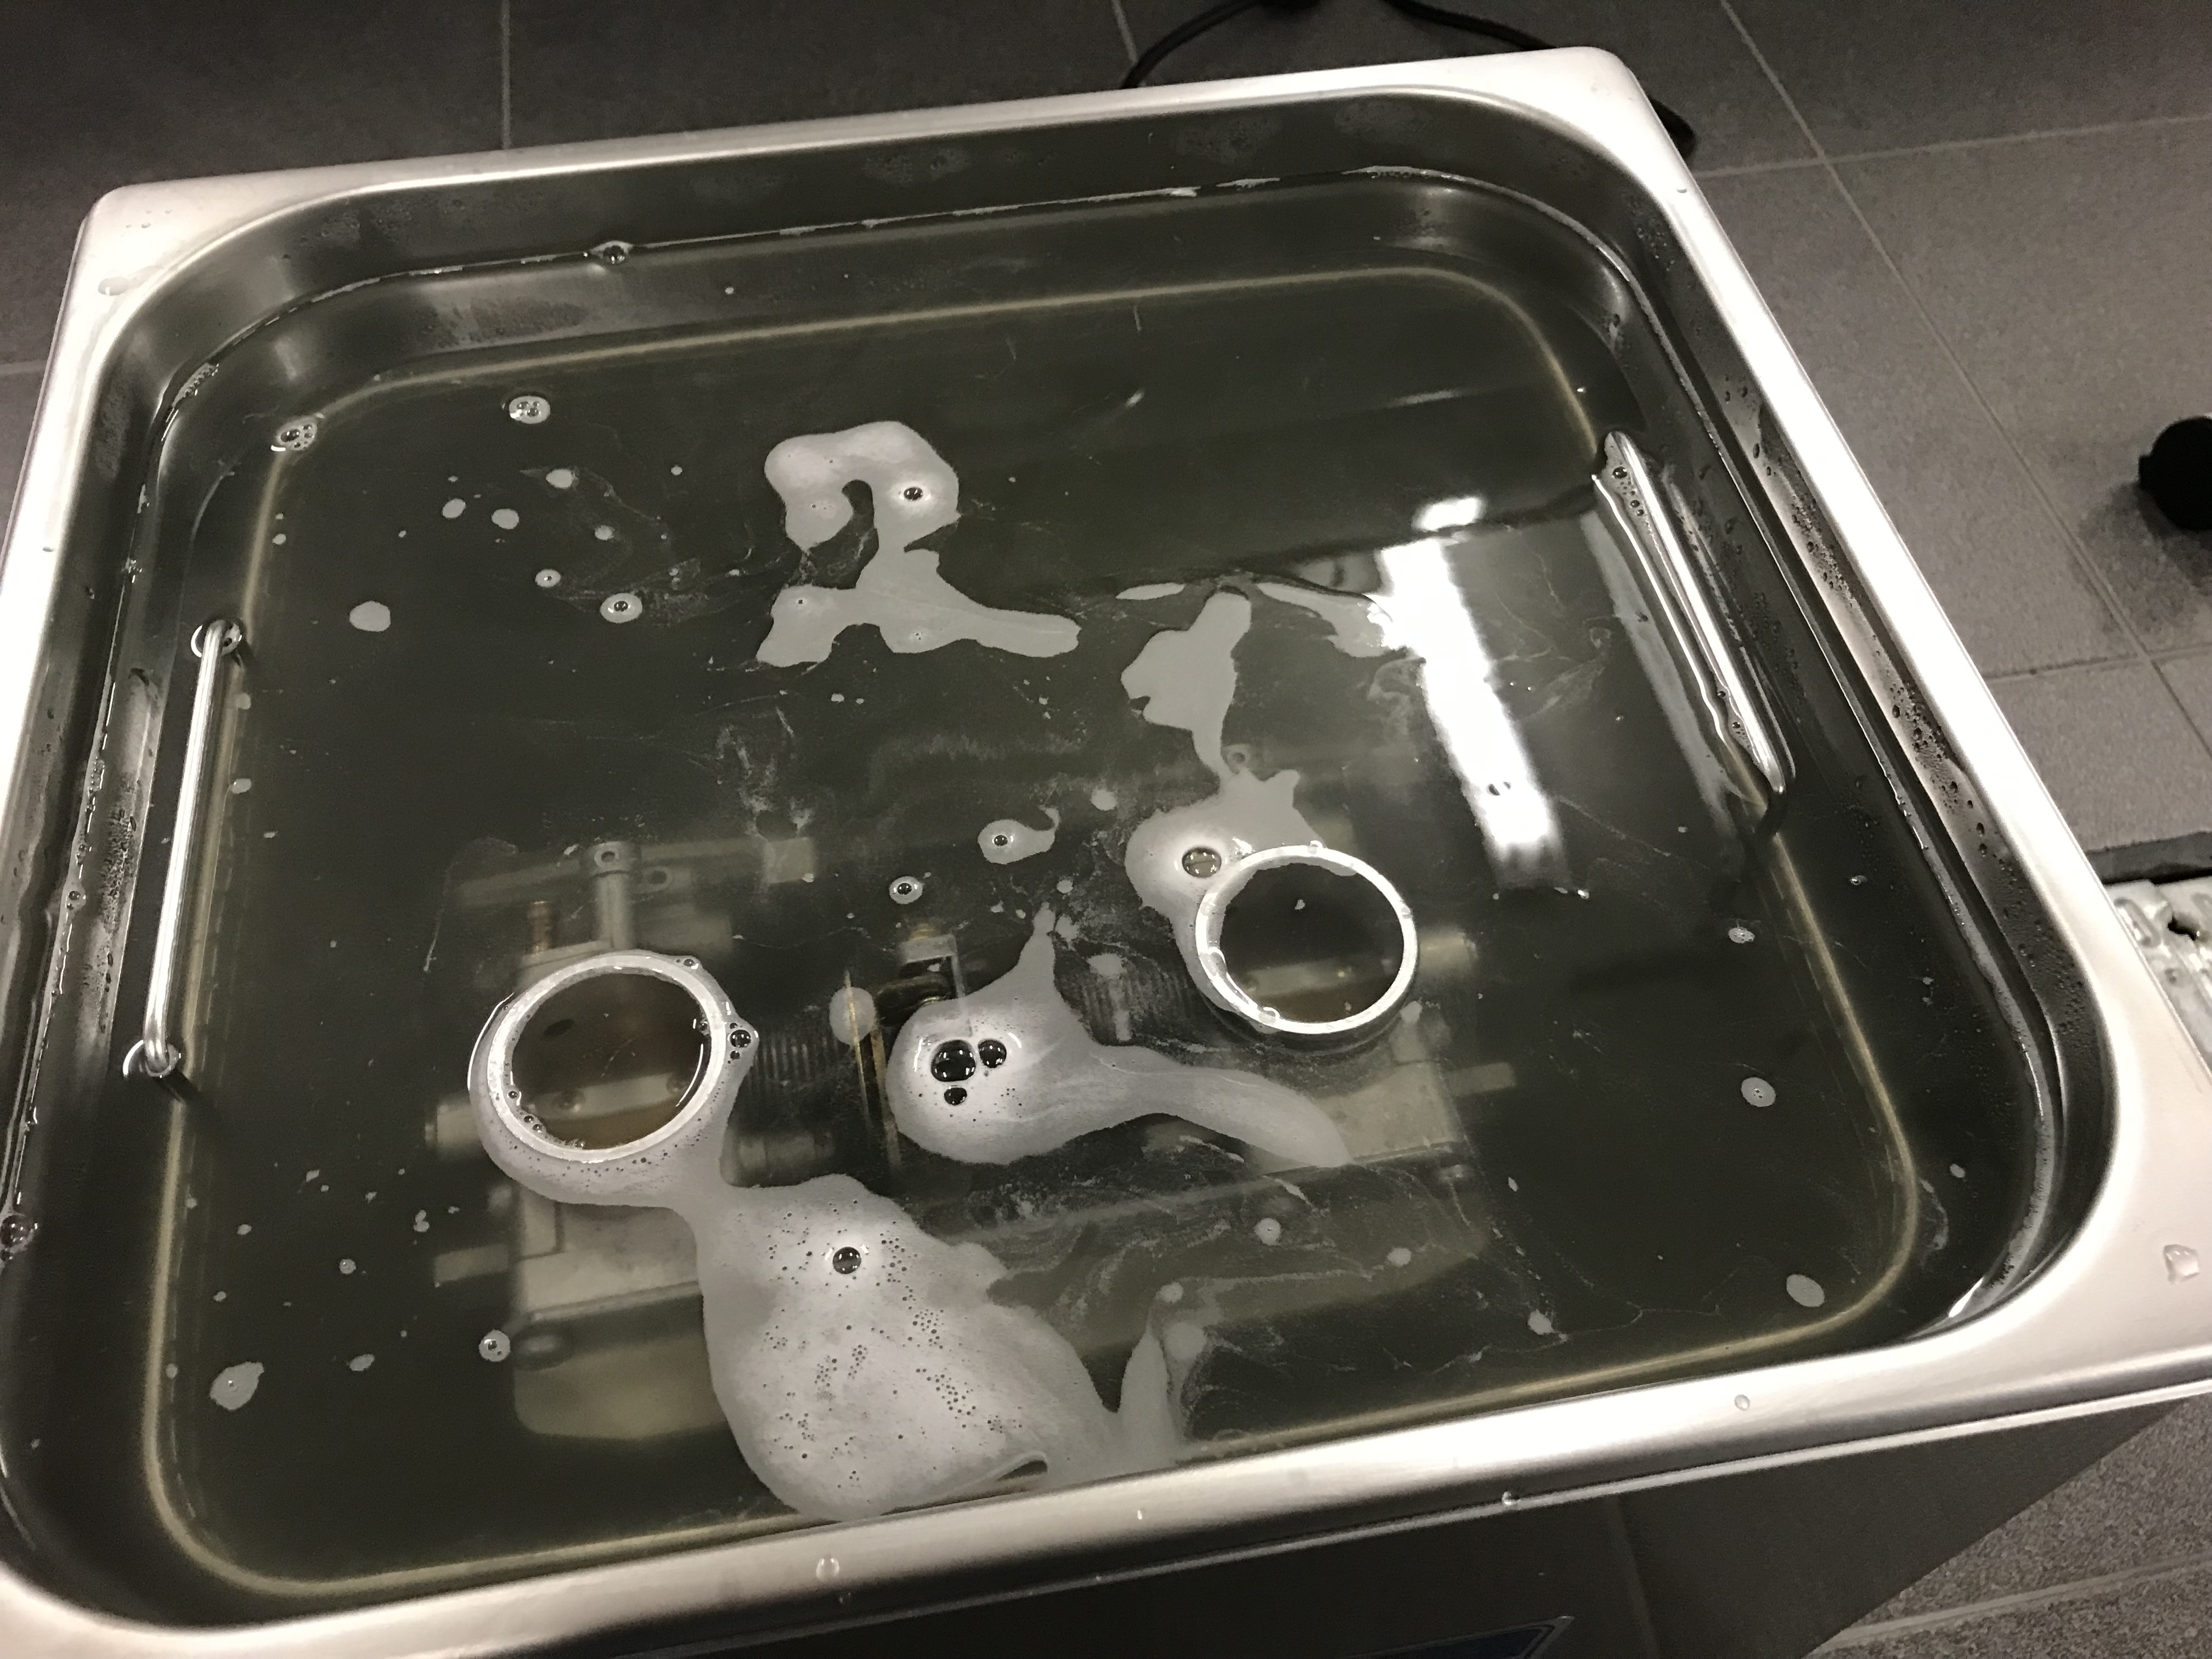
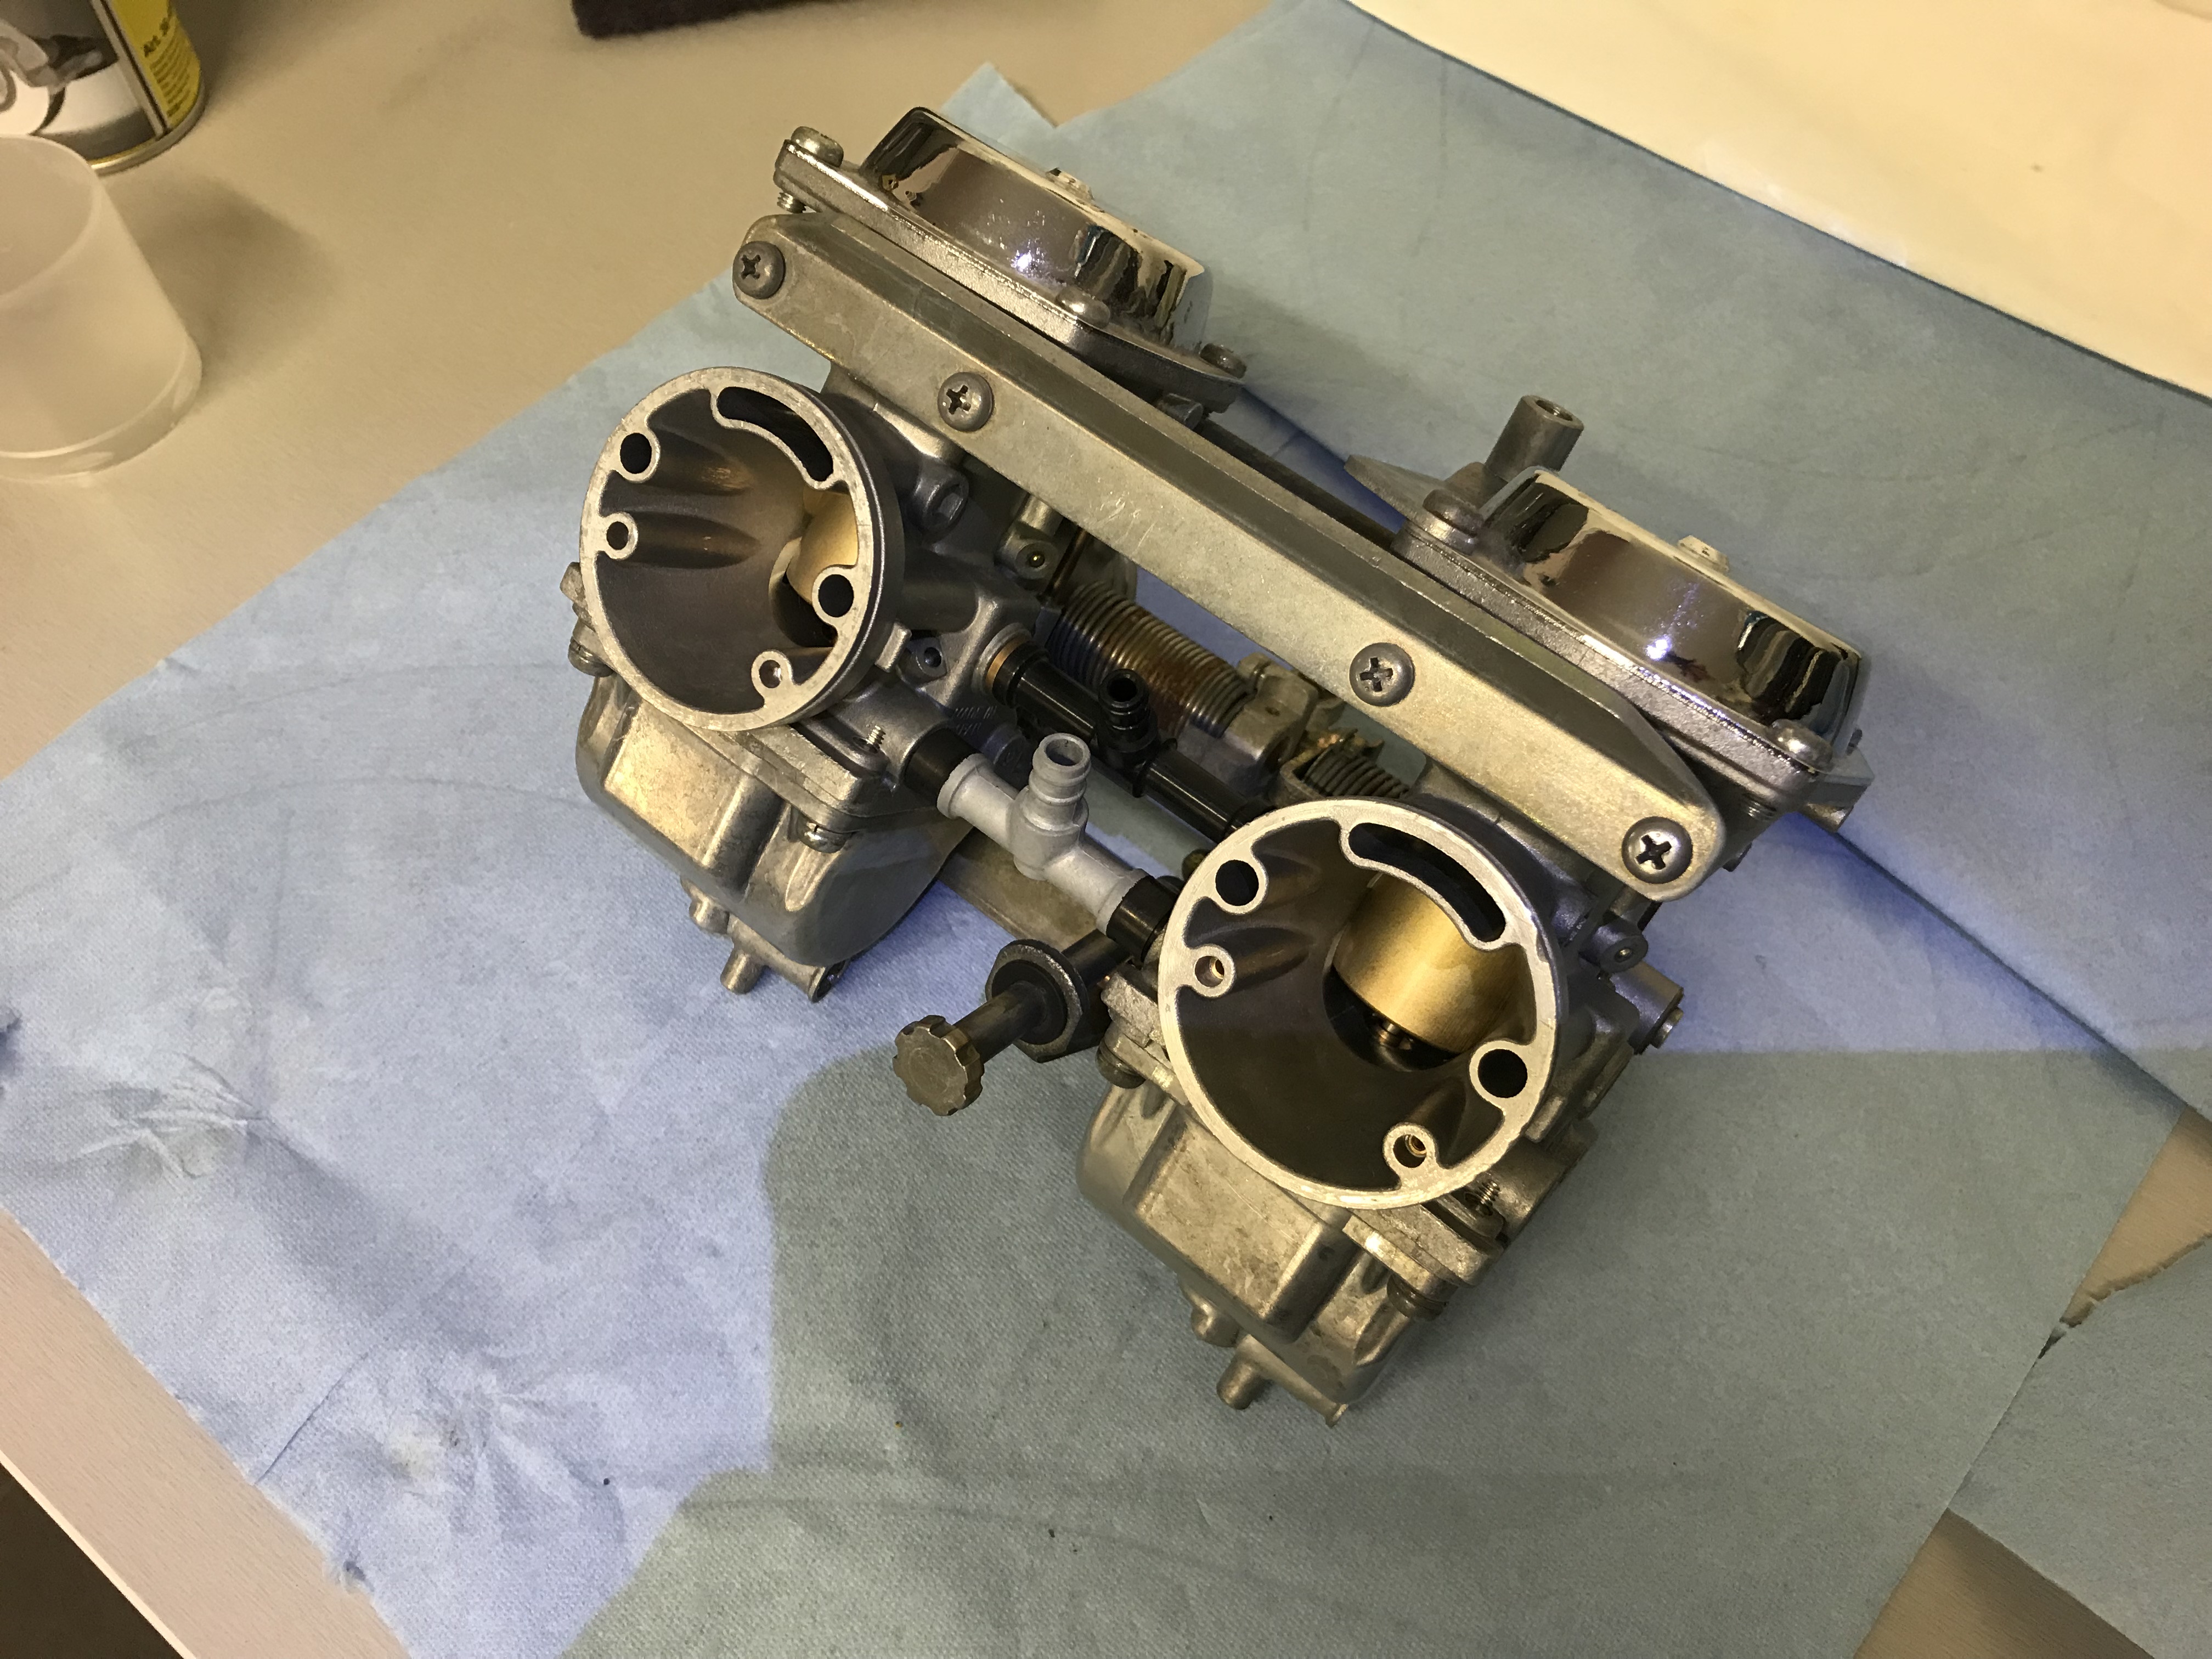
After wash installed everything back together with the new diaphragms. Next step to but them back on the bike and test.
Two questions came to my mind when putting things together;
- The fuel mixture screw, what is the original setting or the base setting to start with?
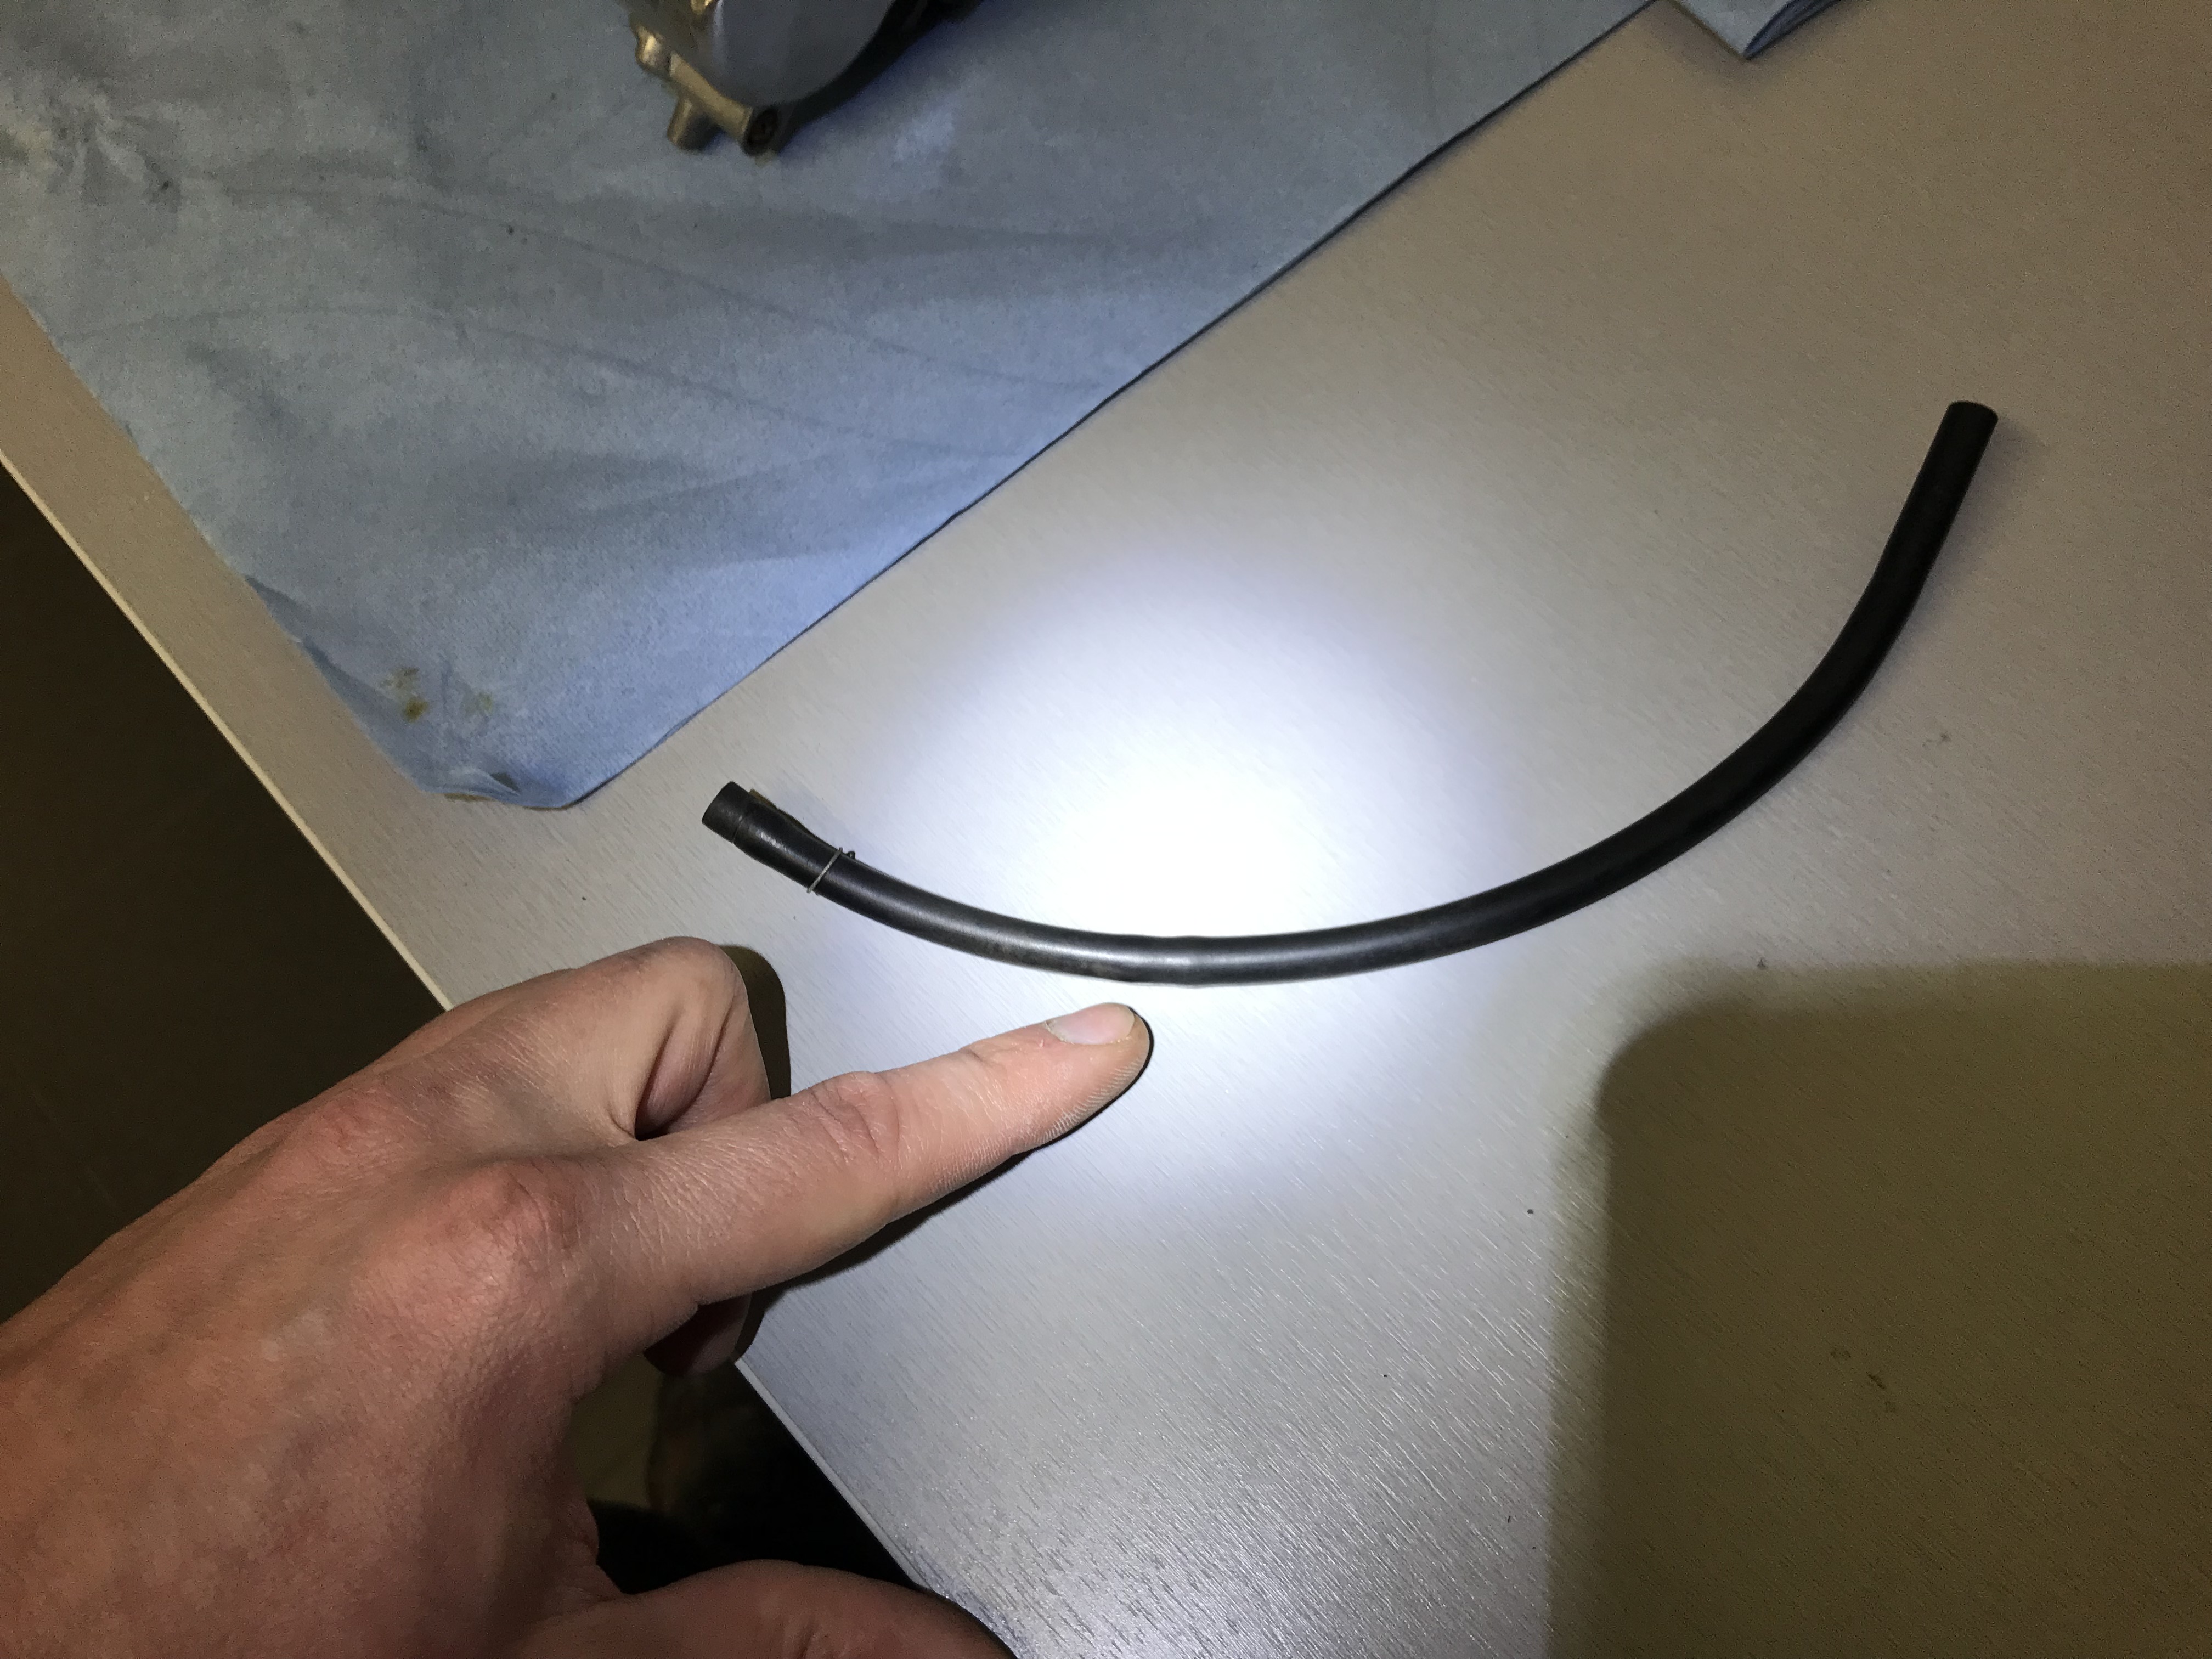
- The hose below going from the petcock and the carburetor, it has something inside it, tried blow through it and could barely make it, is it a reduction nozzle or something? Any one got an idea of it matter which way the hose is installed?
Thanks again everyone to share you knowledge and help!
David
25th February 2019 at 10:45 pm #24806ParticipantI saw now “captain” already answer the question number 1, will start with 1 3/4 to start with.
Still wondering about the nozzle in the hose…
David
25th February 2019 at 11:25 pm #24807 KaptainkwakKeymaster
Hi David
Is that the pipe that goes from the petcock into a T piece and then the other 2 pipes each go to a brass pipe on top of each carb? If so it is part of the system that operates the vacuum petcock. All these pipes should be clear. There is nothing inside any of them.
When the petcock is set to ON or RES there is a diaphragm that prevents petrol flowing into the carbs. When the engine is turned over the carbs suck air through these popes which in turn pull the diaphragm and opens the petcock to allow the fuel to flow. Ant leak or obstruction could serious disrupt petrol flow and thus cause running issues. You must remove the obstruction or replace the pipe. I have replaced mine with clear PVC tubing.
A way to test if this is your problem is to switch the petcock to PRI. This is prime and bypasses the diaphragm circuit allowing free flow of fuel.
27th February 2019 at 5:32 pm #24809ParticipantHi,
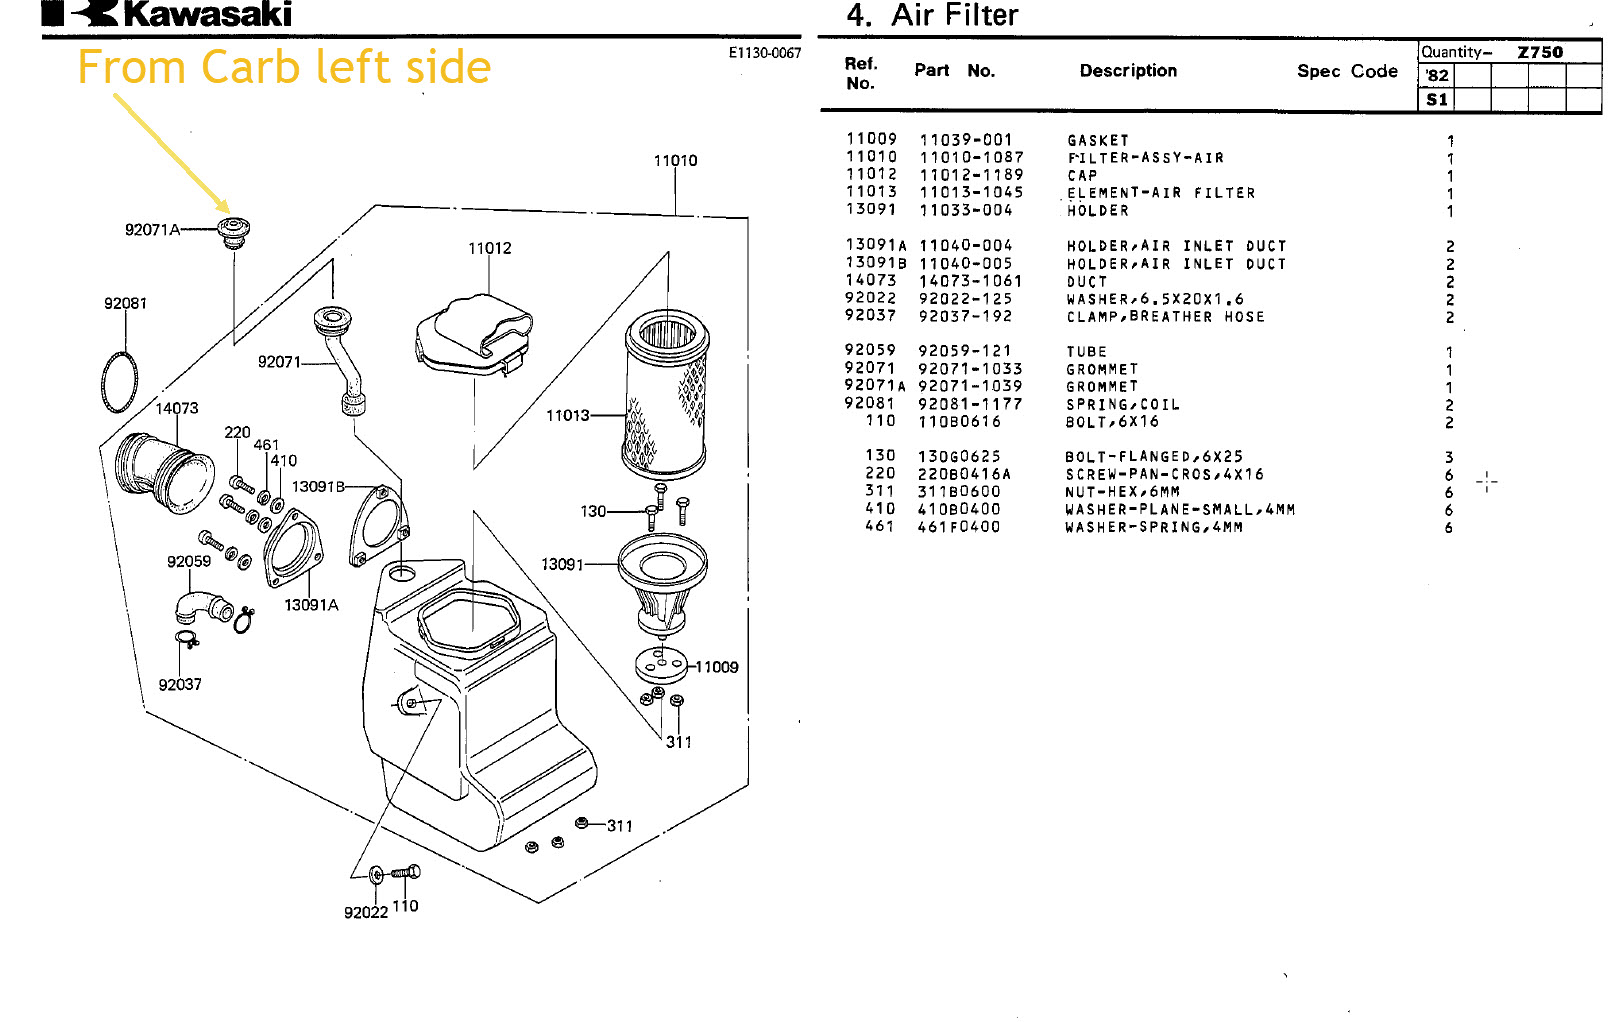
Can anyone explain or have a schematics of how the vacuum hoses shall run? My bike has one vacuum hose connected from the left carburetor to the air box via the below picture. The right carburetor is connected to the petcock. The T on the carburetor is connected to a yellow hose and assume this is an evac from the carburetors….
Again, there’s a nozzle in the hose going from the left carburetor and the air box, wonder why its there if not needed or if someone put it there for a reason.
Wonder how the hell bike could run good first time I started it 2 years ago….
27th February 2019 at 7:15 pm #24810KaptainkwakKeymasterHi David
Michael tried to post a reply but it did not work. Here it is
Hi guys,
these pipes are changed often, but I expect Davids Twin to have the stock setup.
There is one pipe redirected into to air cleaner box, front, top entry.
In this tube there is a jet to reduce airflow.
No idea for what this is good?
All my Twins don’t have this tube.
Airbox is simply plugged or just left open.
One vacuum pipe is routed from right vacuum connector to the pet cock (longer way without risk of choking by bends), left hand vacuum connector is just closed with a rubber plug (tube with a sealed end).
Cheers, Michael27th February 2019 at 7:32 pm #24811ParticipantThanks Michael, your explanation is as my bike is set up. As it ran OK when I first got the bike I think I can continue to use the same setup and hope that my cleaning of the carburetors will do the trick.
David
28th February 2019 at 8:41 am #24813 MichaelParticipant
Hi David,
to put a complete carburetor in an ultrasonic bath isn’t the correct way to handle that.
At least the top cover and slide with membrane and the fuel float bowl shall be removed.
Bad starting and idling is often caused by a clogged pilot jet (#45?).
You may remove it from the carb body and clean it manually.
Have you seen the carb assembly photo story on the german Z750Twin website ?
https://www.z750twin.de/vergaser.htm
There you will find also this picture showing the pilot jet and its position.
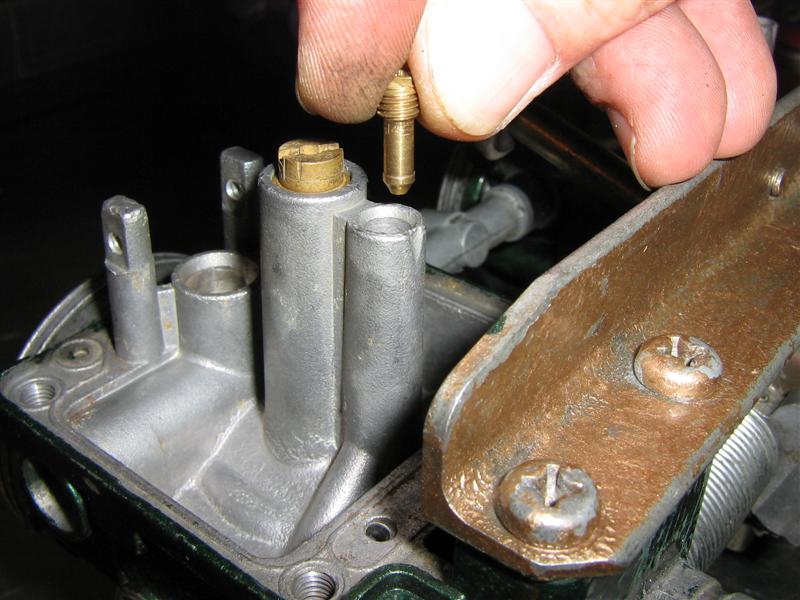
From my experience this is the culprit in many cases.
Cheers, Michael
-
This reply was modified 7 years, 5 months ago by
 Michael.
28th February 2019 at 5:03 pm #24817ParticipantHi Michael,
Its just the assembly you see in the picture previous attached without the floater, needle valves and jets. These I did separately so to my knowledge its done by the book 🙂
Everything is now assembled and I the pilot jet was not dirty what I could see, but as its a lot of small passages and areas I ran the whole assembly in the ultrasonic washer just to be sure…
Pictures below.
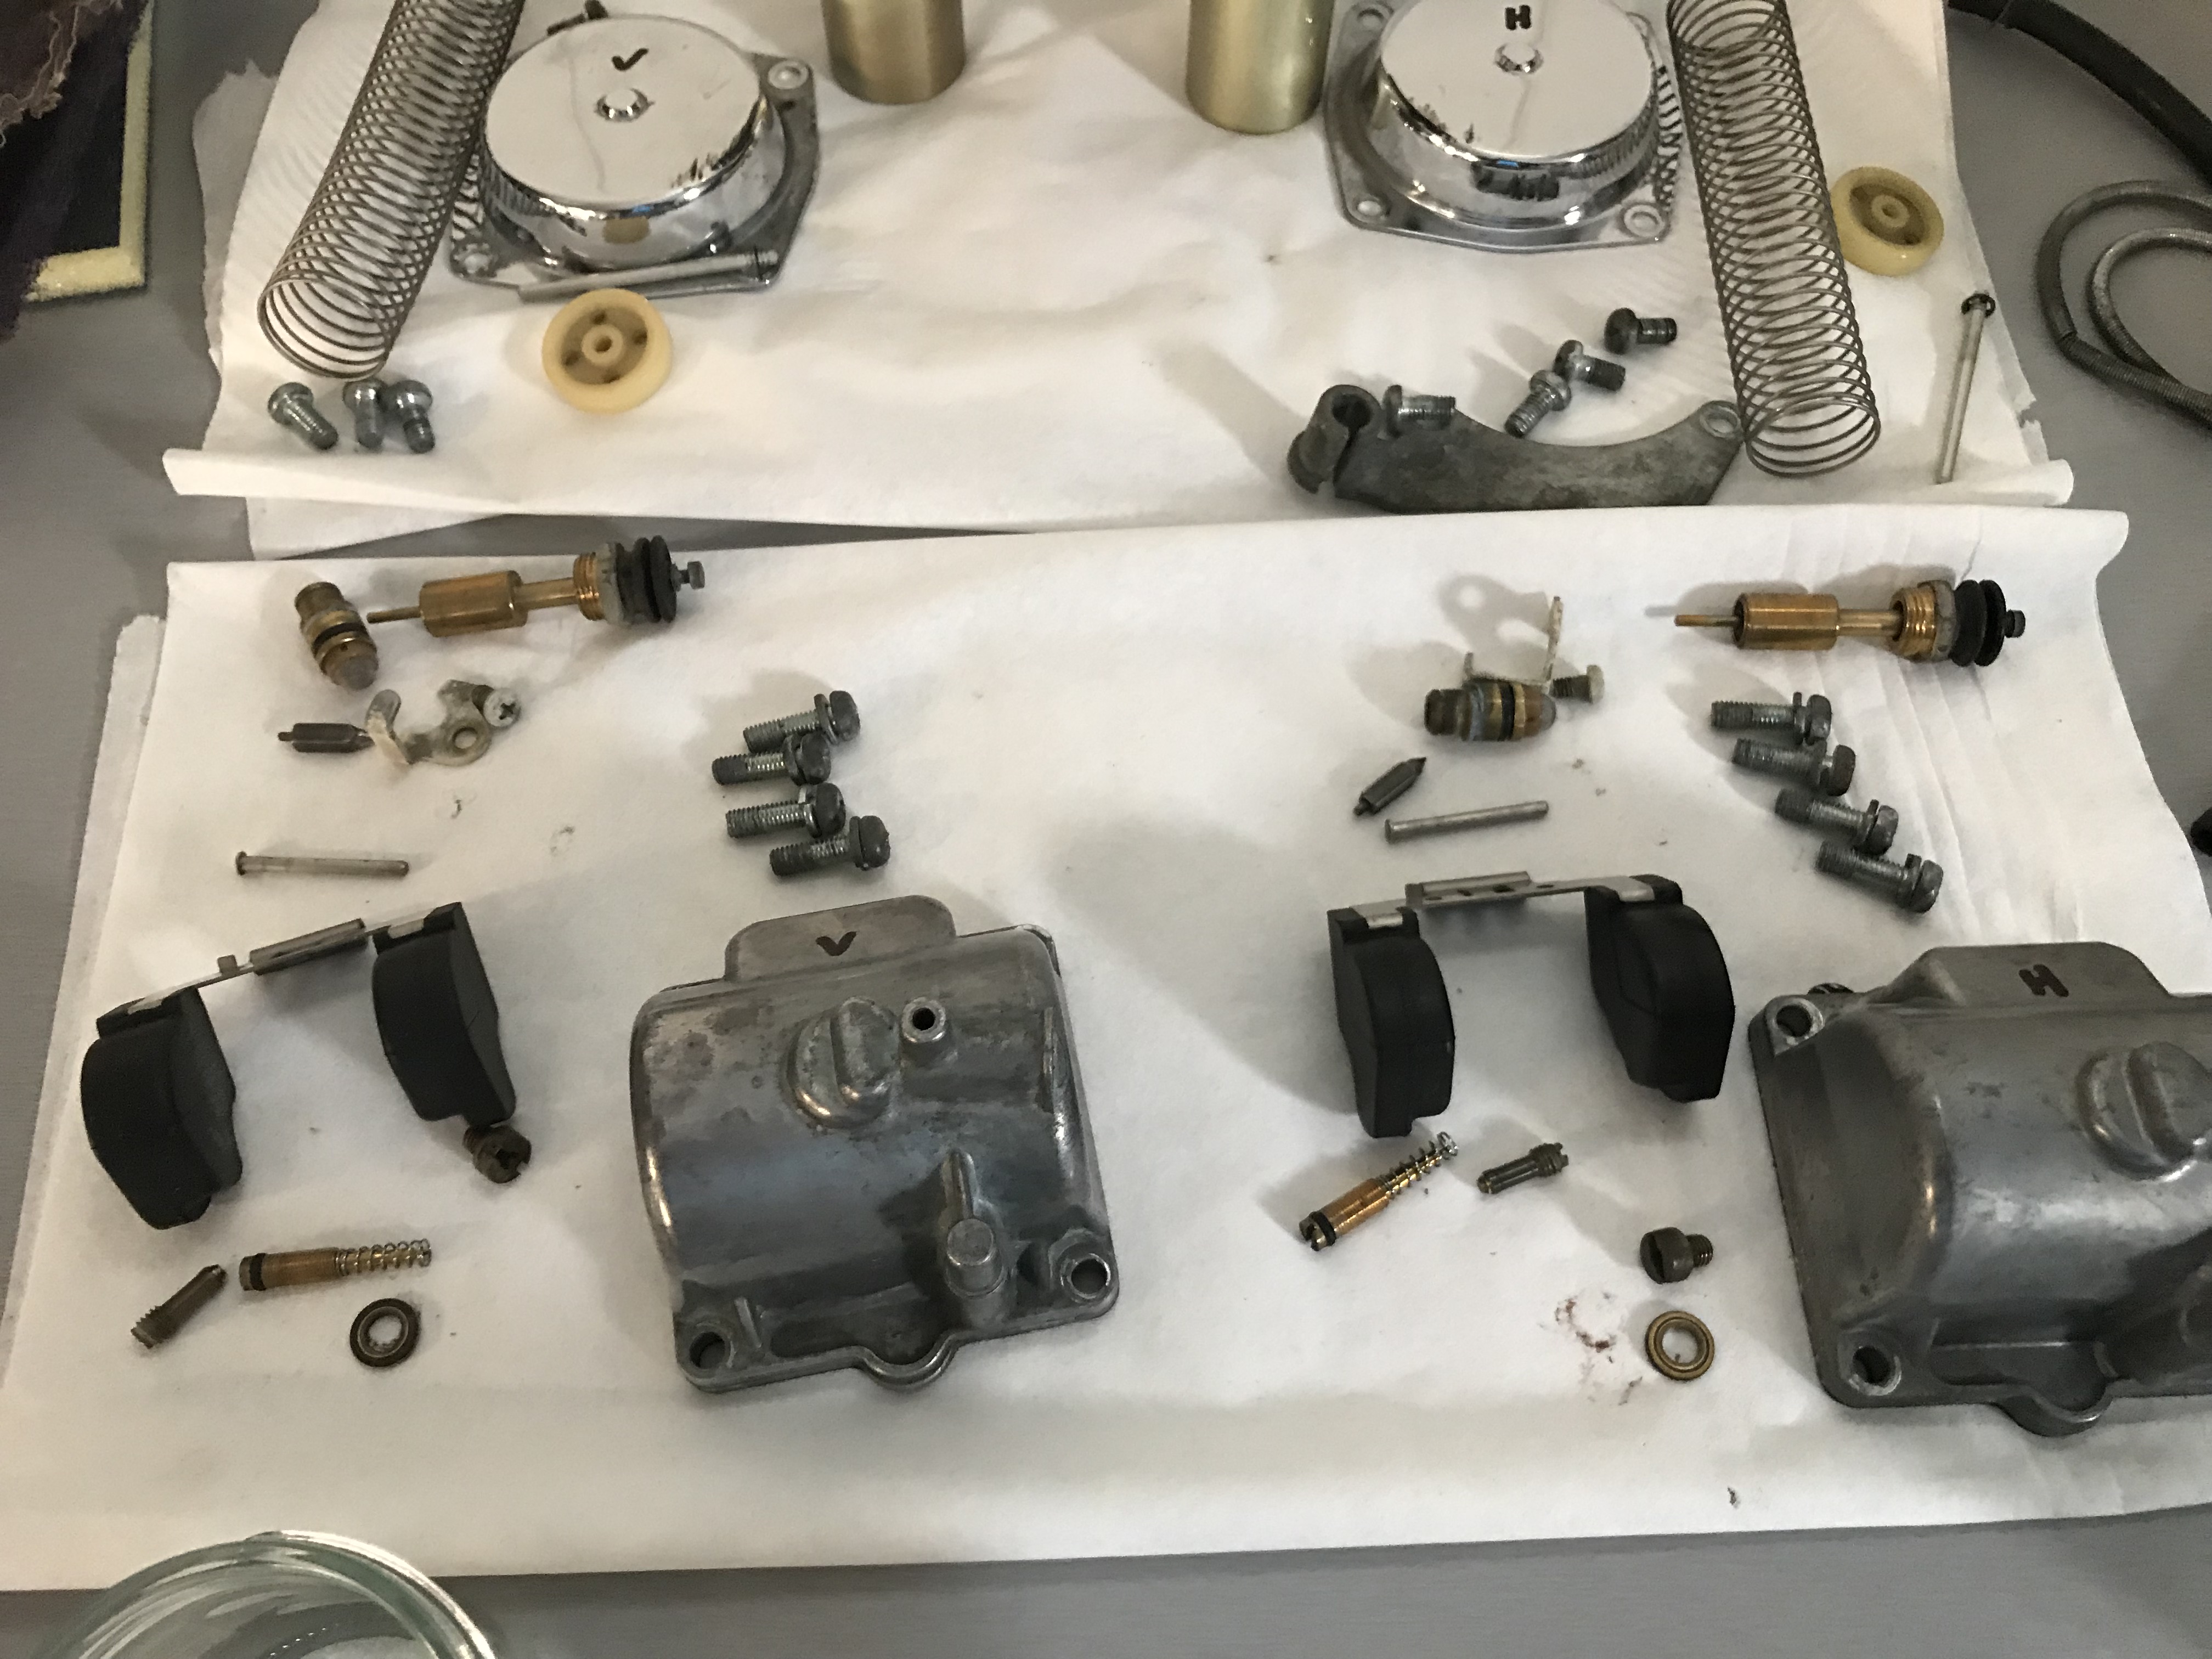
Let’s hope it work and thanks for the carburetor link..
David
3rd April 2019 at 3:30 pm #24890ParticipantHi Everyone,
Tried the bike today, results in the video attach, run like it should in my opinion, awesome day!
Regarding the intake boots, one of them is rock solid and need to find a new one, did someone know about replacements ones, or do I need to try find a car boot like mentioned previously?
David
3rd April 2019 at 4:56 pm #24892ParticipantDid not the video upload?
4th April 2019 at 10:10 pm #24904KaptainkwakKeymasterHi Ankargren
Unfortunately we do not have software on the site to show this video. I am looking into it.
I have managed to download the video so I have seen it and heard it running. It sounds nice to me.
Is it the rubber boots from the Airbox to carbs you are looking for?
KK
9th April 2019 at 1:28 pm #24907ParticipantHi Captain,
Yes, the rubber boots between the airbox and carbs. Maybe it was Michael who mentioned that someone is making new ones?
David
9th April 2019 at 6:07 pm #24908KaptainkwakKeymasterYes you are right Michael did mention this. One of the German club members makes these when there is sufficient demand for them. I have a spare set here for such purposes as yours which I can let you have if Michael cannot supply at the moment and I will replace them next time they are being made.
Looking back to previous page on this thread Michael said app 80 Euros which is app £70 plus the postage so I will need your address to work out the postage costs. Please send that to me via a private message and I will confirm the total cost.
Cheers
KK
13th May 2019 at 9:03 am #24971ParticipantGuys,
I sad thing you tell you all, I have sold my bike. I realized the time is not there and I need the space in the garage.
I hope time and place to get back to a 750 as soon things settled a lite bit more.
-
AuthorPosts


- You must be logged in to reply to this topic.
