Home › Forums › All Things 750 Twin › Projects and Progress › New Projects › Kaptains Log – The story of my B1
- This topic has 30 replies, 7 voices, and was last updated 5 years, 2 months ago by
jimmyjaz.
-
AuthorPosts
-
22nd July 2020 at 12:01 am #25805
 KaptainkwakKeymaster
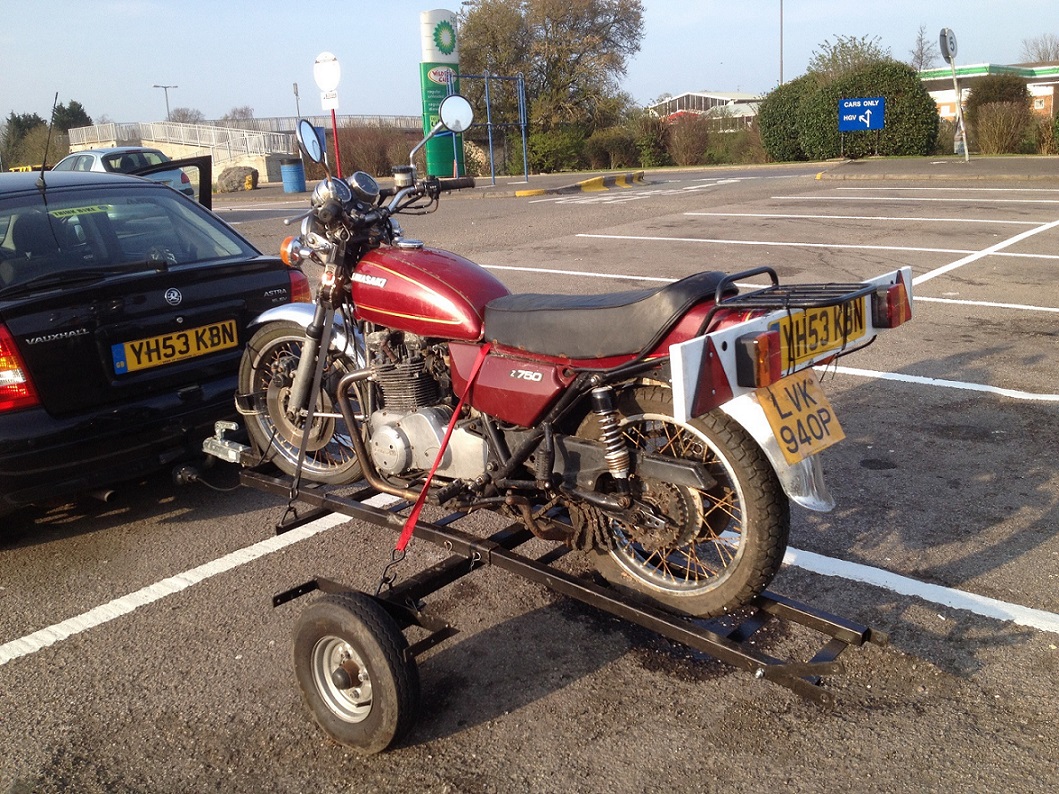
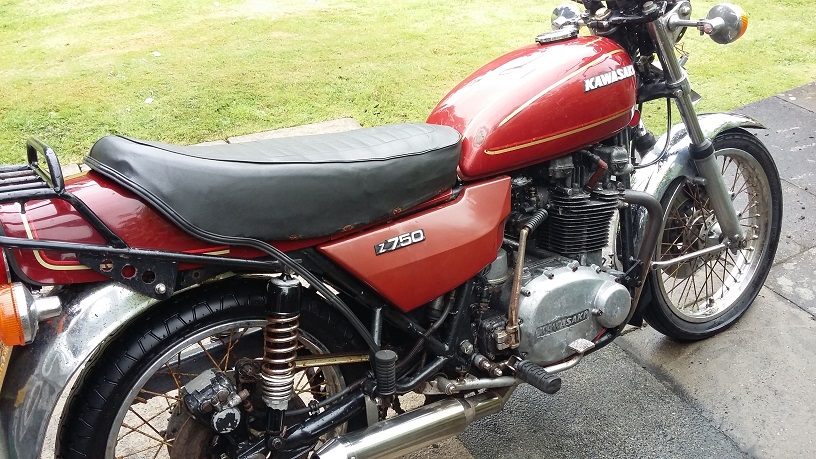
As some of you know during the Covid19 lockdown I decided to utilise my time at home by refurbishing my B1. She is a UK registered B1 that I have owned no less than 4 times. When I have sold her it has always been with 1st refusal if selling on and as a sucker for these bikes I could never refuse. I last bought her back on 29th March 2014 and this time she is going nowhere. She had been sat in my garage for 6 years so not before time I decided to start.
 22nd July 2020 at 12:06 am #25811KaptainkwakKeymaster
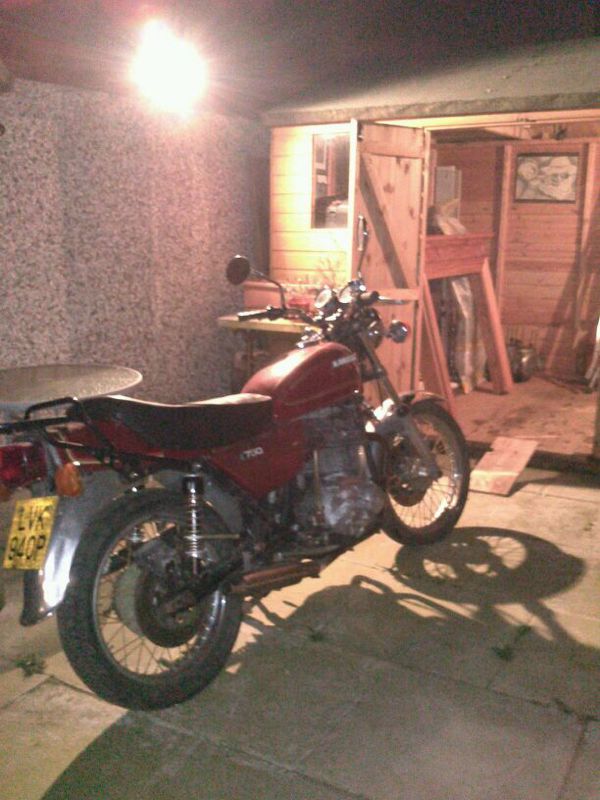
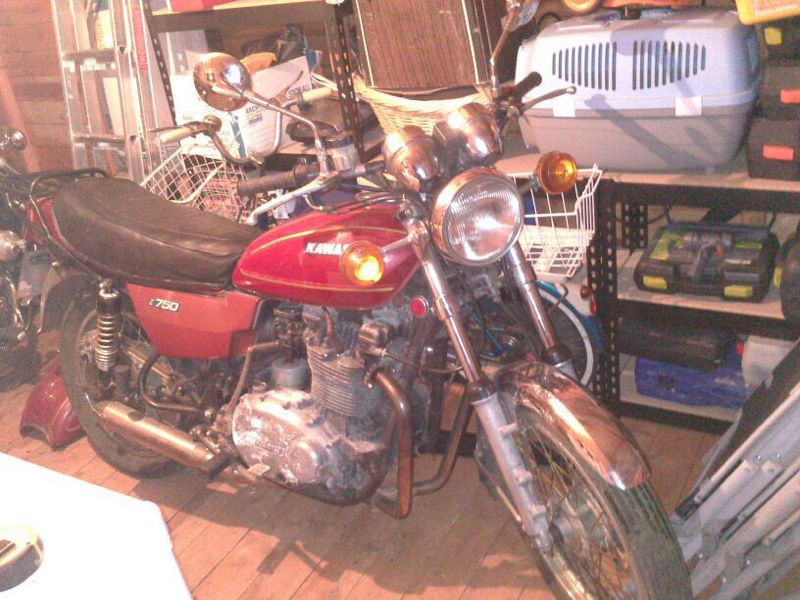
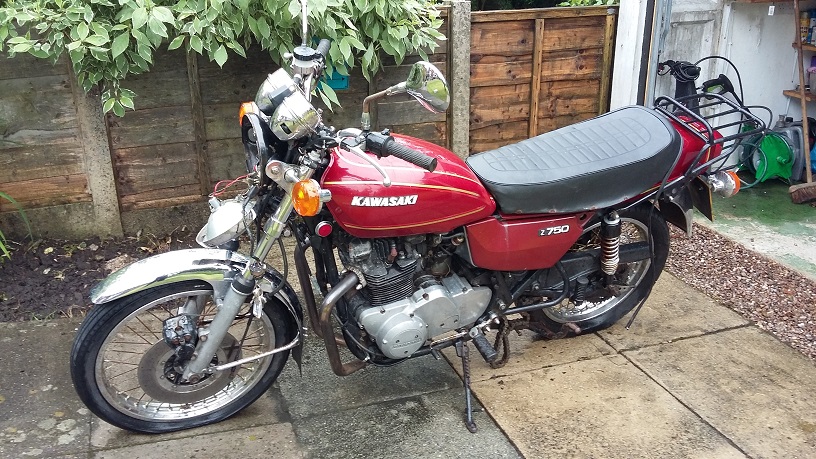
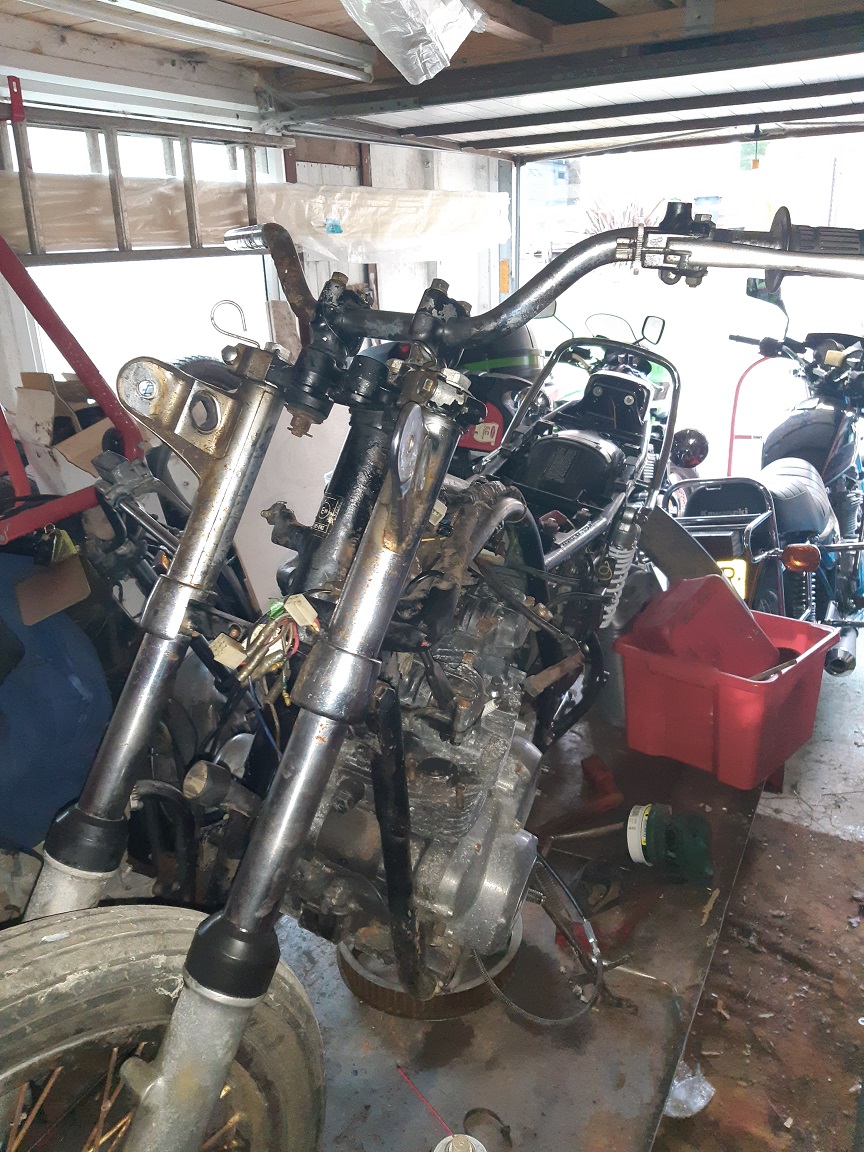
As you can see she was very tired and in desperate need of some serious TLC. I did attempt a makeover a couple of years ago and although she did run I soon realised she need the full works.
-
This reply was modified 6 years ago by
 Kaptainkwak.
22nd July 2020 at 12:09 am #25821KaptainkwakKeymasterLet’s go then . . .
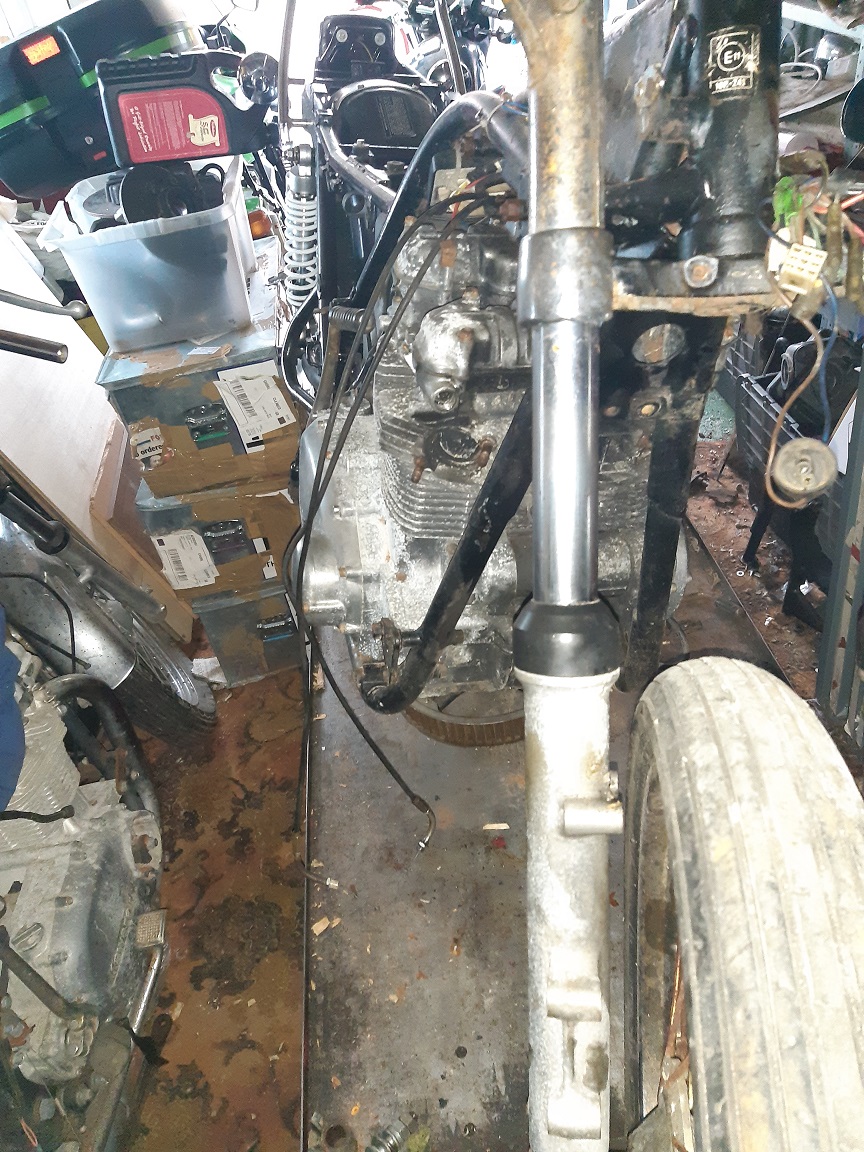
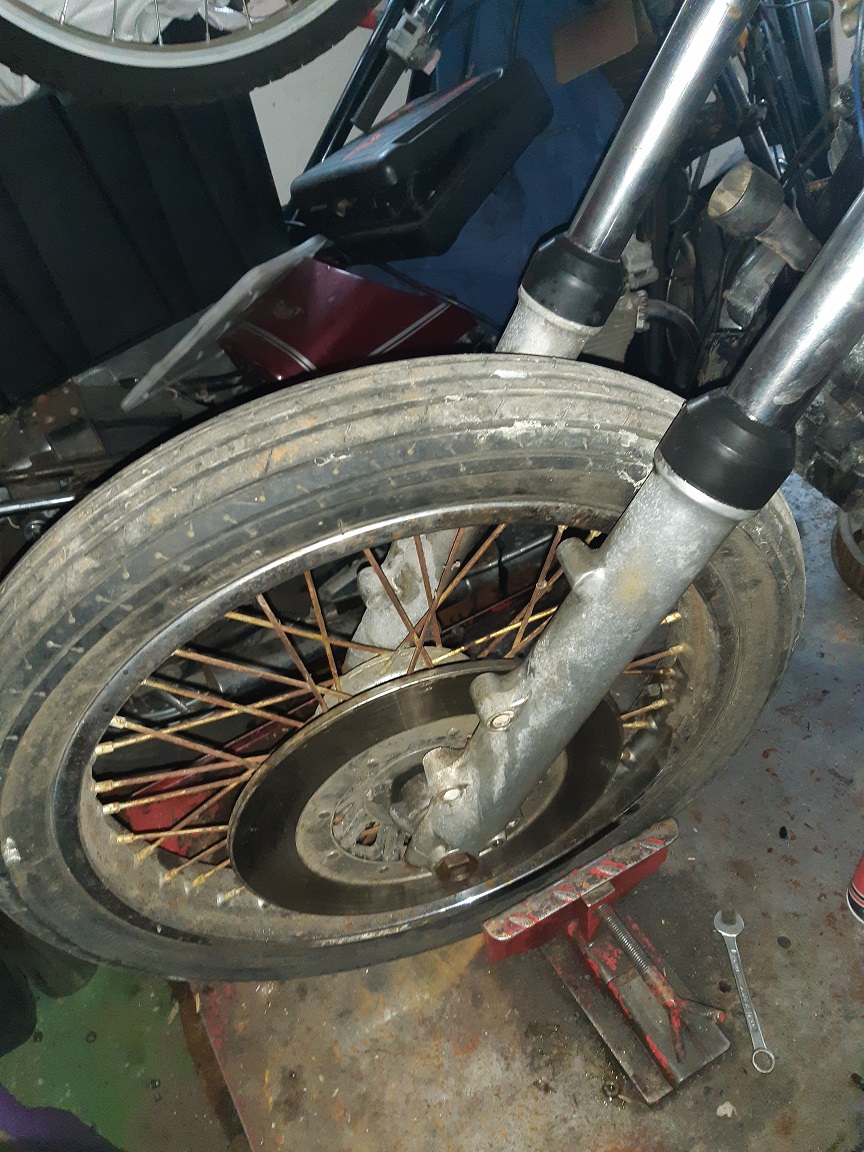
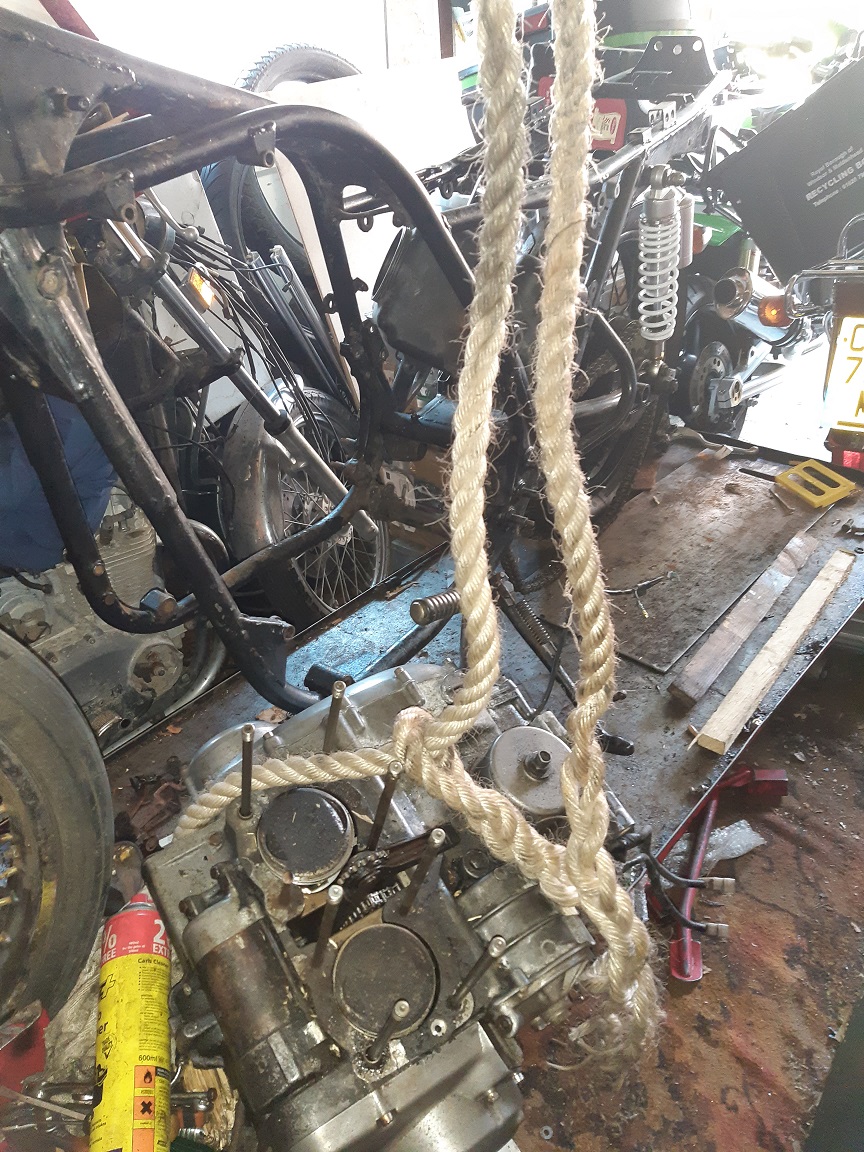
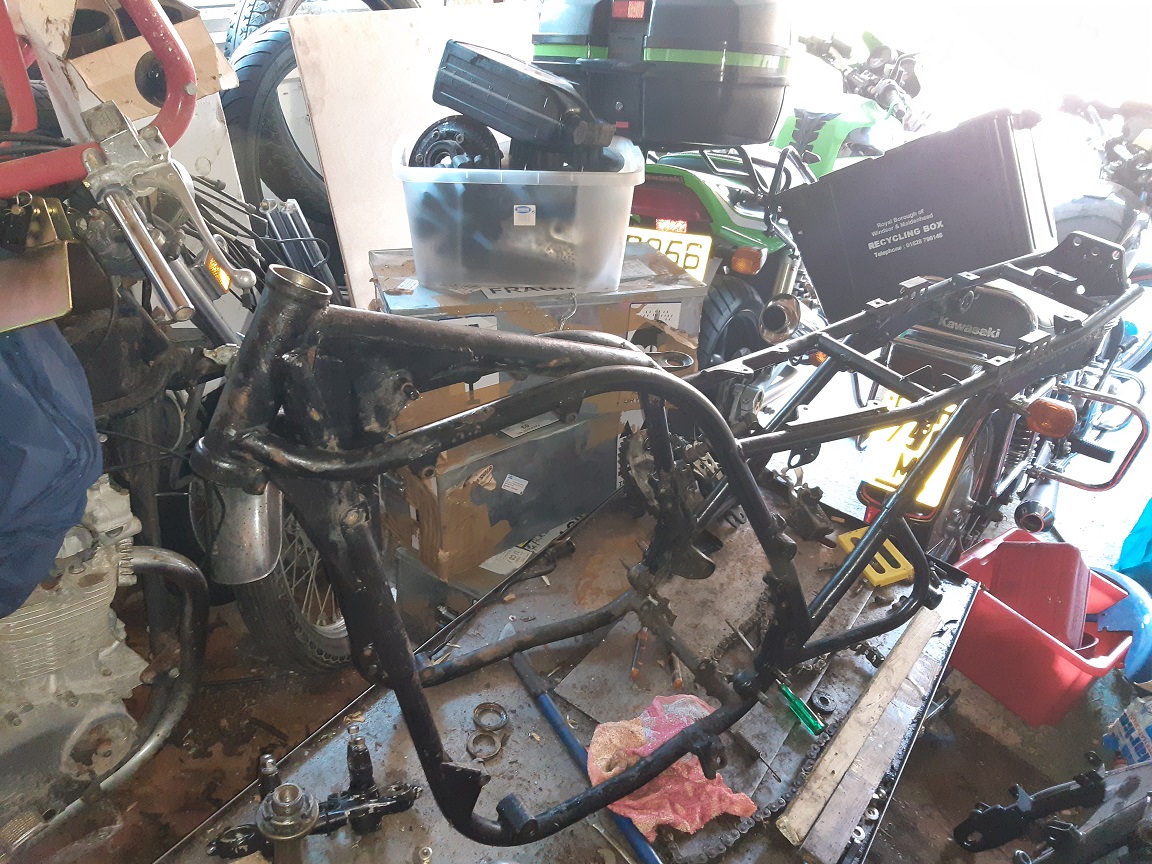
She was so run down both inside and out but I got the engine stripped and out then the frame stripped bare.
-
This reply was modified 6 years ago by Kaptainkwak.
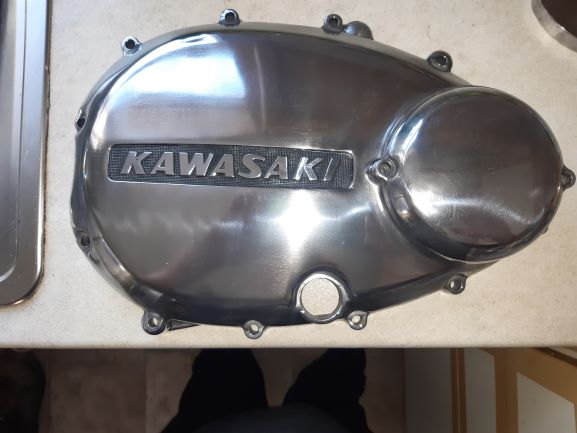
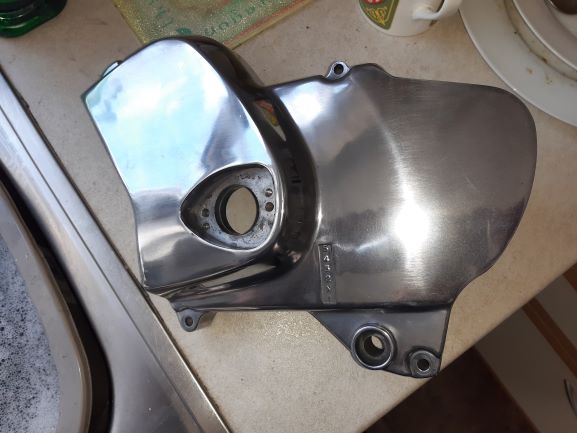
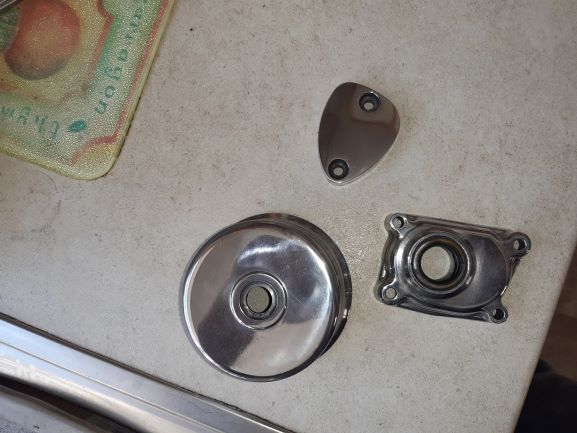
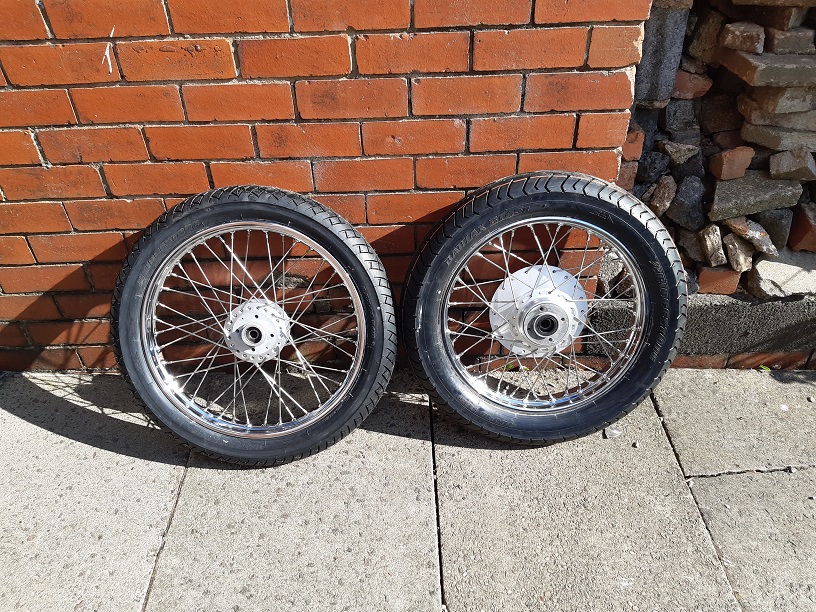
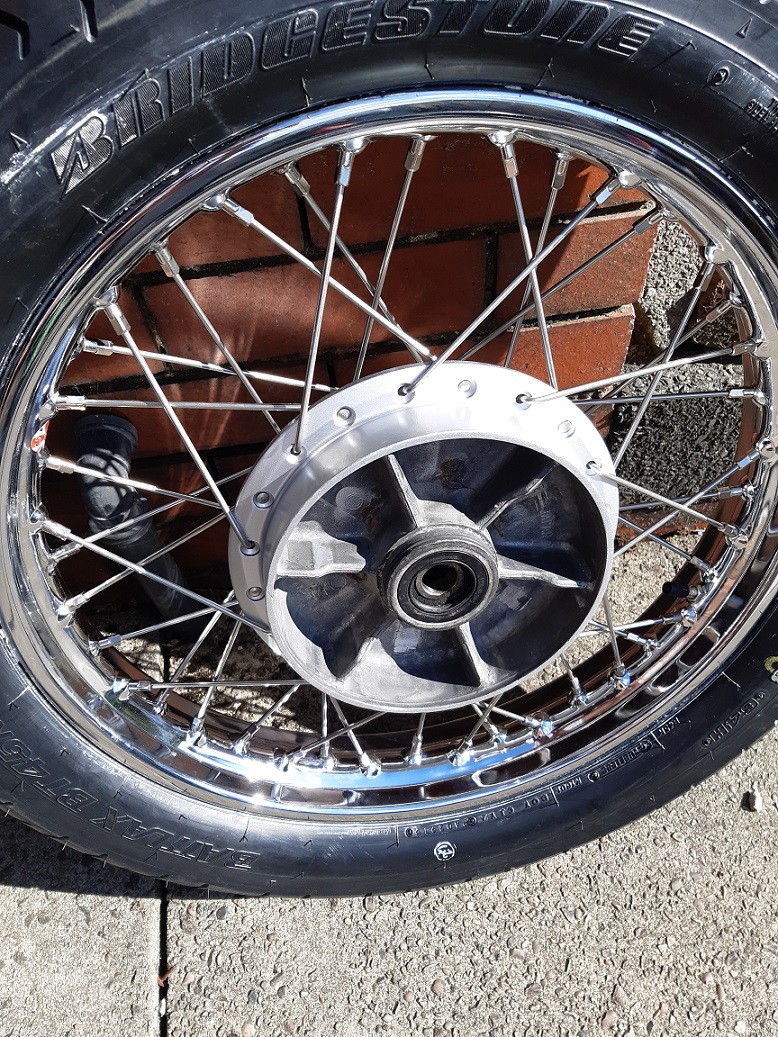
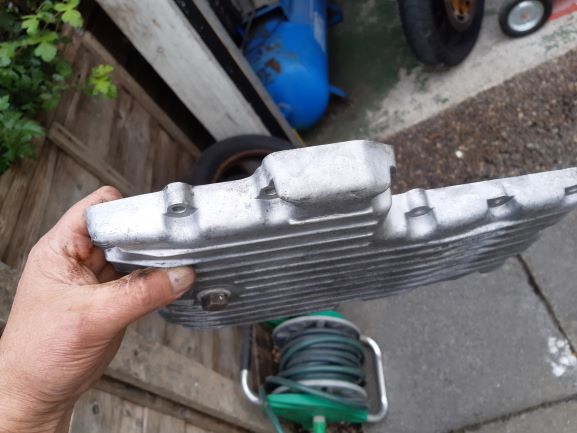
22nd July 2020 at 7:45 pm #25830KaptainkwakKeymasterStuff was sent off for Powder Coating, Zinc plating and the wheels sent away for rebuilding. While waiting for them to return I set about polishing the Aluminium parts

 22nd July 2020 at 7:49 pm #25837KaptainkwakKeymaster
Then stuff started to come back in.
Zinc Plating
Rebuilt wheels
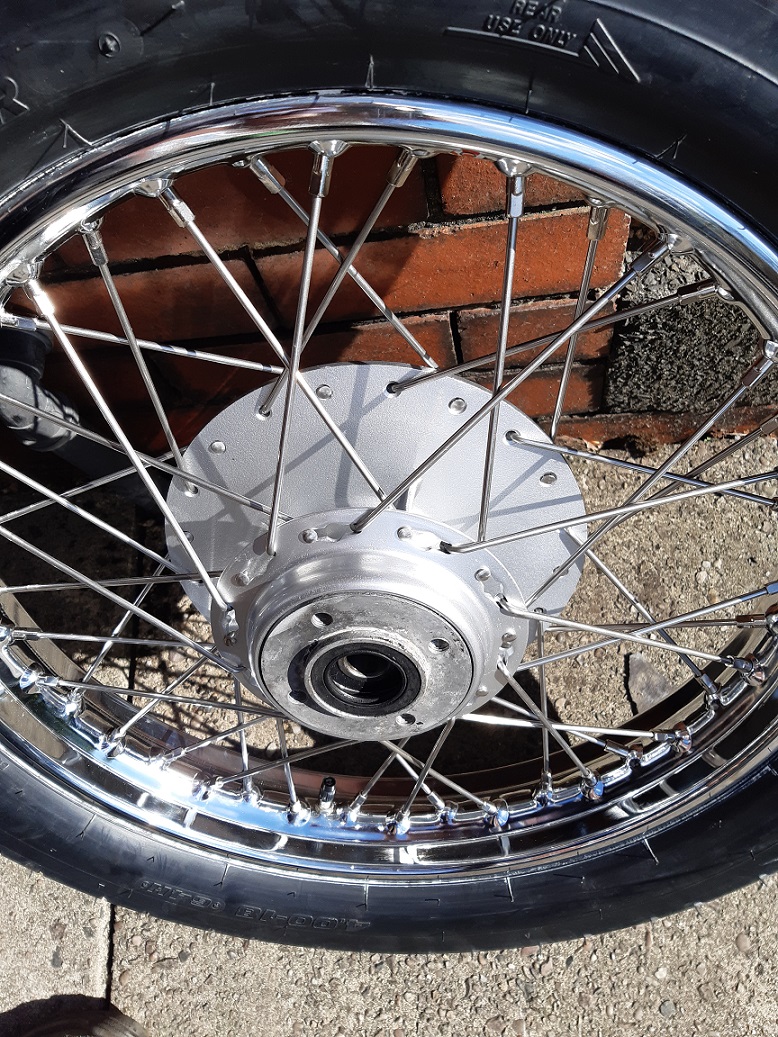

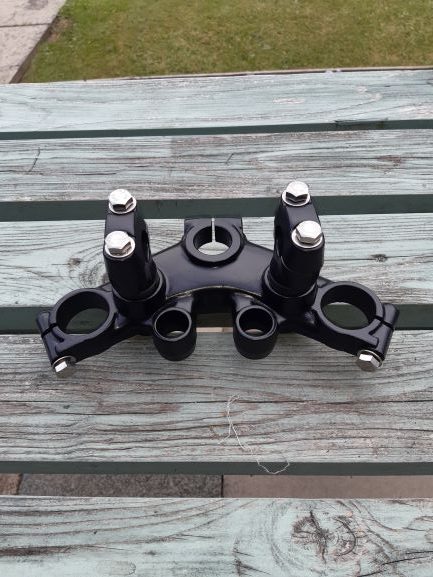
And the powder Coating
 22nd July 2020 at 8:36 pm #25838
 coleighfParticipant
A true labour of love! I know the feeling.
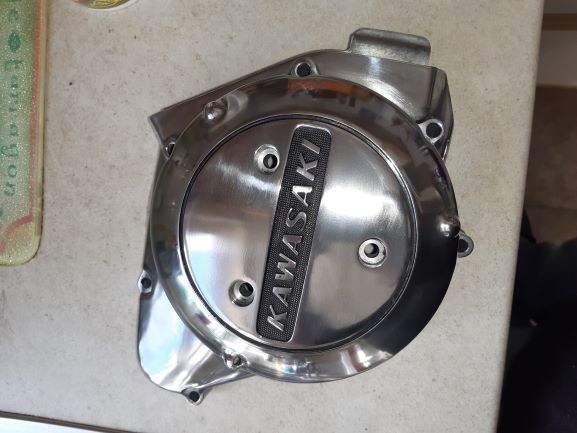
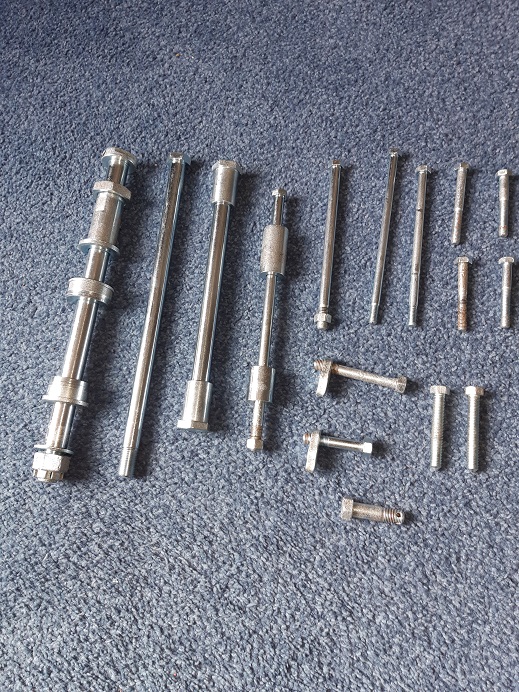
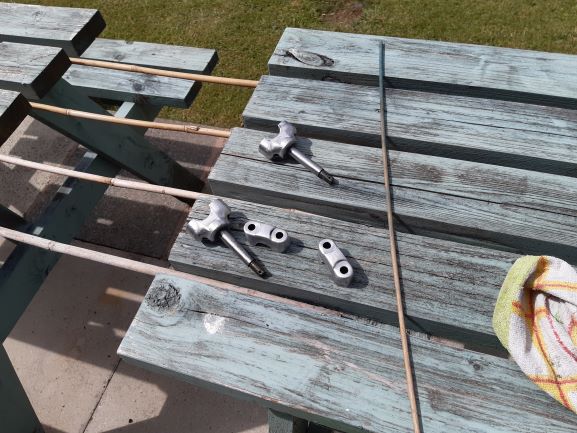
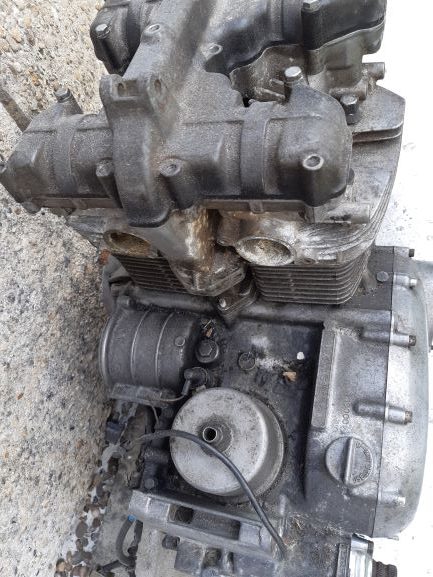
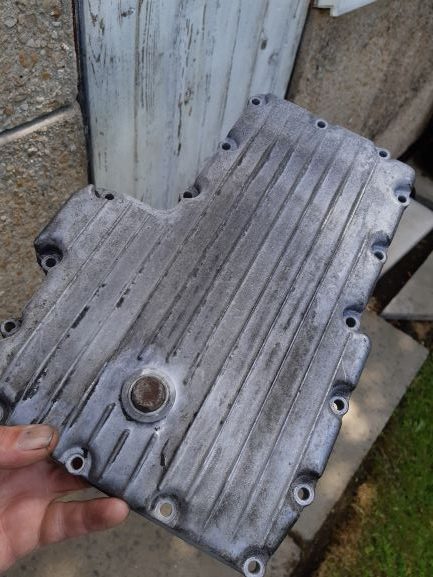
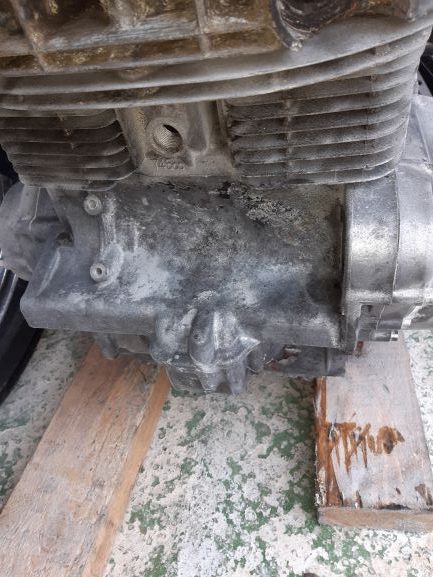
22nd July 2020 at 11:52 pm #25844KaptainkwakKeymasterSo the work starts here. We need to refurb

 22nd July 2020 at 11:54 pm #25849KaptainkwakKeymaster
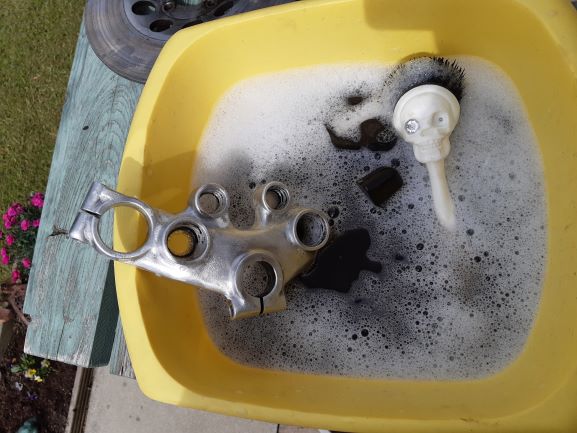
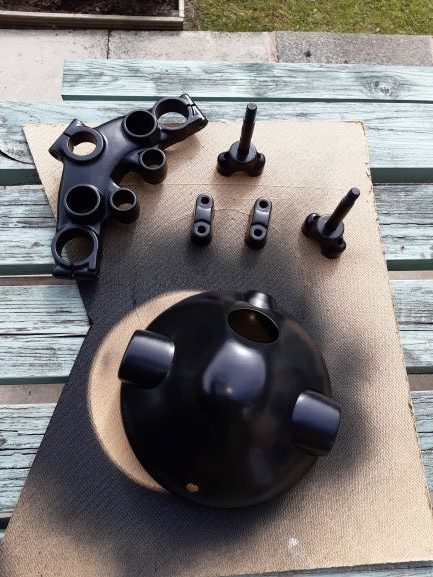
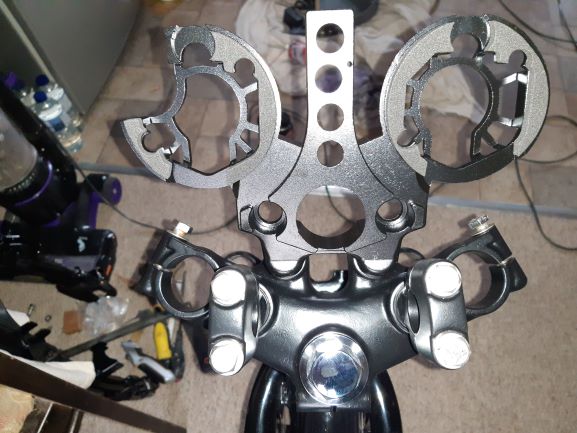
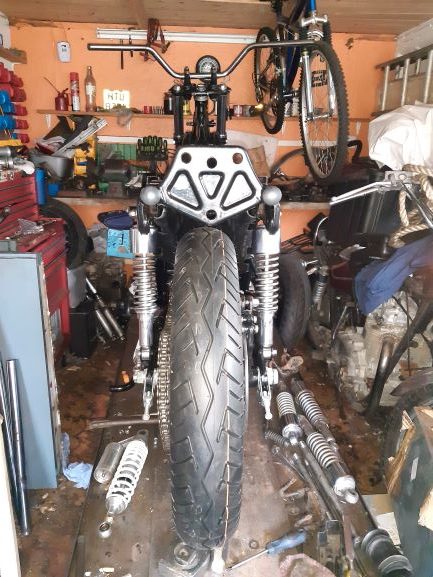
And now we can start to reassemble

 23rd July 2020 at 10:35 pm #25860KaptainkwakKeymaster
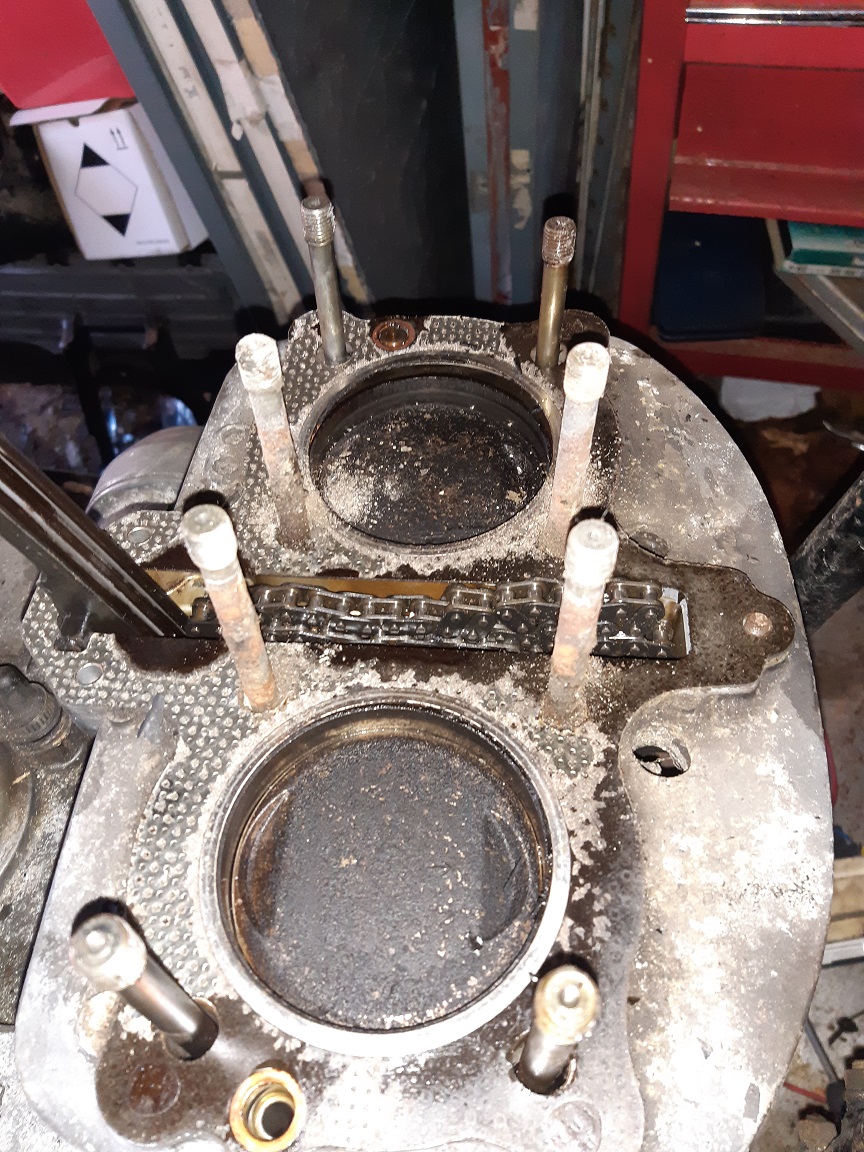
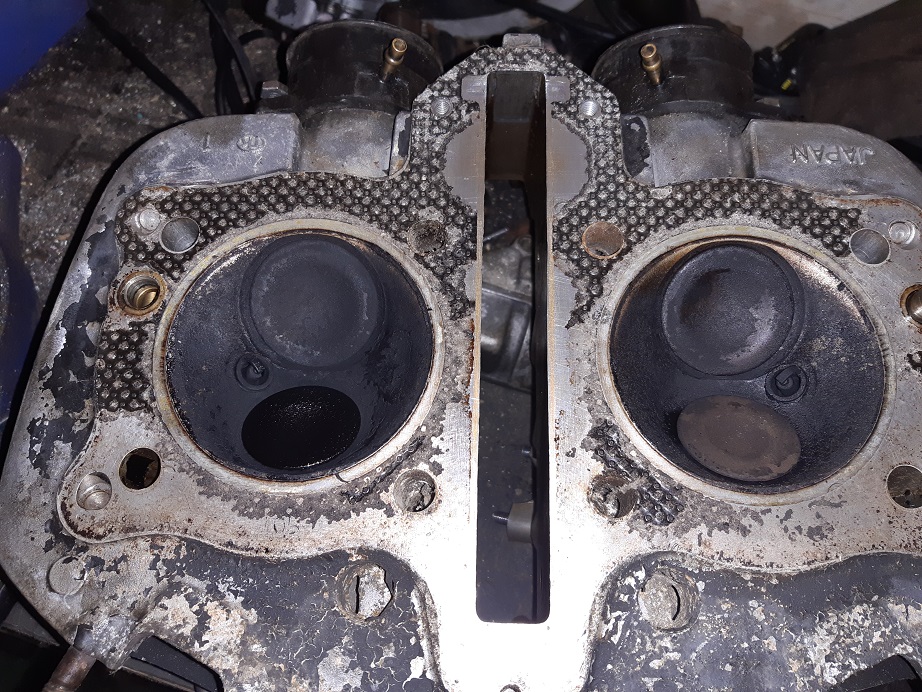
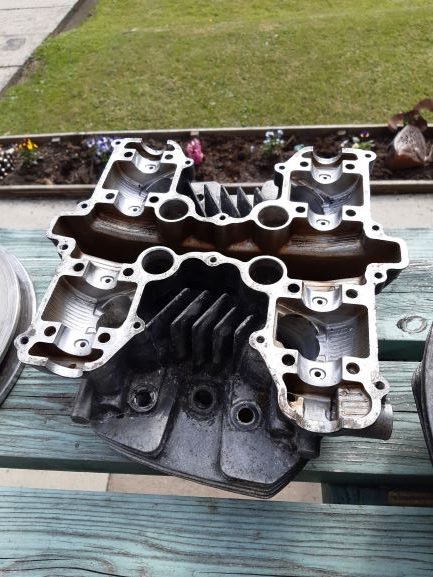
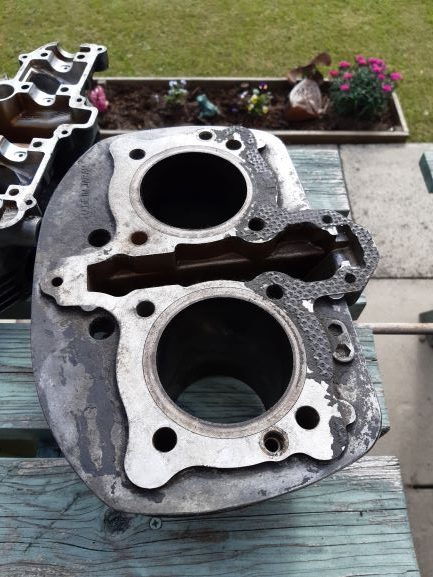
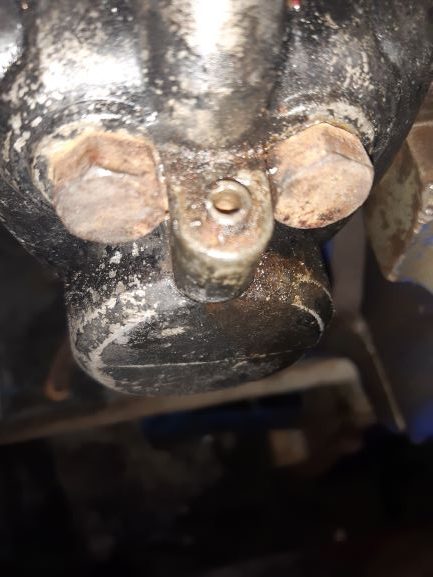
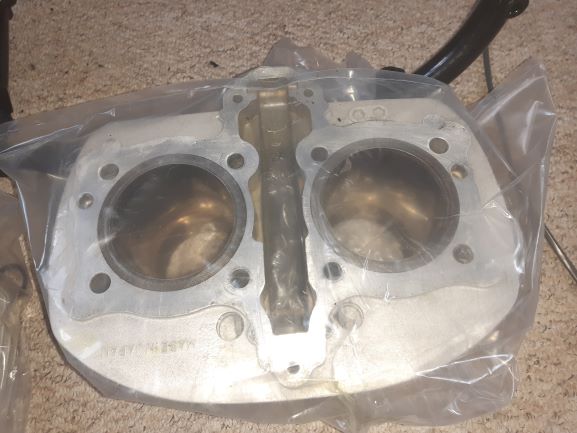
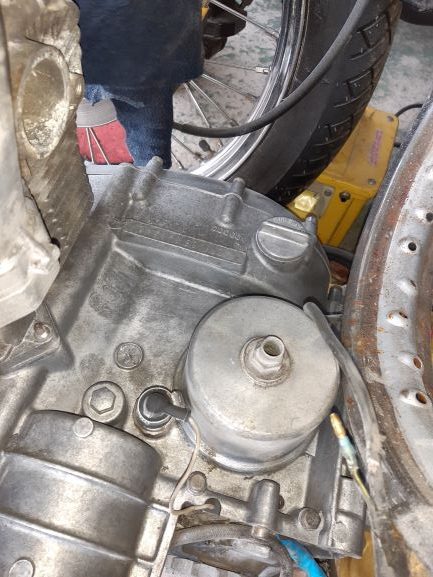
I sent the barrels and head away to be blasted
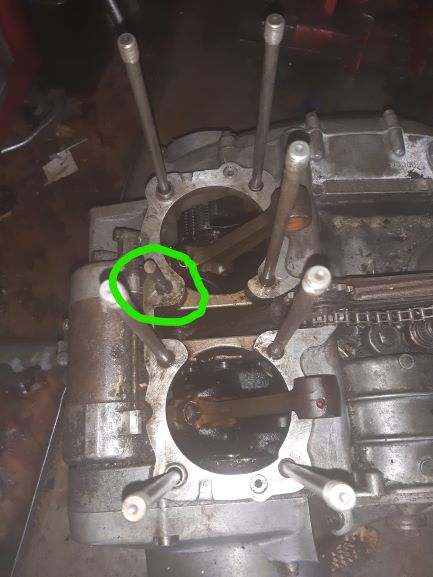
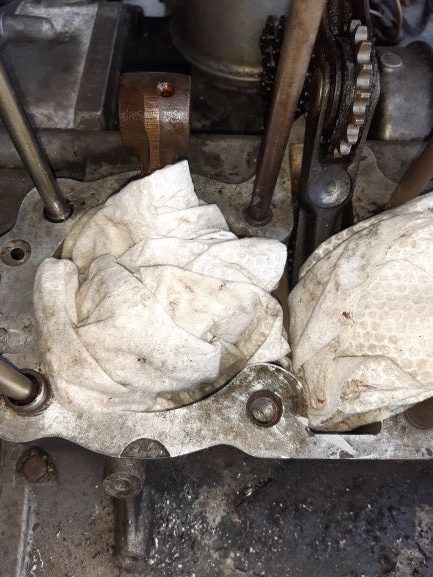
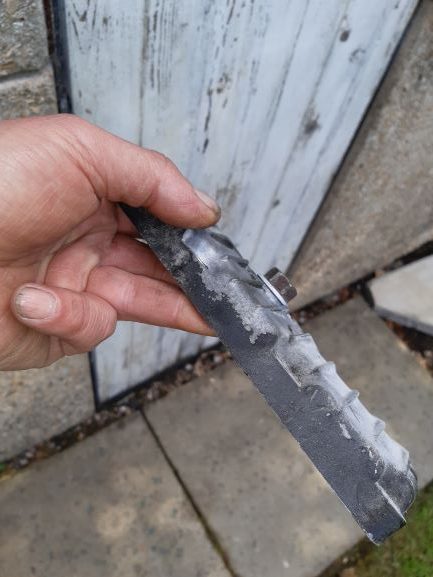
The cut stud in the crankcases was put to one side for now
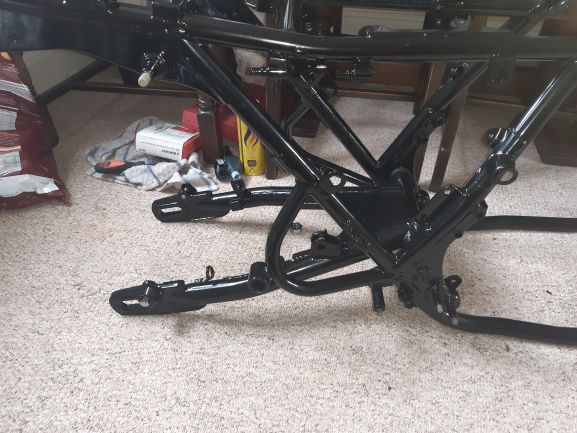
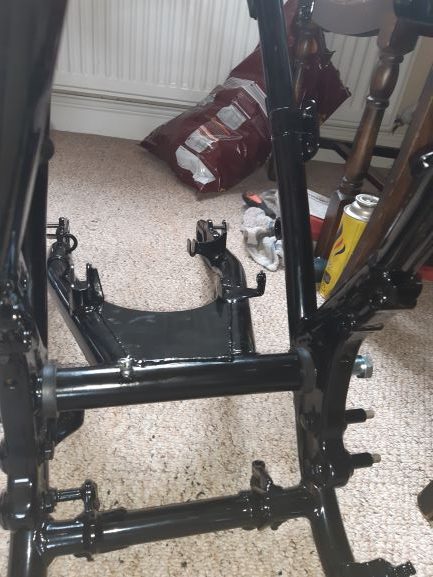
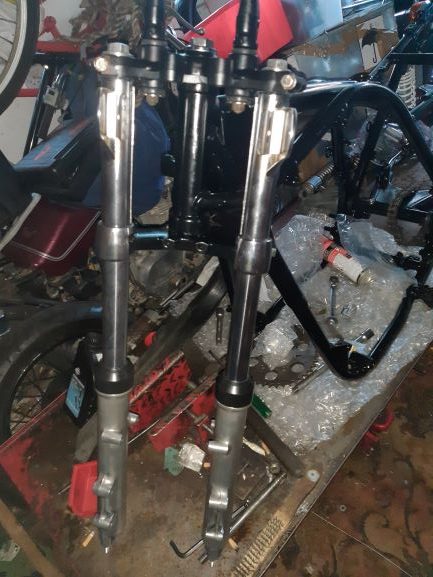
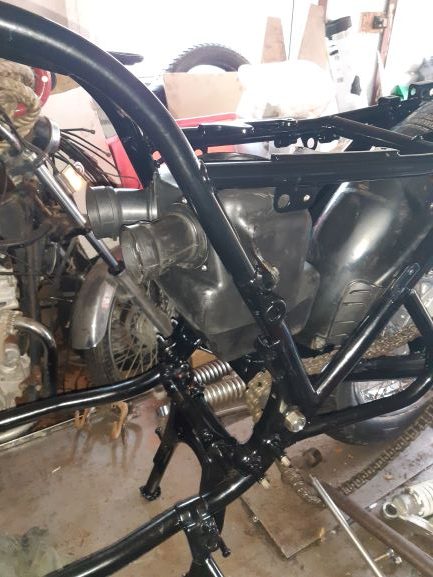
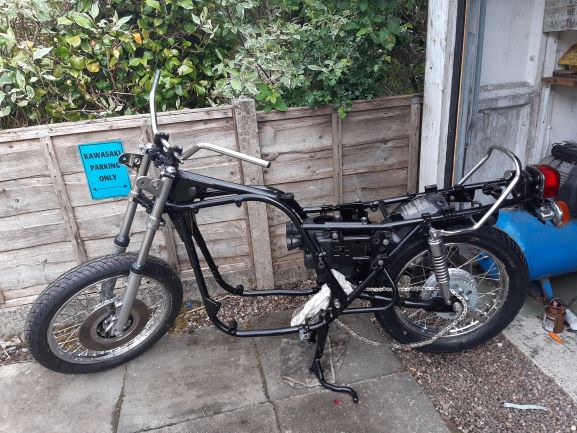
and I started the Rolling Chassis build

 24th July 2020 at 9:59 pm #25869
marksav
ParticipantVery nice work ! Good to see a lot being done at home instead of “contracting “ it all out .
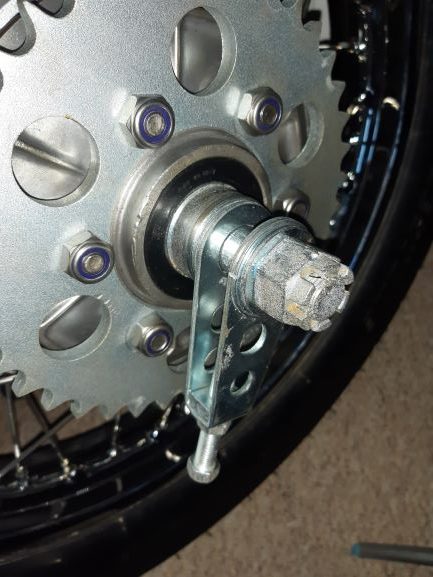
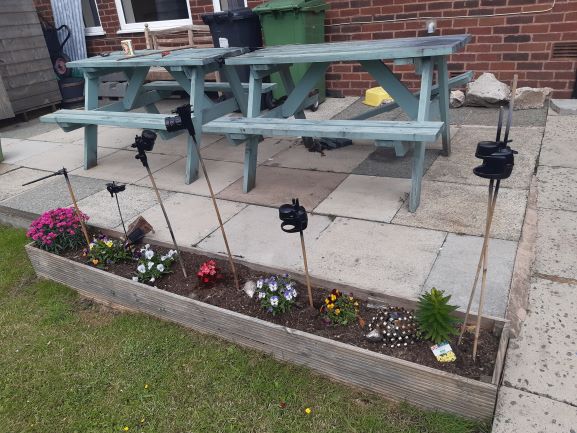
25th July 2020 at 10:11 am #25882KaptainkwakKeymasterNext I addressed the brakes

Usual offenders were present
But finally fully stripped and cleaned down to bare metal

Then we plant them
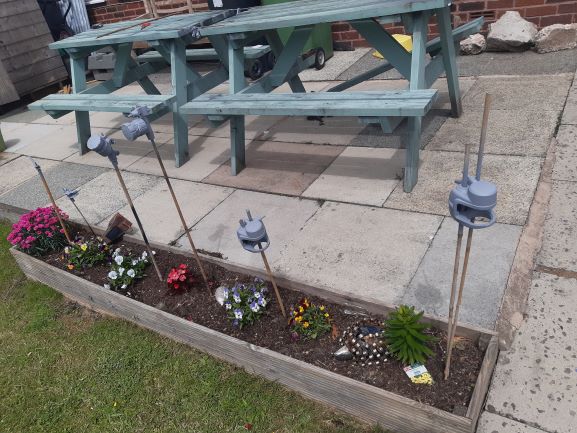
And look what a bit of sun can do
 25th July 2020 at 10:18 am #25890KaptainkwakKeymaster
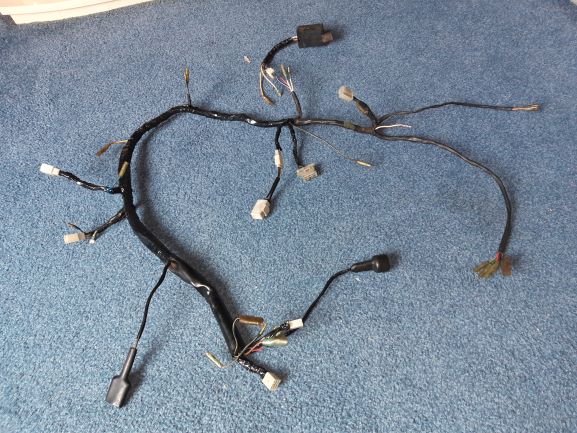
The wiring harness wanted some attention. A few connectors were replace as well as these repairs
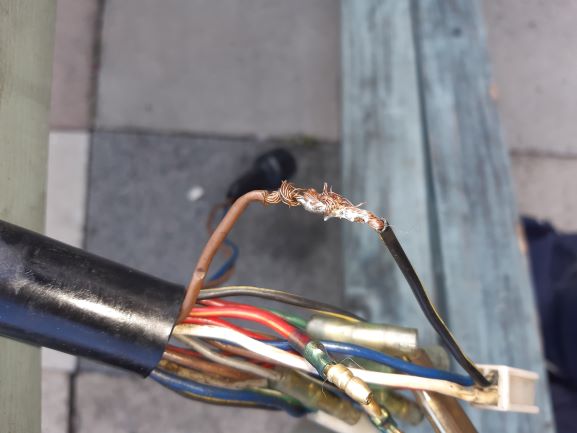
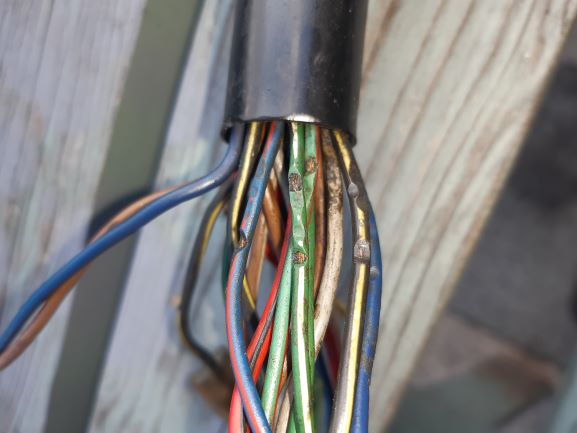


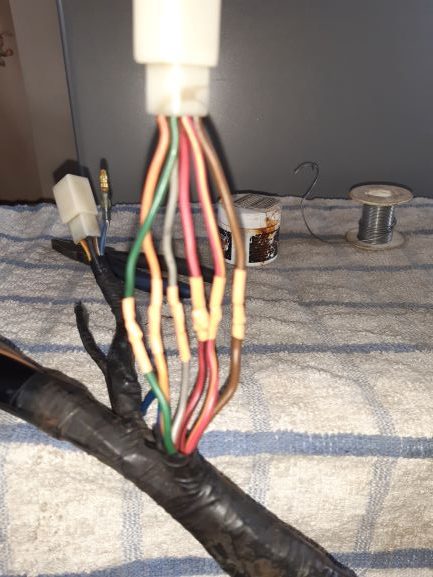
Resulting in a healthy wiring harness
 25th July 2020 at 10:58 am #25891coleighfParticipant
I was wondering what fertiliser you used in that plant box? When I tried that with Tomorite everything came out red!
The wiring refurb is interesting. The only time that my B1 stopped on me was in France. A fuse had blown, I replaced and it went again. What had happened was that when I fitted the Oxford cockpit fairing, I had to remove the headlight unit, disconnect it, fit it into the fairing and then re-connect. That meant that the wires were pulled forward a few inches and one of them was rubbing on the edge of the hole that the loom passed through in the back of the headlamp shell. It had chafed through the insulation and shorted out. Some insulation tape fixed it. I hadn’t previously noticed that there was no rubber grommet in this hole as there has been on every British bike that I’ve ever owned. If there had been it would never have happened. It had never occurred to me to look there when I fitted the (excellent) Cockpit fairing, which was similar to that fitted to the BMW R90S.26th July 2020 at 7:26 pm #25905KaptainkwakKeymasterThat is a trade secret Coleighf . . .
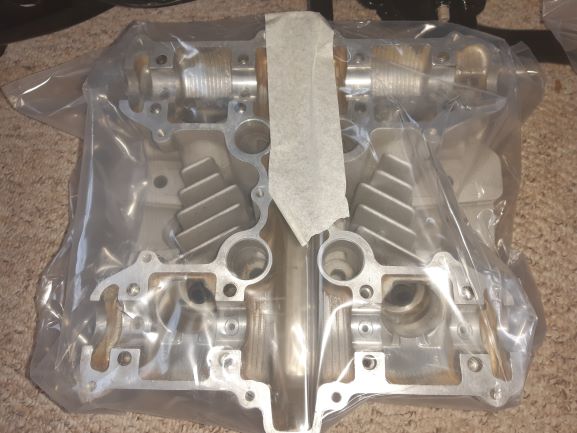
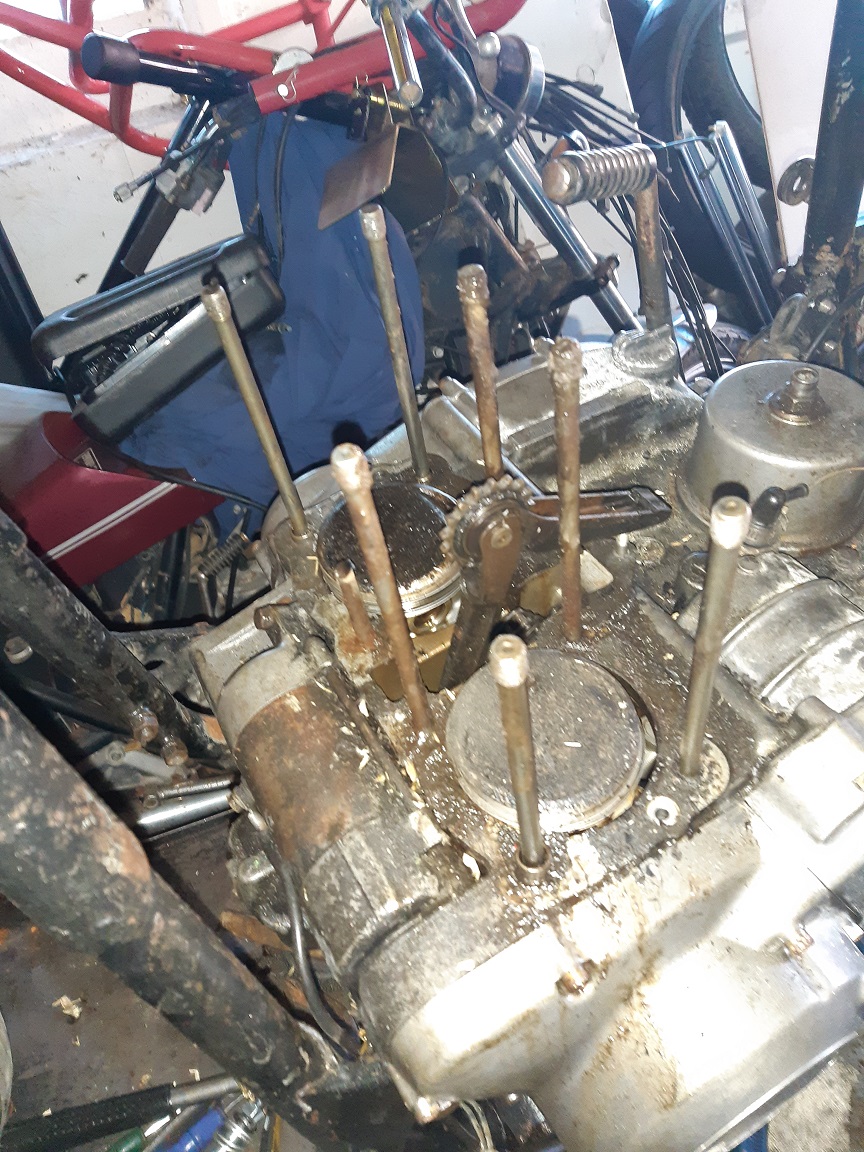
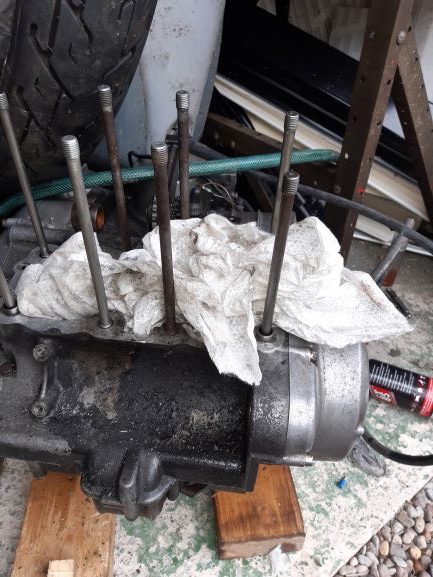
Cylinderhead and barrels had returned from the blasters so now time to attack the engine starting with the cut stud. I took to 2 engineering firms who both failed to remove the stud. I was looking at spark erosion when my son-in-law offered to do it. He assured me he had the skills and even came to my house with hand tools and demonstrated his expertise. 2 1/2 hours later . . .
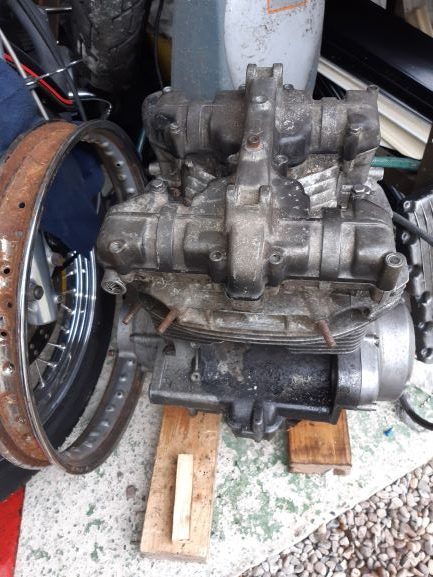
New stud fitted and spare barrels and head were fitted ready for me to try my soda blasting
 26th July 2020 at 7:37 pm #25910KaptainkwakKeymaster
It is a messy job with dust and drifts getting everywhere but I certainly does get rid of all the muck and corrosion

-
This reply was modified 6 years ago by
-
AuthorPosts
- You must be logged in to reply to this topic.
