Home › Forums › All Things 750 Twin › Projects and Progress › New Projects › Kaptains Log – The story of my B1
- This topic has 30 replies, 7 voices, and was last updated 2 years, 11 months ago by
jimmyjaz.
-
AuthorPosts
-
27th July 2020 at 11:43 pm #25929
 KaptainkwakKeymaster
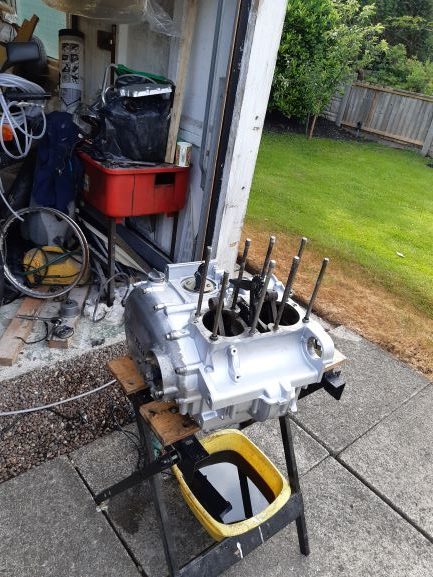
My next job was to paint the engine. I am using POR15.
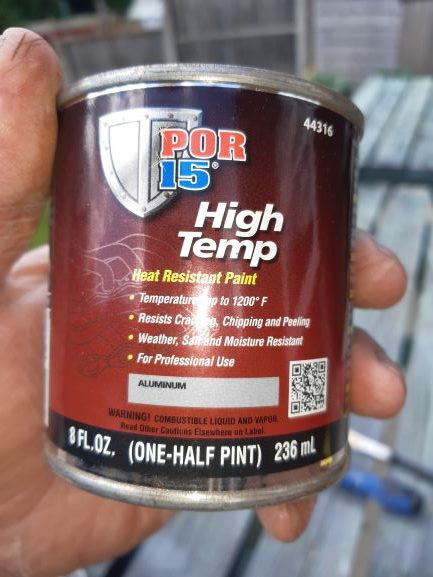
There is not much information out there but it has come highly recommended. It seems very watery in texture but trust it. Also you don’t need much. It needed 2 coats and I only used half of this 1/2 pint tin.

24 hours between the 2 coats and this is the result.
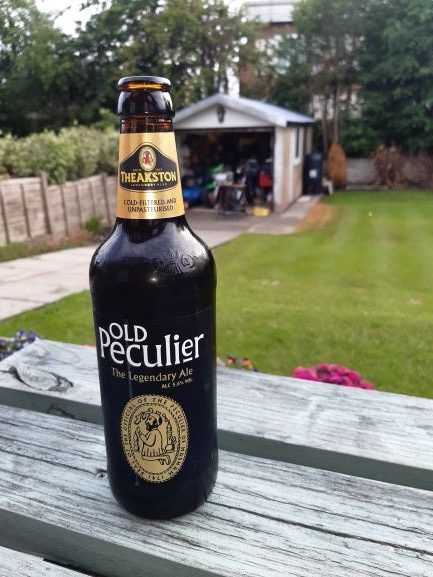
Time for a well earned beer
 29th July 2020 at 5:41 pm #25947KaptainkwakKeymaster
With the paint needing at least 6 days curing time I decided to get on with other stuff.
First the clocks. I tried masking and painting but I couldn’t achieve a satisfactory standard and what I did just emphasised the dirty glass.

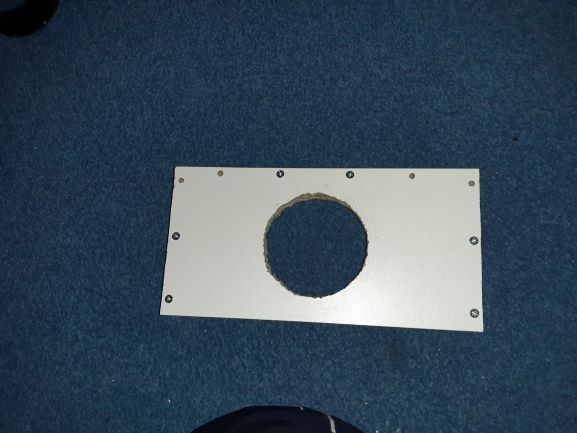
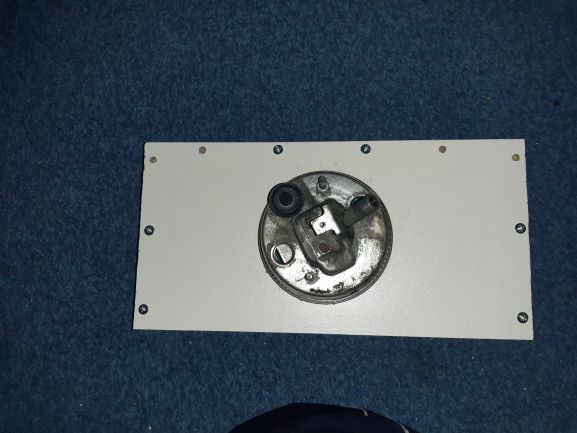
I decided to split the clocks making it easier to repaint and clean. A jig to hold the clocks is essential
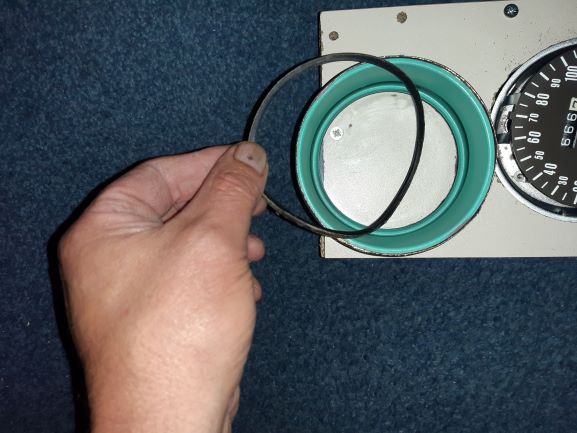
I used a small screw driver to lever up the bottom edge of the bezel clamping ring. To minimise the damage to the ring do this in stages. Trying to do it in one stage WILL tear the metal. I went round 3 times until it was open enough to slip off. Care must be taken not to damage the rubber seal.

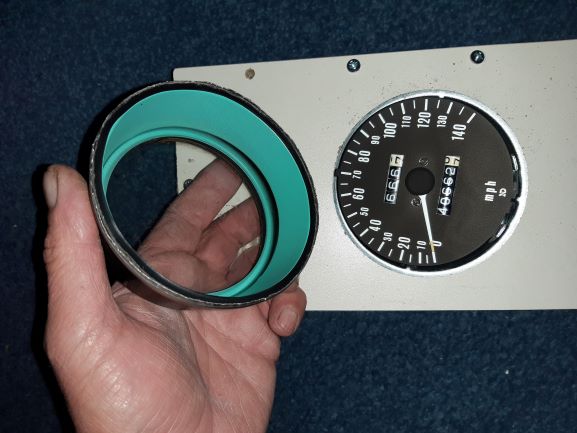
Carefully separate all the components and remove the glass seal the reeat the procedure with the other clock.


 29th July 2020 at 5:52 pm #25954KaptainkwakKeymaster
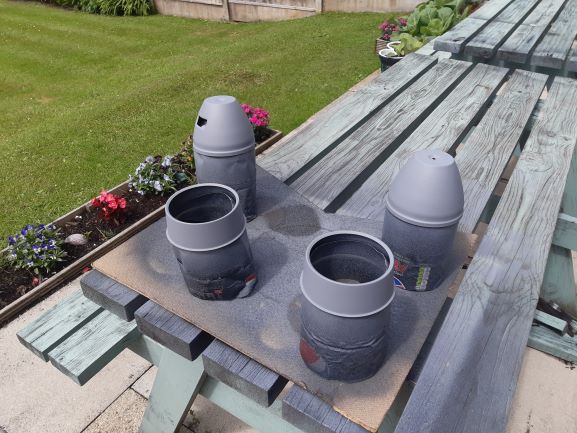
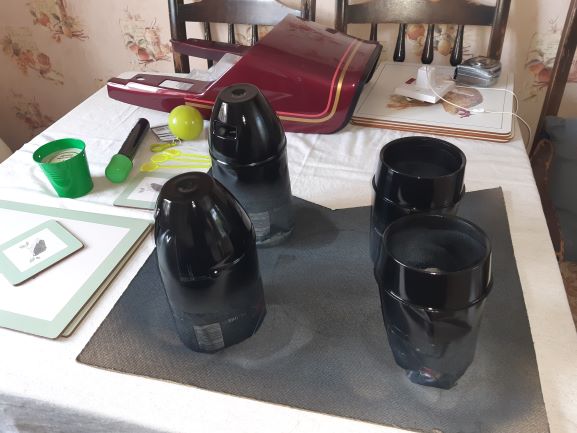
I took the top and bottom covers back to bare metal then resprayed them with primer then gloss black. Note the upcycling of the pepsi bottles . . .
 29th July 2020 at 6:04 pm #25955KaptainkwakKeymaster
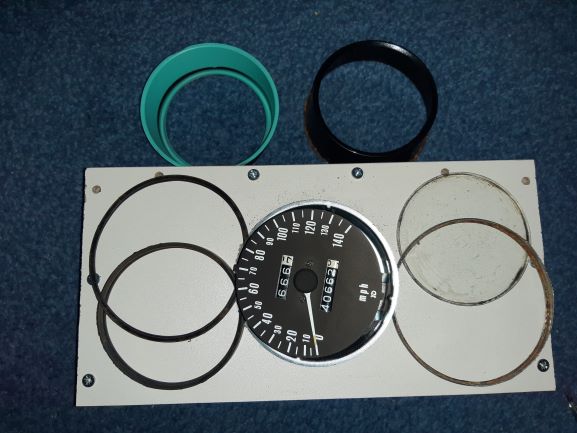
I left those to dry and harden for a couple of days and set about cleaning the other parts. The bezel retaining ring is Stainless and cleans up a treat. I picked up a tip for cleaning the glass of using cigar ash. Believe me it does work a treat. The seals although tarnished with rust were in great shape and rcovered well with a soak and clean. The dials were in excellent condition but I did switch the needle on the rev counter. I also noticed a difference with the clock glasses. The early models have a domed glass whereas on the later models the glass is flat.It was now time to reassemble them. This is when the jig really comes into it’s own.

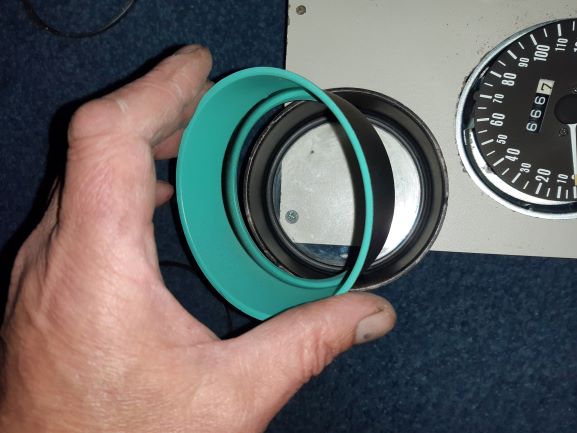
Bend the bezel back in stages again to minimise damage.
Then we get this
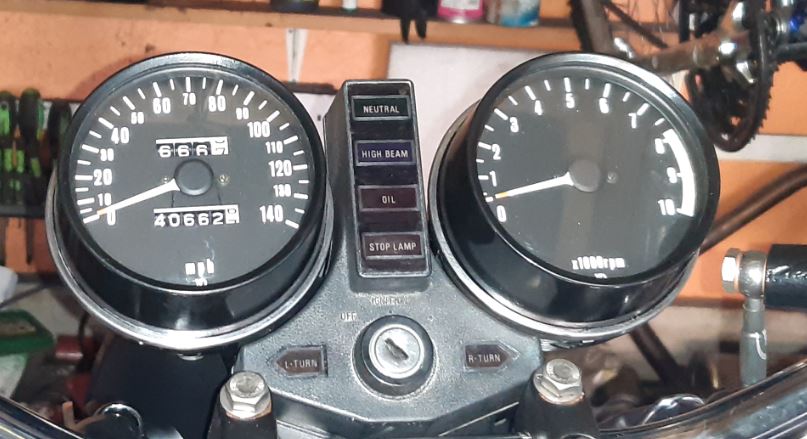
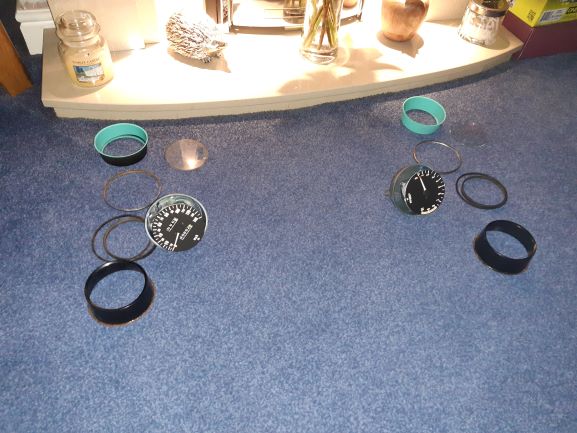
They are not perfect and new looking but it didn’t want that as I don’t want to raise any suspicion about the bikes mileage.
30th July 2020 at 10:01 pm #25956marksav
ParticipantSome painstaking work there ! And job satisfaction when you do things yourself. I love it.
2nd August 2020 at 4:28 am #25957 AtLargeParticipant
Excellent progress KaptainKwak!
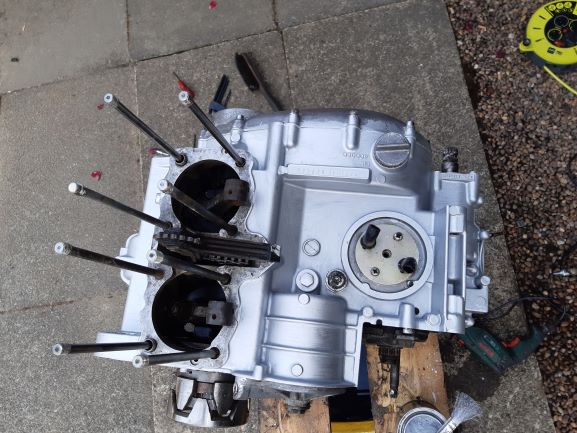
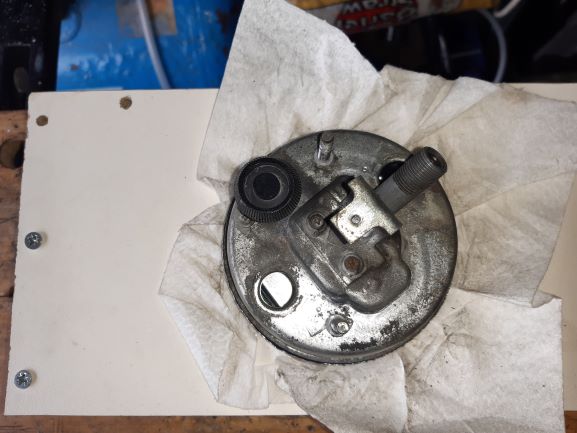
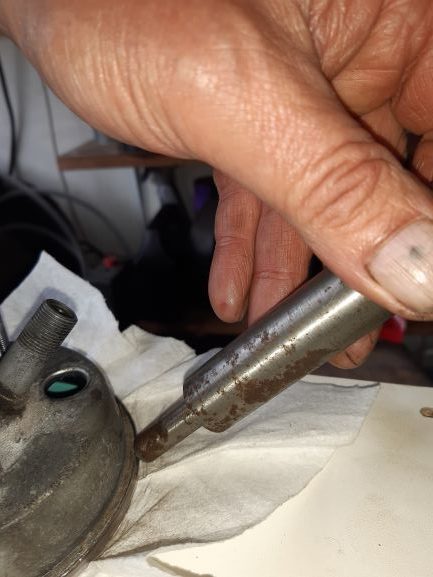
2nd August 2020 at 11:01 pm #25972KaptainkwakKeymasterIt’s time to sort the engine. First job was drop the sump. The pump gauze was pretty clean. All seemed quite well then . . .
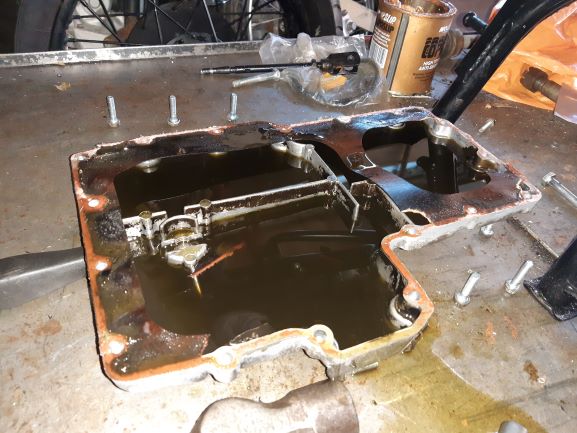

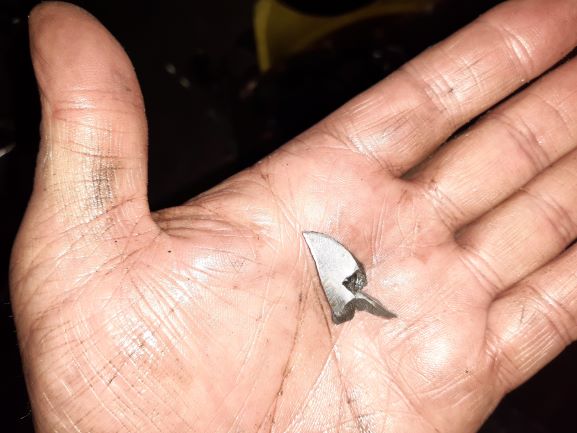

It looked like a piece of piston skirt to me. Both the pistons I removed were intact but on examination one looked much cleaner than the other. This suggested one of the previous owners had had a problem and just replaced one piston. I thought about replacing both pistons with new ones but as the engine ran so well before I started I decided to leave alone. I can always come back to this if I need to. So back to the engine. I cleaned out the gearbox and cleaned the sump gasket face. Then I fitted a new gasket and the sump.
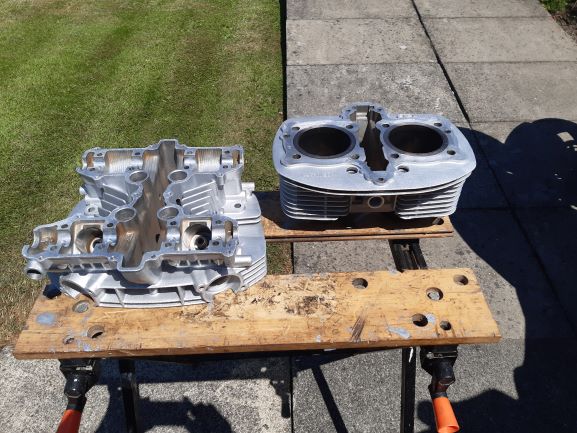
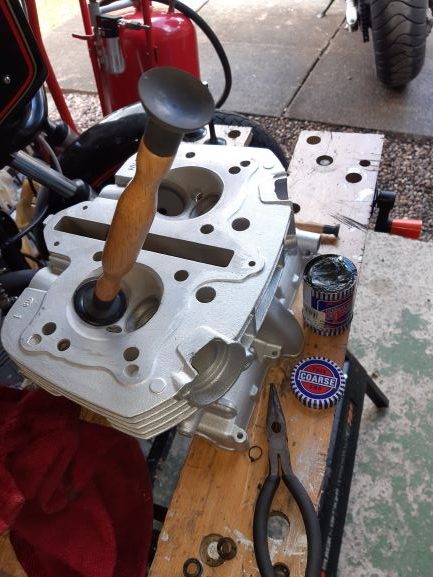
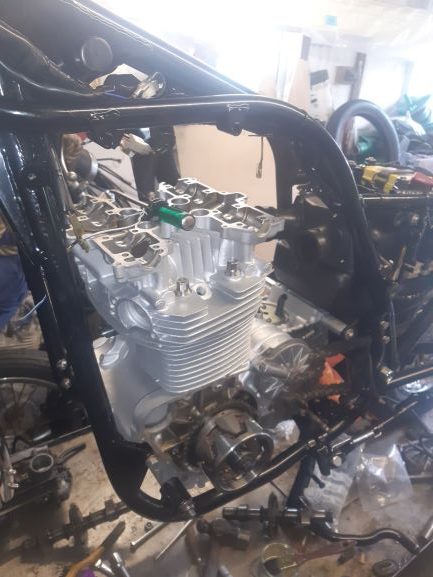
2nd August 2020 at 11:05 pm #25973KaptainkwakKeymasterThe next job was to lap the valves back in and rebuild the head slapping plenty of new oil on.
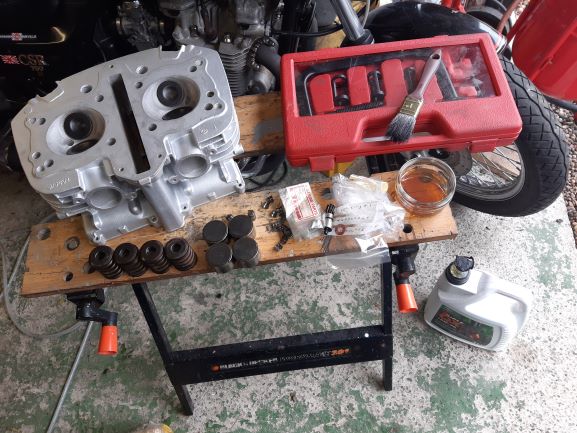
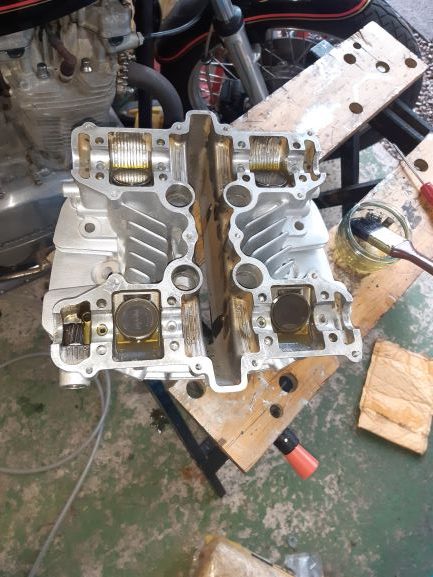
Once that was done the barrels and head were refitted
 2nd August 2020 at 11:09 pm #25974KaptainkwakKeymaster
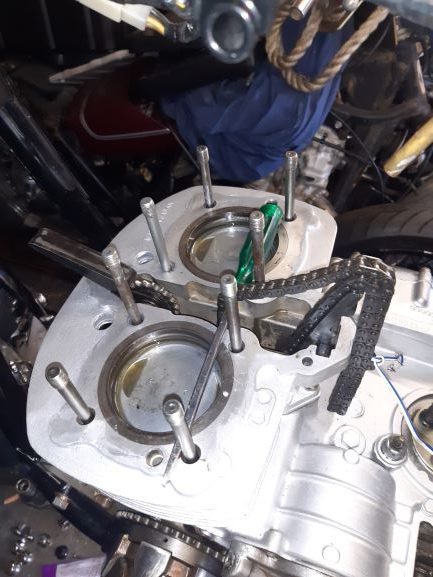
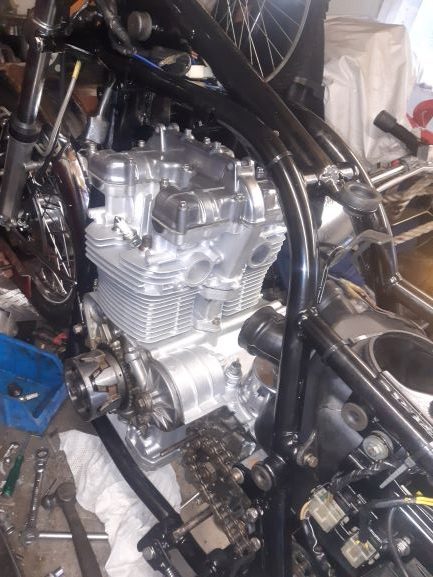
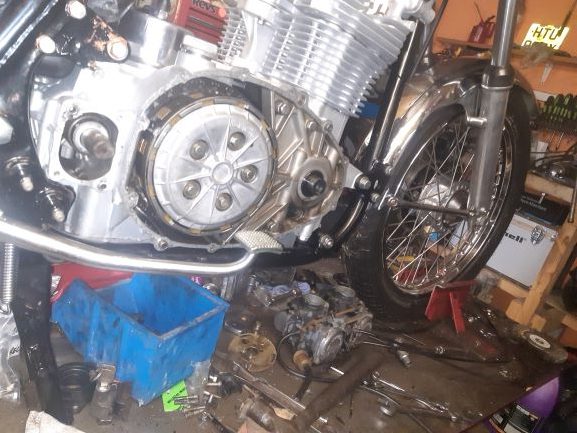
Cams were refitted and valves shimmed up and the rocker cover went back on . Starter motor was fitted and quickly followed by the generator, clutch and kickstart covers.


 2nd August 2020 at 11:42 pm #25984KaptainkwakKeymaster
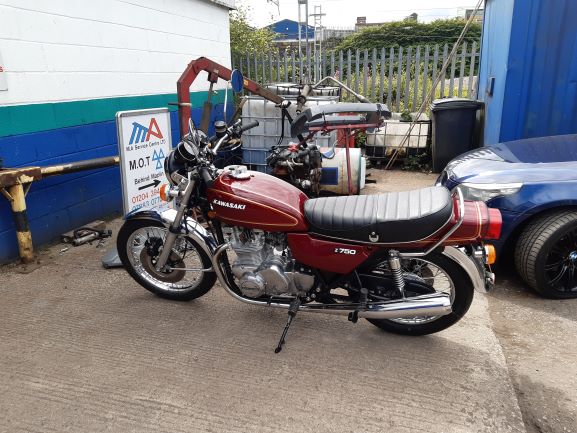
I stripped the carbs and had them ultrasonically cleaned then reassembled them with new needles etc. All the electrics were fitted and I removed the electronic ignition and went back to points. All that was left now was to fit the tank, seat, side panels and exhaust then the moment of truth. Will she start and will she run. She did both and I had this

 2nd August 2020 at 11:53 pm #25985KaptainkwakKeymaster
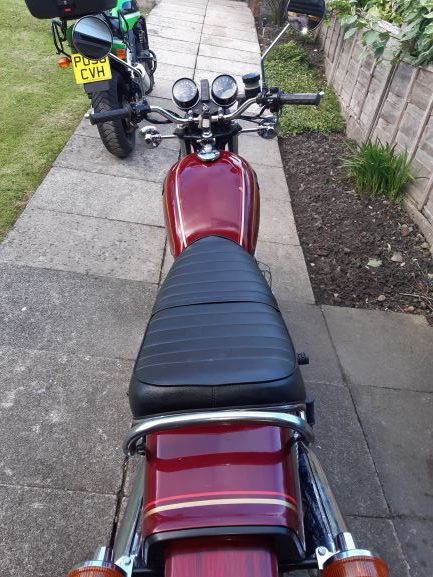
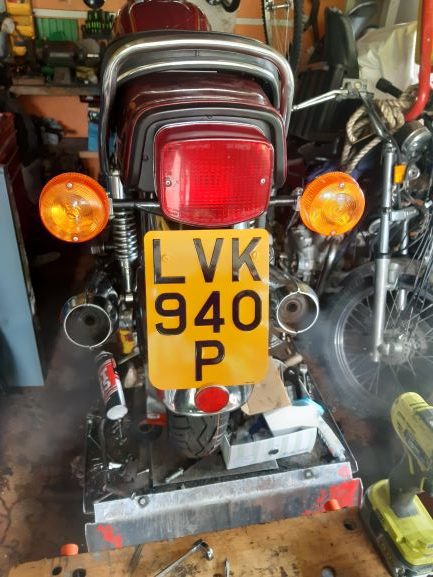
I tuned her up properly and balanced the carbs and last job was to fit the new number plate. I took her out on the road for a test drive. OMG she rode awesome. The only issue I had was attention.
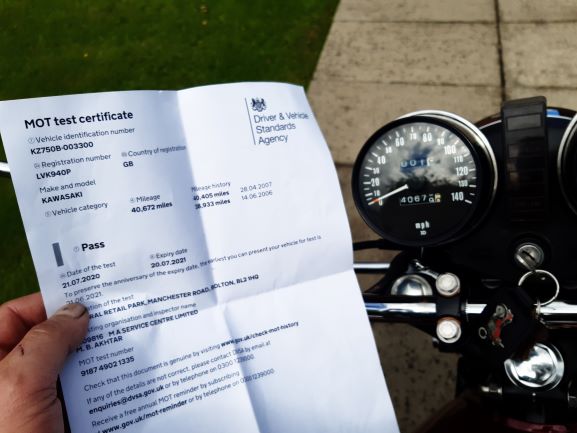
The following day I took her for an MOT test. She passed with flying colours but guess what? More attention lol.
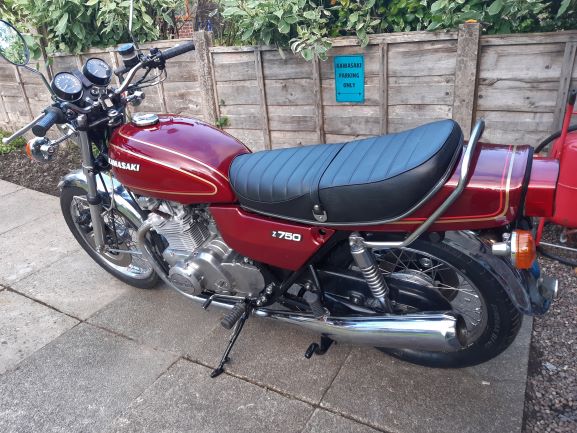
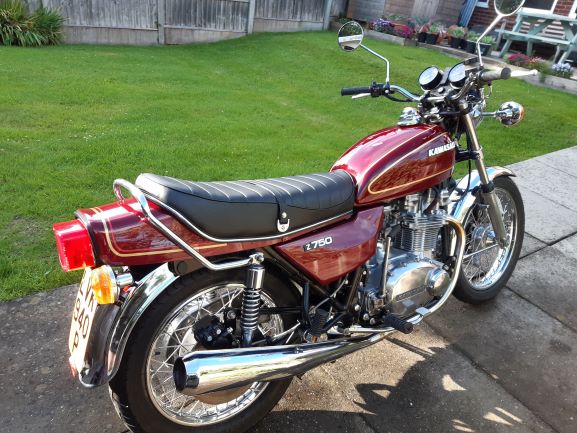
I came home and sat outside with a brew and just smiled while admiring the view.

A genuine 1976 UK registered Z750B1 twin that has been restored not re bought. She is loved not just admired. She will be ridden not stored away.
3rd August 2020 at 10:43 pm #25989ParticipantVery nice end result,great pipes as well !
5th August 2020 at 4:52 pm #25991Furiousjammin
ParticipantWow KK, she is beautiful. Great choice with the engine paint. Looks very natural and not too in your face.
26th April 2021 at 1:21 am #27578Karl
ParticipantThats a lot of work there, and a nice bike at the end of it. Nice one.
26th April 2021 at 8:05 pm #27581KaptainkwakKeymasterThank you.
Took me around 3 months of pains and pleasure from start to finish but the results is well worth it.
I am planning a B2 next . . .
-
AuthorPosts
- You must be logged in to reply to this topic.
