Home › Forums › All Things 750 Twin › Projects and Progress › New Projects › B1 Project Started.
- This topic has 157 replies, 6 voices, and was last updated 12 years, 1 month ago by
 Michael.
-
AuthorPosts
-
16th March 2013 at 12:19 pm #8762
 TangoParticipant
Oops! Wrong Photo?
Try this one!
 16th March 2013 at 12:26 pm #8763TangoParticipant
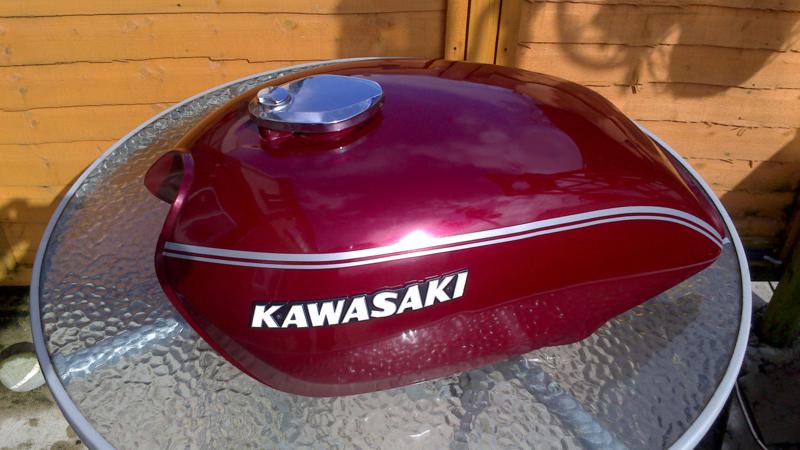
Oh well it would be rude not to make my 100th Post the complete Tank,Cant wait to get it on the bike. 😀
 16th March 2013 at 7:03 pm #8694
 philpassinghamParticipant
looking very good sir
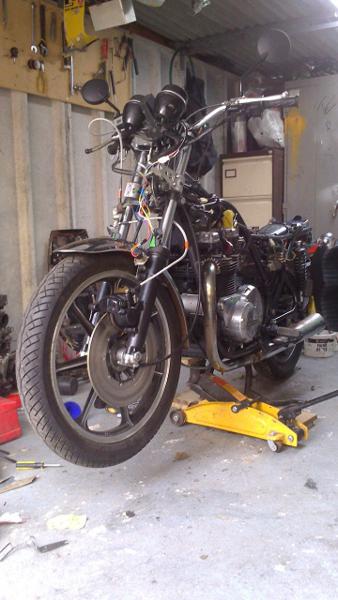
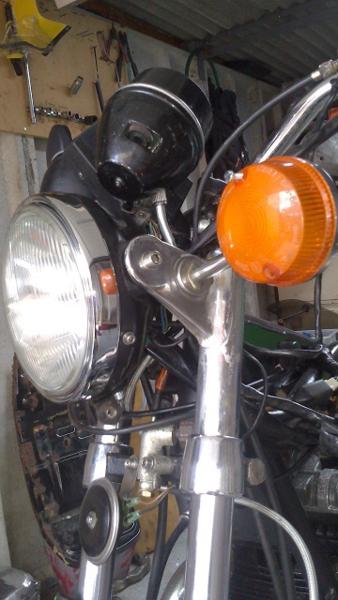
17th March 2013 at 3:12 pm #8764TangoParticipantWell No Sunday rest for me. Its about time I Had a look at fitting the proper head light stays?
I’m going to need these for the indicators to mount onto as well?Managed to pick up some Z650 bottoms that will fit So hopefully the job should be a good one.
Jacked the front end up to drop the wheel out and then I’m going to have to lower the fork legs to slide the light stays over the stanchions.
 17th March 2013 at 5:02 pm #8765TangoParticipant
Its a pain having to drop the front but Ive started! So im going to have to finish!
 17th March 2013 at 6:36 pm #8766TangoParticipant
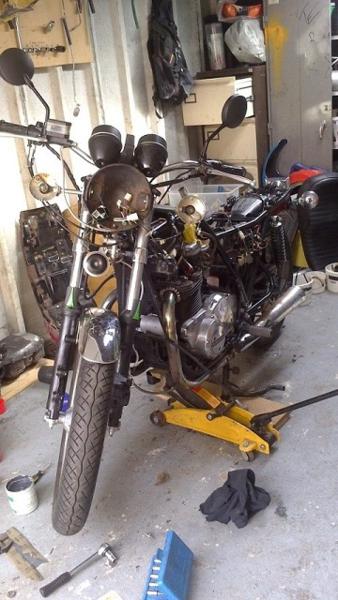
Not sure all the electrics will fit in this headleght shell with the light unit as well?
 17th March 2013 at 6:37 pm #8836
 MichaelParticipant
Hi Tango,
I have never tried to remove the front fork while the front mudguard is still installed.
I always remove the mudguard as well and can handle each leg separately.
The screws that hold the mudguard can oxidate in their threads. Loosen them every few years will help to prevent them from seize up.Have fun !
Michael17th March 2013 at 6:43 pm #8837MichaelParticipantHi Tango,
keep the connectors in a kind of circle more around the wide front area. Don’t push them into the room where the lamp and it’s connector need their space.
There might be just a finger wide space (one or two centimeters)between the lamp connector and the headlight housing. Having another cable connector in that “deep” area will inhibit the proper mounting of the reflector unit with lamp and connector.Have fun !
Michael17th March 2013 at 6:58 pm #8767TangoParticipantWell it was quite a bit of faffing around with the wiring but I managed to get it in the end
 17th March 2013 at 7:06 pm #8768TangoParticipant
Yes Michael you are right, I ended up removing the mudguard! So while it was off, I refitted it with stainless steel bolts with a smear of Molly Grease to help keep them from seizing up.
While I was at it I re routed the brake lines Added the Left hand lower cable guide, and bled the front brake through with new fluid. 😉
17th March 2013 at 7:25 pm #8838MichaelParticipantHi Tango,
good job done so far!
I saw on the latest photograph that you have fitted the horn at the lower yoke showing downwards.
That may be a bad idea !
If the suspension works and the front wheel is diving in to its innermost position, the horn and the mudguard may collide.The mounting position of the horn is originally directly at the frame facing forward, below the lower steering bearing in a hole between the frame downtubes. There are two M8 threads were you can fix the horn holder.
The original holder is a symmetrical, triangular metal piece with rubbers and spacers used for firm fixing to the frame and still some flexibility.Cheers, Michael
17th March 2013 at 8:27 pm #8769TangoParticipantThanks Michael Id better have a look at that, I will move it tomorrow.
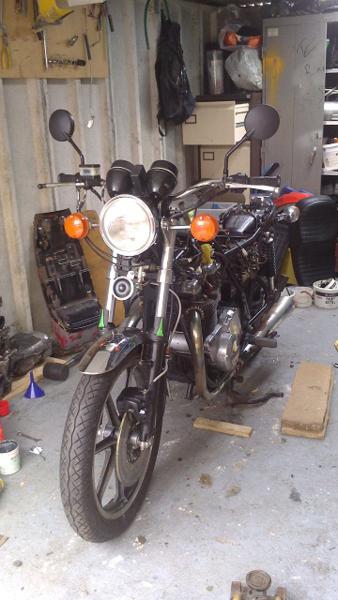
😳17th March 2013 at 8:42 pm #8770TangoParticipantHeres one for KK!
Ok Ok! I admit it! “YOU WERE RIGHT!”
The correct headlight holders look much better. 😀
 17th March 2013 at 11:53 pm #8708
 KaptainkwakKeymaster
She’s starting to look like a bike now mate. Hadn’t noticed the horn but Michael is right.
Keep up the good work 🙂
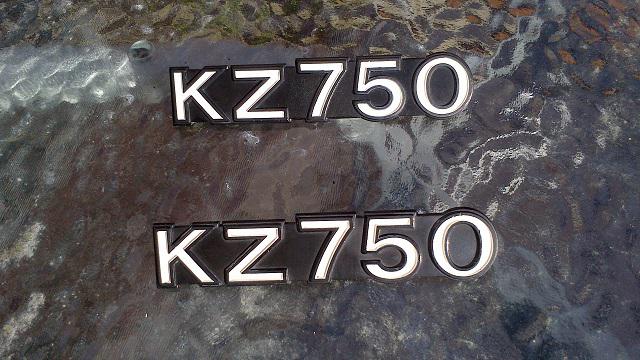
I’ll be round to check up on you soon . . . . .18th March 2013 at 9:47 am #8771TangoParticipantI know these aren’t the correct badges? But I have a matching pair, and they look good with the tank & engine cases having all capitals.
They have cleaned up quite well to. :pint:
-
AuthorPosts
- You must be logged in to reply to this topic.
