Home › Forums › All Things 750 Twin › Projects and Progress › New Projects › B1 Project Started.
- This topic has 157 replies, 6 voices, and was last updated 12 years, 5 months ago by
 Michael.
-
AuthorPosts
-
18th March 2013 at 12:14 pm #8709
 KaptainkwakKeymaster
Isn’t the bottom one bigger than the top one?
18th March 2013 at 3:44 pm #8772 TangoParticipant
I had to go and check then!…No its just camera angle! 👿
Well Ive moved the horn, I have actually looked through my parts and found the original horn and bracket, after Michael told me what it looked like and where it was fitted. Ive fitted the horn I had on in its proper place on the frame now,But there is a snapped stud in one of the holes,so I can’t refit the original horn yet!
The indicators on the front of the bike were the US twin filament bulb type! I wasn’t happy with them,they seamed dimmer? So I have swapped the bulb holders out for standard UK spec ones, and that seams to have made them much better!
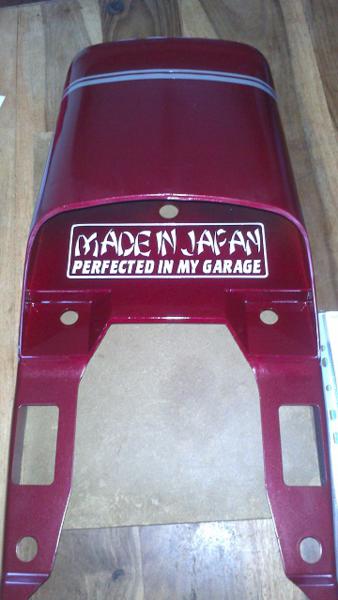
Ive also fitted the side panel badges to the panels now,and Ive lacquered in my sticker that I got for inside the rear tail piece. 😉
18th March 2013 at 5:04 pm #8773TangoParticipantI have a fully working electrical system now,including a starter button. Just need a good battery now,ive been working with a duff one just to get the electrics in order.
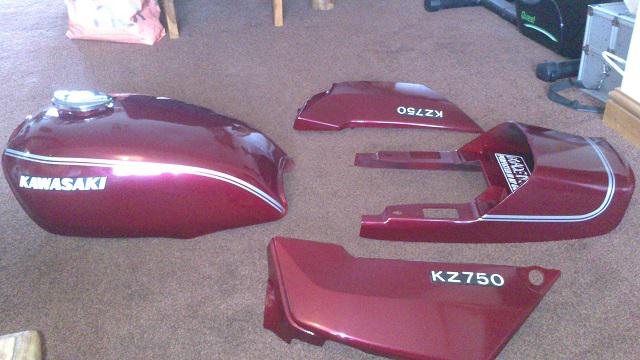
 18th March 2013 at 5:06 pm #8774TangoParticipant
and all the body work, just waiting to go back on once ive finished messing around with the bike finishing bits off?
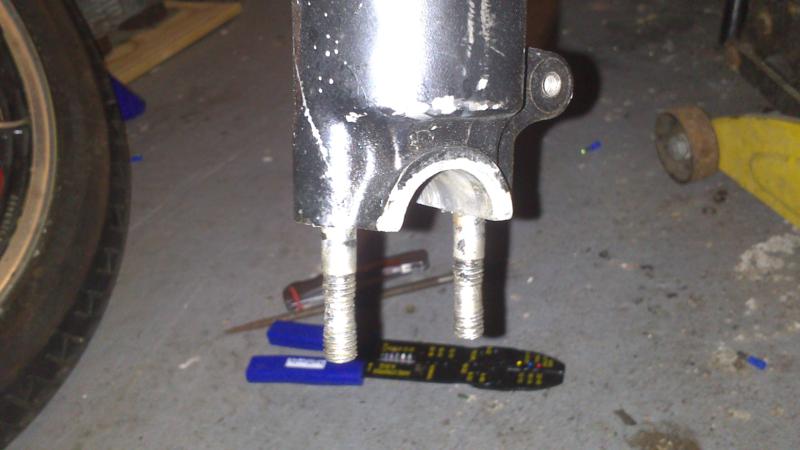
 18th March 2013 at 8:42 pm #8775TangoParticipant
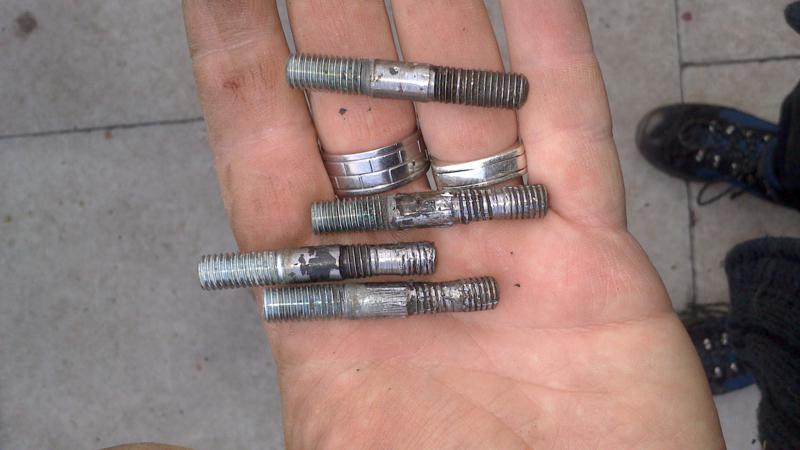
Ops! OK I have found a small set back. While I was doing the headlight, I could not undo the fork bottoms? When I have looked the nuts just spinning? I have got the nuts off the studs now by splitting them! But as you can see on the photo, The threads are gone!
So I need to get some new studs in, What is the best way to get the old ones out of the legs?
 18th March 2013 at 8:43 pm #8776TangoParticipant
And the other side!
 18th March 2013 at 9:42 pm #8710KaptainkwakKeymaster
We can get those out mate. I bit of local heat and a pair of stilsons will suffice 😀
Will try and source you new studs too.
As far as the rest of the work is concerned its a big well done from me. I can’t wait to see her finished and go out on the road
18th March 2013 at 9:43 pm #8711KaptainkwakKeymasterMMMM Are those my crimpers discarded on the floor like a rag doll?
18th March 2013 at 9:51 pm #8777TangoParticipantNo I liked yours so much! I went and got myself some, Yours are on the worktop! 😎
18th March 2013 at 10:05 pm #8839 MichaelParticipant
Hi Tango,
I know some tools to remove the studs. Except really large tongs or large pipe wrench there are things like these:
http://www.ebay.de/itm/Stehbolzenausdreher-Stehbolzen-Ausdreher-Bolzenausdreher-6-3-14mm-Universal-BGS-/140936736486?pt=Spezielle_Werkzeuge&hash=item20d07beee6
universal thread sizes, 15,- Eurosor these ones:
http://www.ebay.de/itm/CV-Stahl-Stehbolzen-Ausdreher-8mm-Gewindestift-Linksausdreher-Bolzen-Ausdreher-/261153956813?pt=Kfz_Handwerkzeuge&hash=item3ccdfd23cd
perfect tool, just matching M8 thread, 12,45 Eurosor this one:
http://www.ebay.de/itm/Stehbolzenausdreher-Bolzenausdreher-Schraubenausdreher-Krummerschraube-/200877126510?pt=Spezielle_Werkzeuge&hash=item2ec535b36e
universal, 25,- EurosHave fun,
Michael18th March 2013 at 10:42 pm #8712KaptainkwakKeymasterI have one very similar to the first you showed Michael. Mine fits a 1/2″ drive socket set. I have not seen the other 2 types before.
Cheers for that
19th March 2013 at 8:12 pm #8778TangoParticipantYep Thanks guys.
I borrowed a tool just like the 1st one off a friend. And with a bit of local heat before attempting to remove the studs, They came free with a little care! :pint:
I have even ordered the new ones from the local Kawasaki Supplier with new Nuts to match. 😀 Due in on Thursday, So as long as I can get back from work I can have it sorted over the weekend.
 19th March 2013 at 8:34 pm #8713KaptainkwakKeymaster
Nice one mate. I can pick the studs up friday if you want. I finish earlier than you guaranteed 😀 😀 😀 😎 😆
19th March 2013 at 9:19 pm #8779TangoParticipantCheers mate, I did cheat a little, I ordered them before I got the old ones out! I did it as I left work! 😕 (Well you said they would come out!)
I think they were about19th March 2013 at 11:20 pm #8840MichaelParticipantHi Tango,
successful removal of studs is always like a little victory !
Be proud !
Cheers, Michael -
AuthorPosts
- You must be logged in to reply to this topic.
